Tie Closure Pillowcase Tutorial
This post contains an affiliate link; if you make a purchase through this link, I may earn a commission at no extra cost to you.
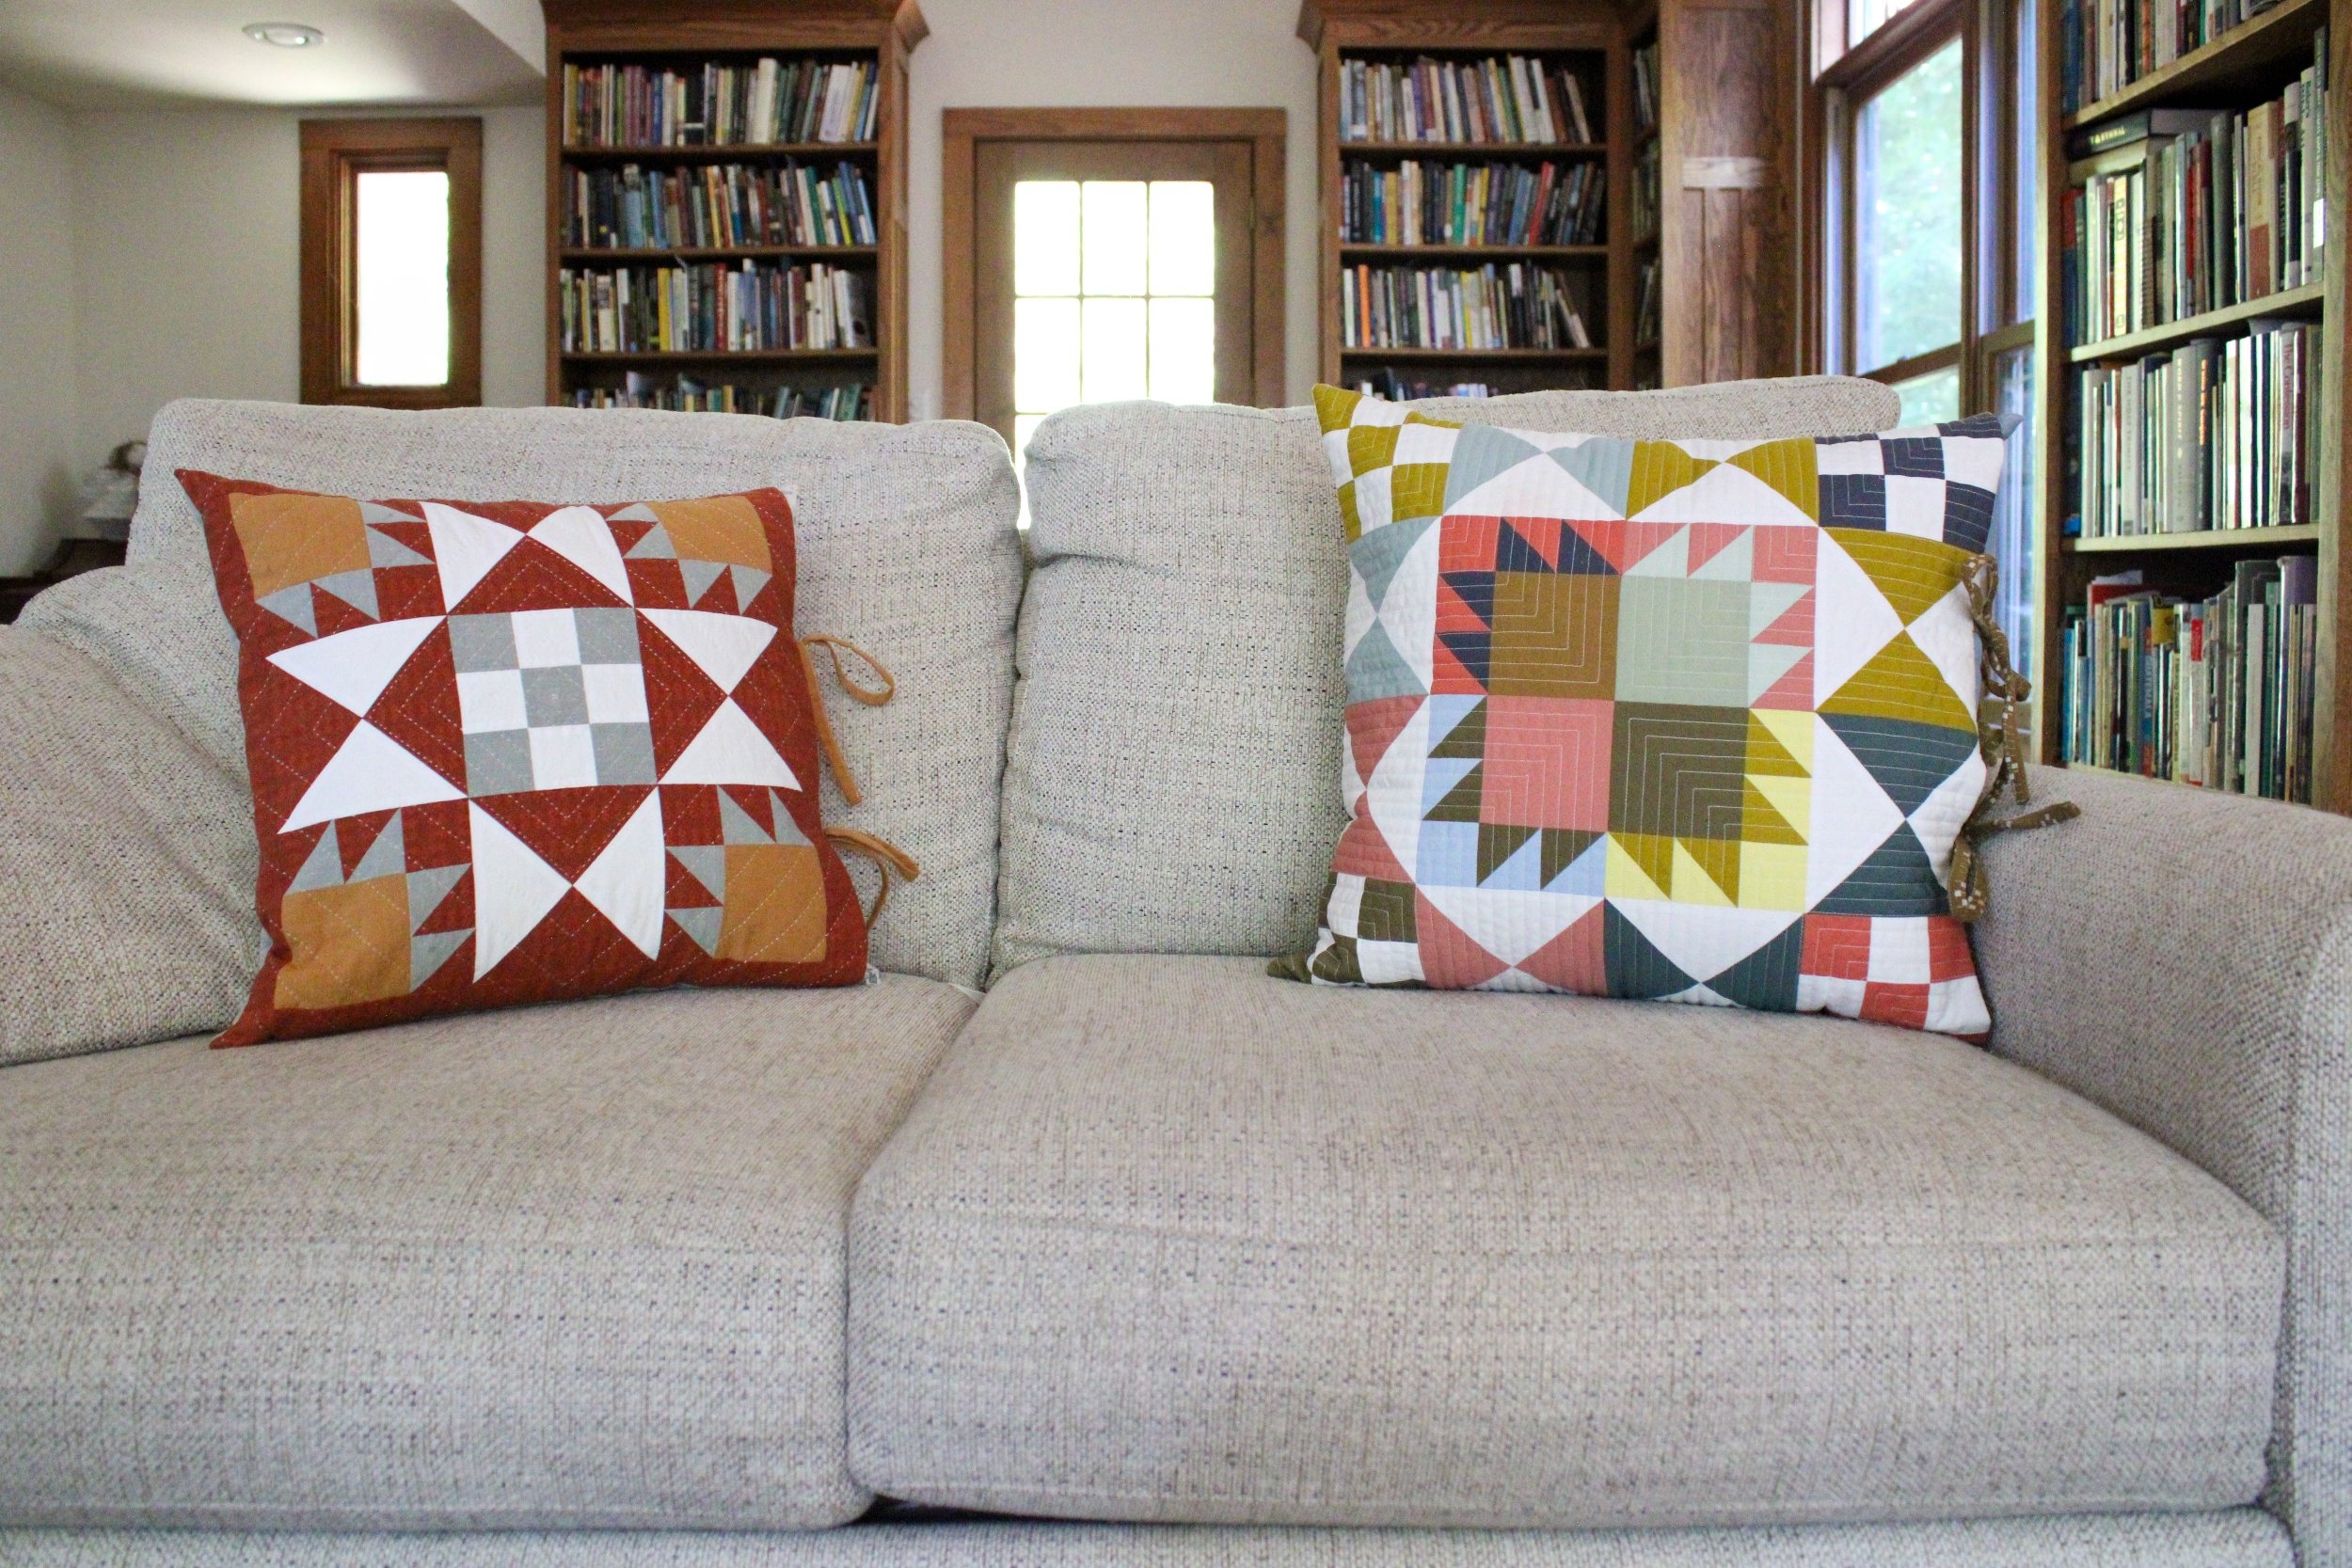
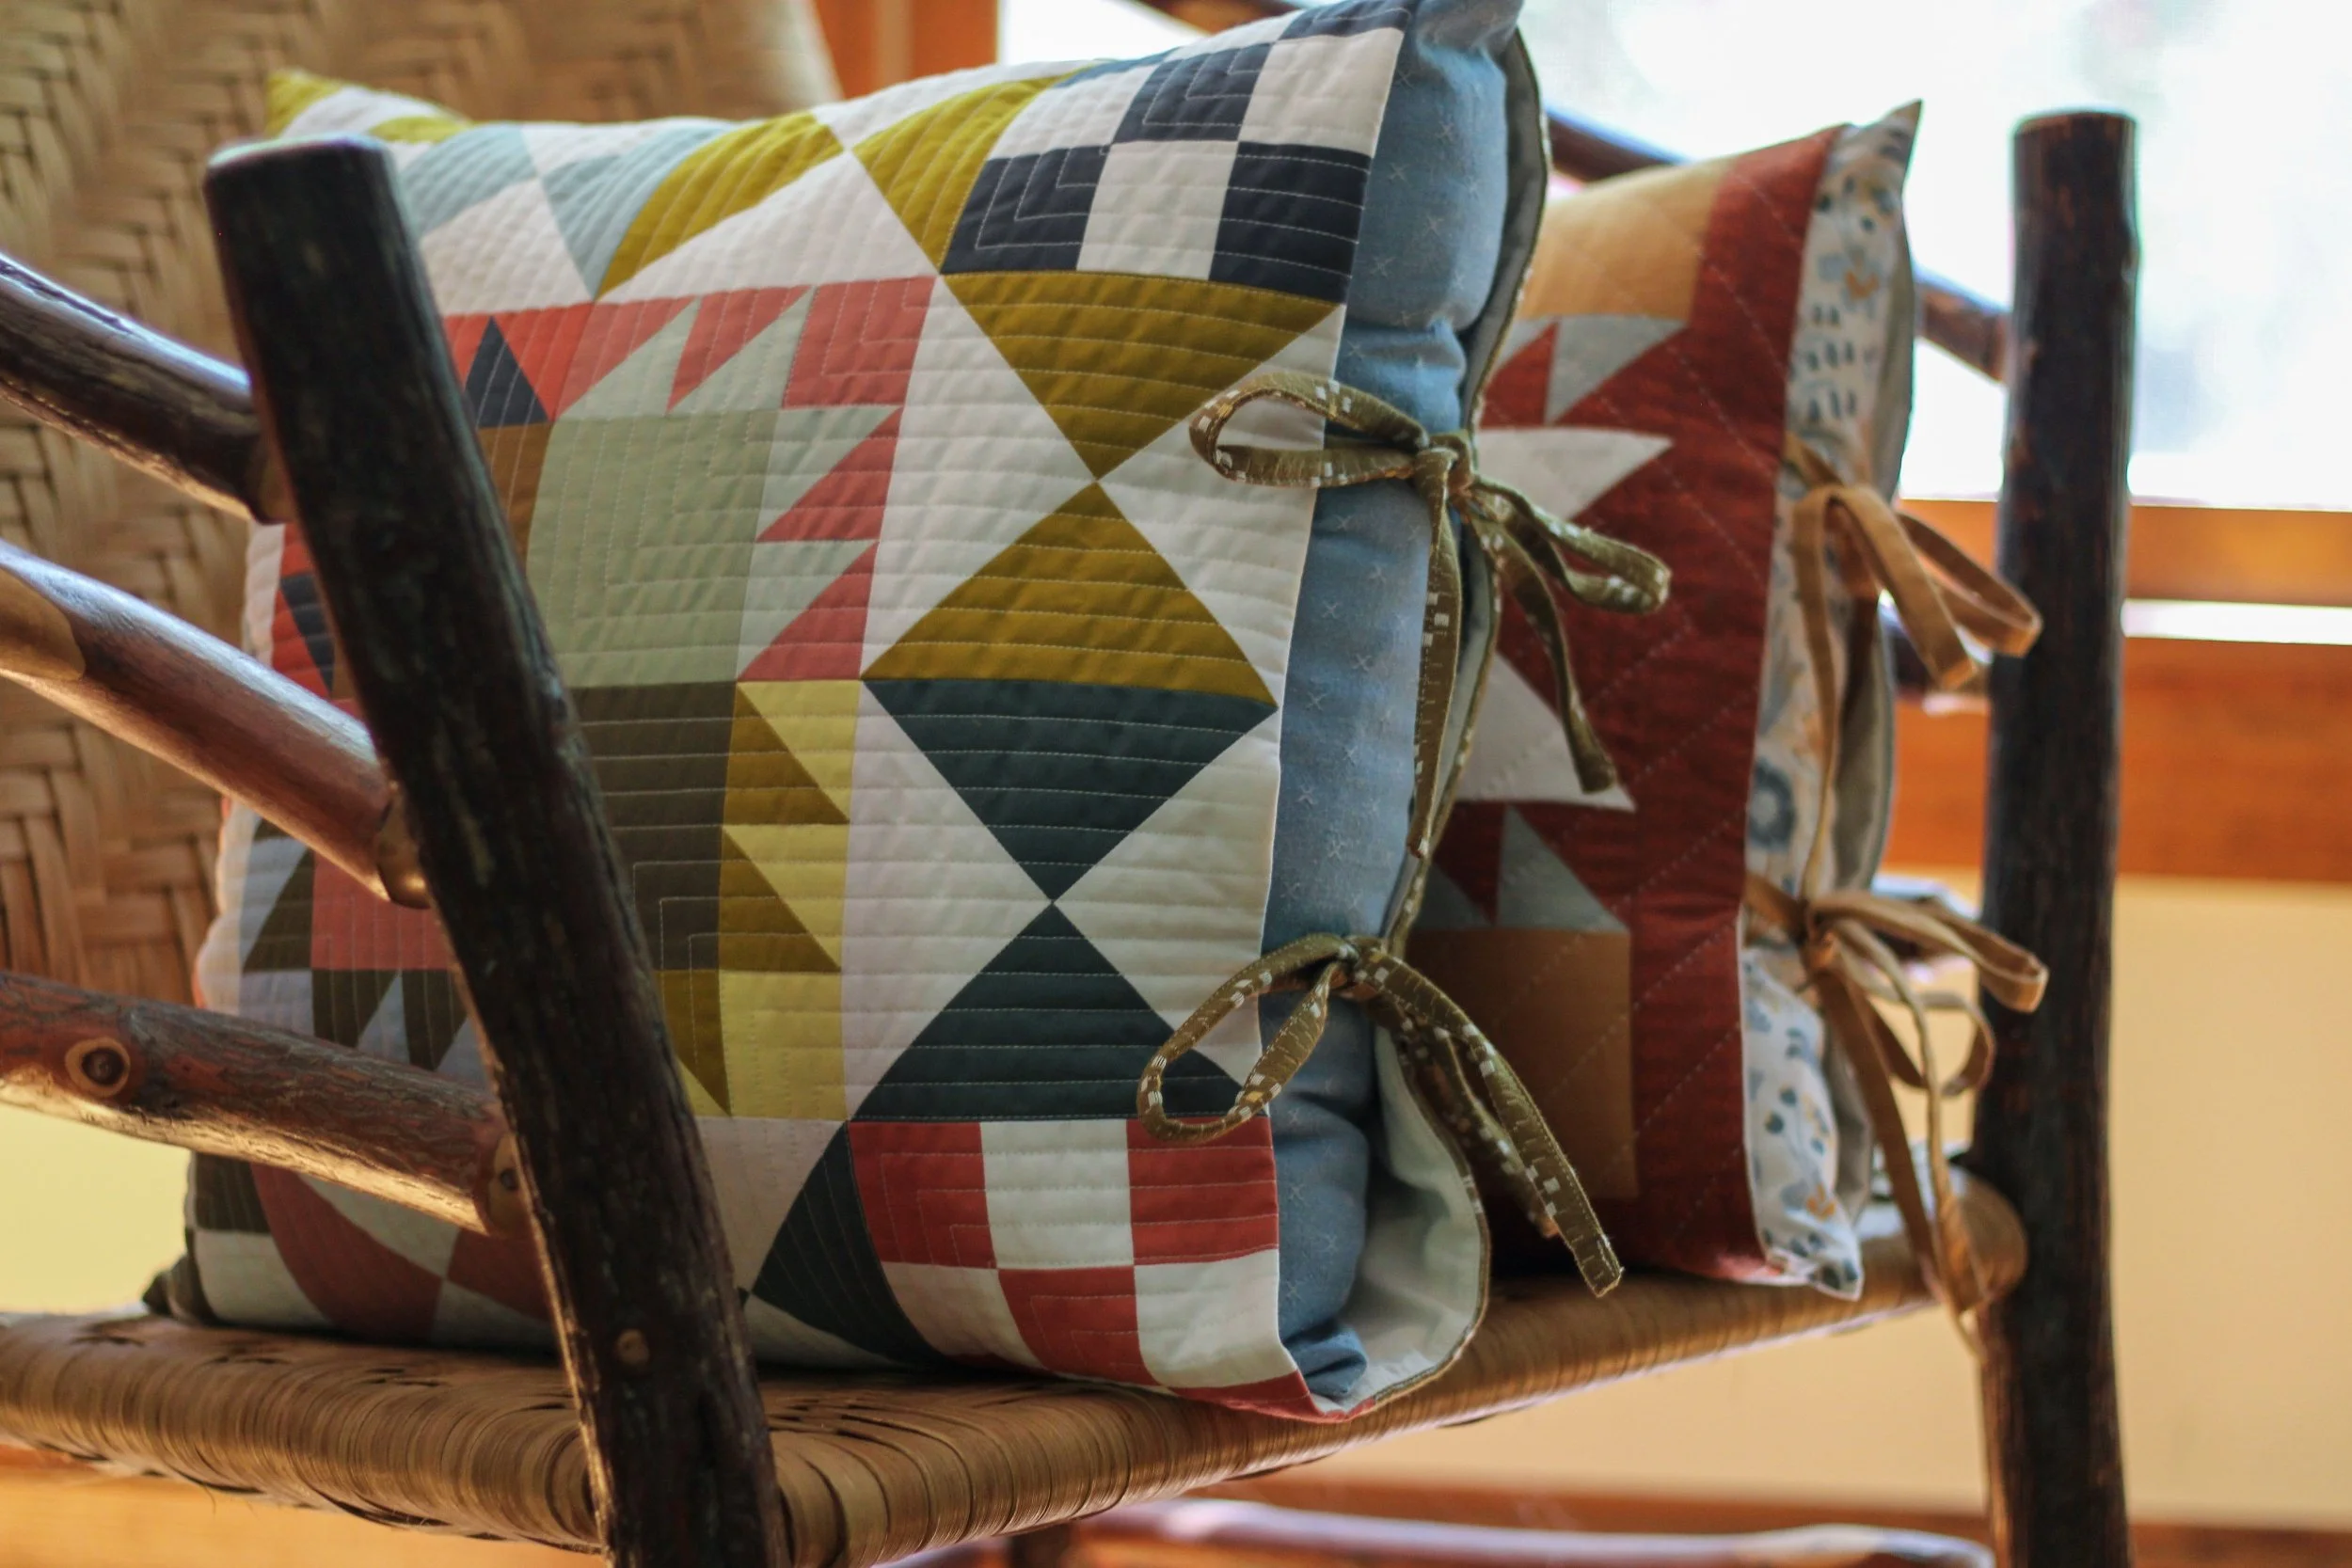
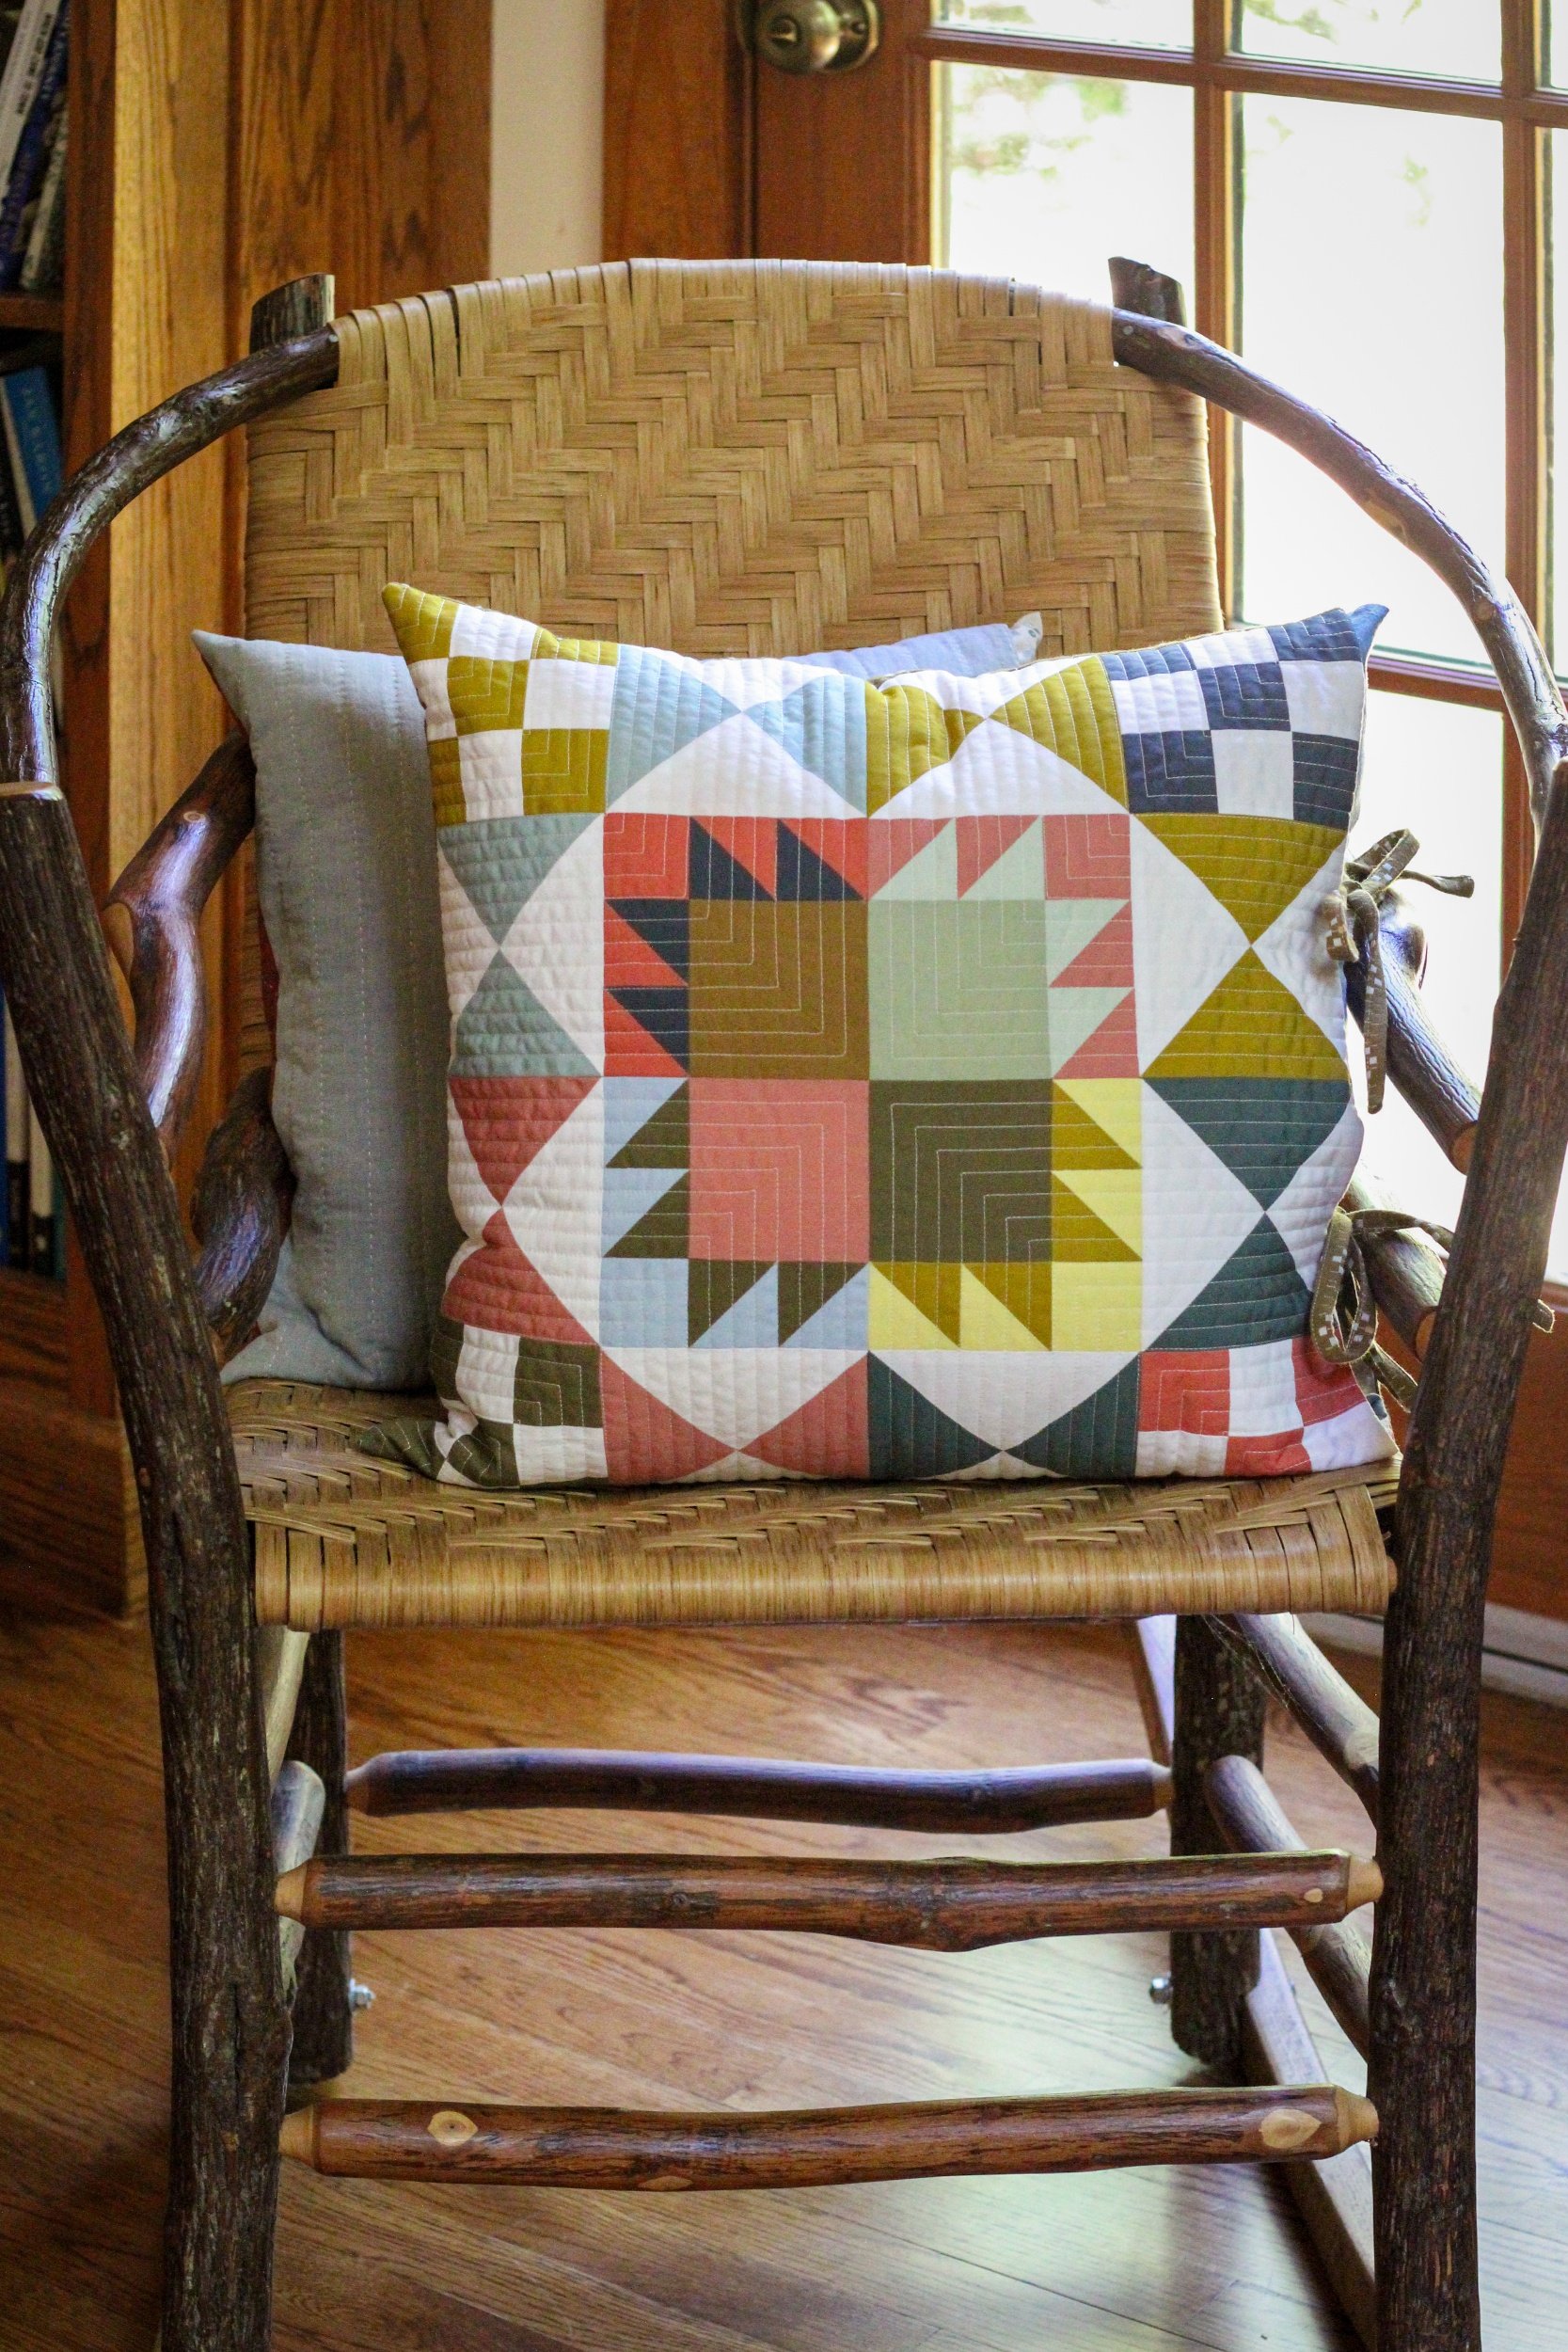
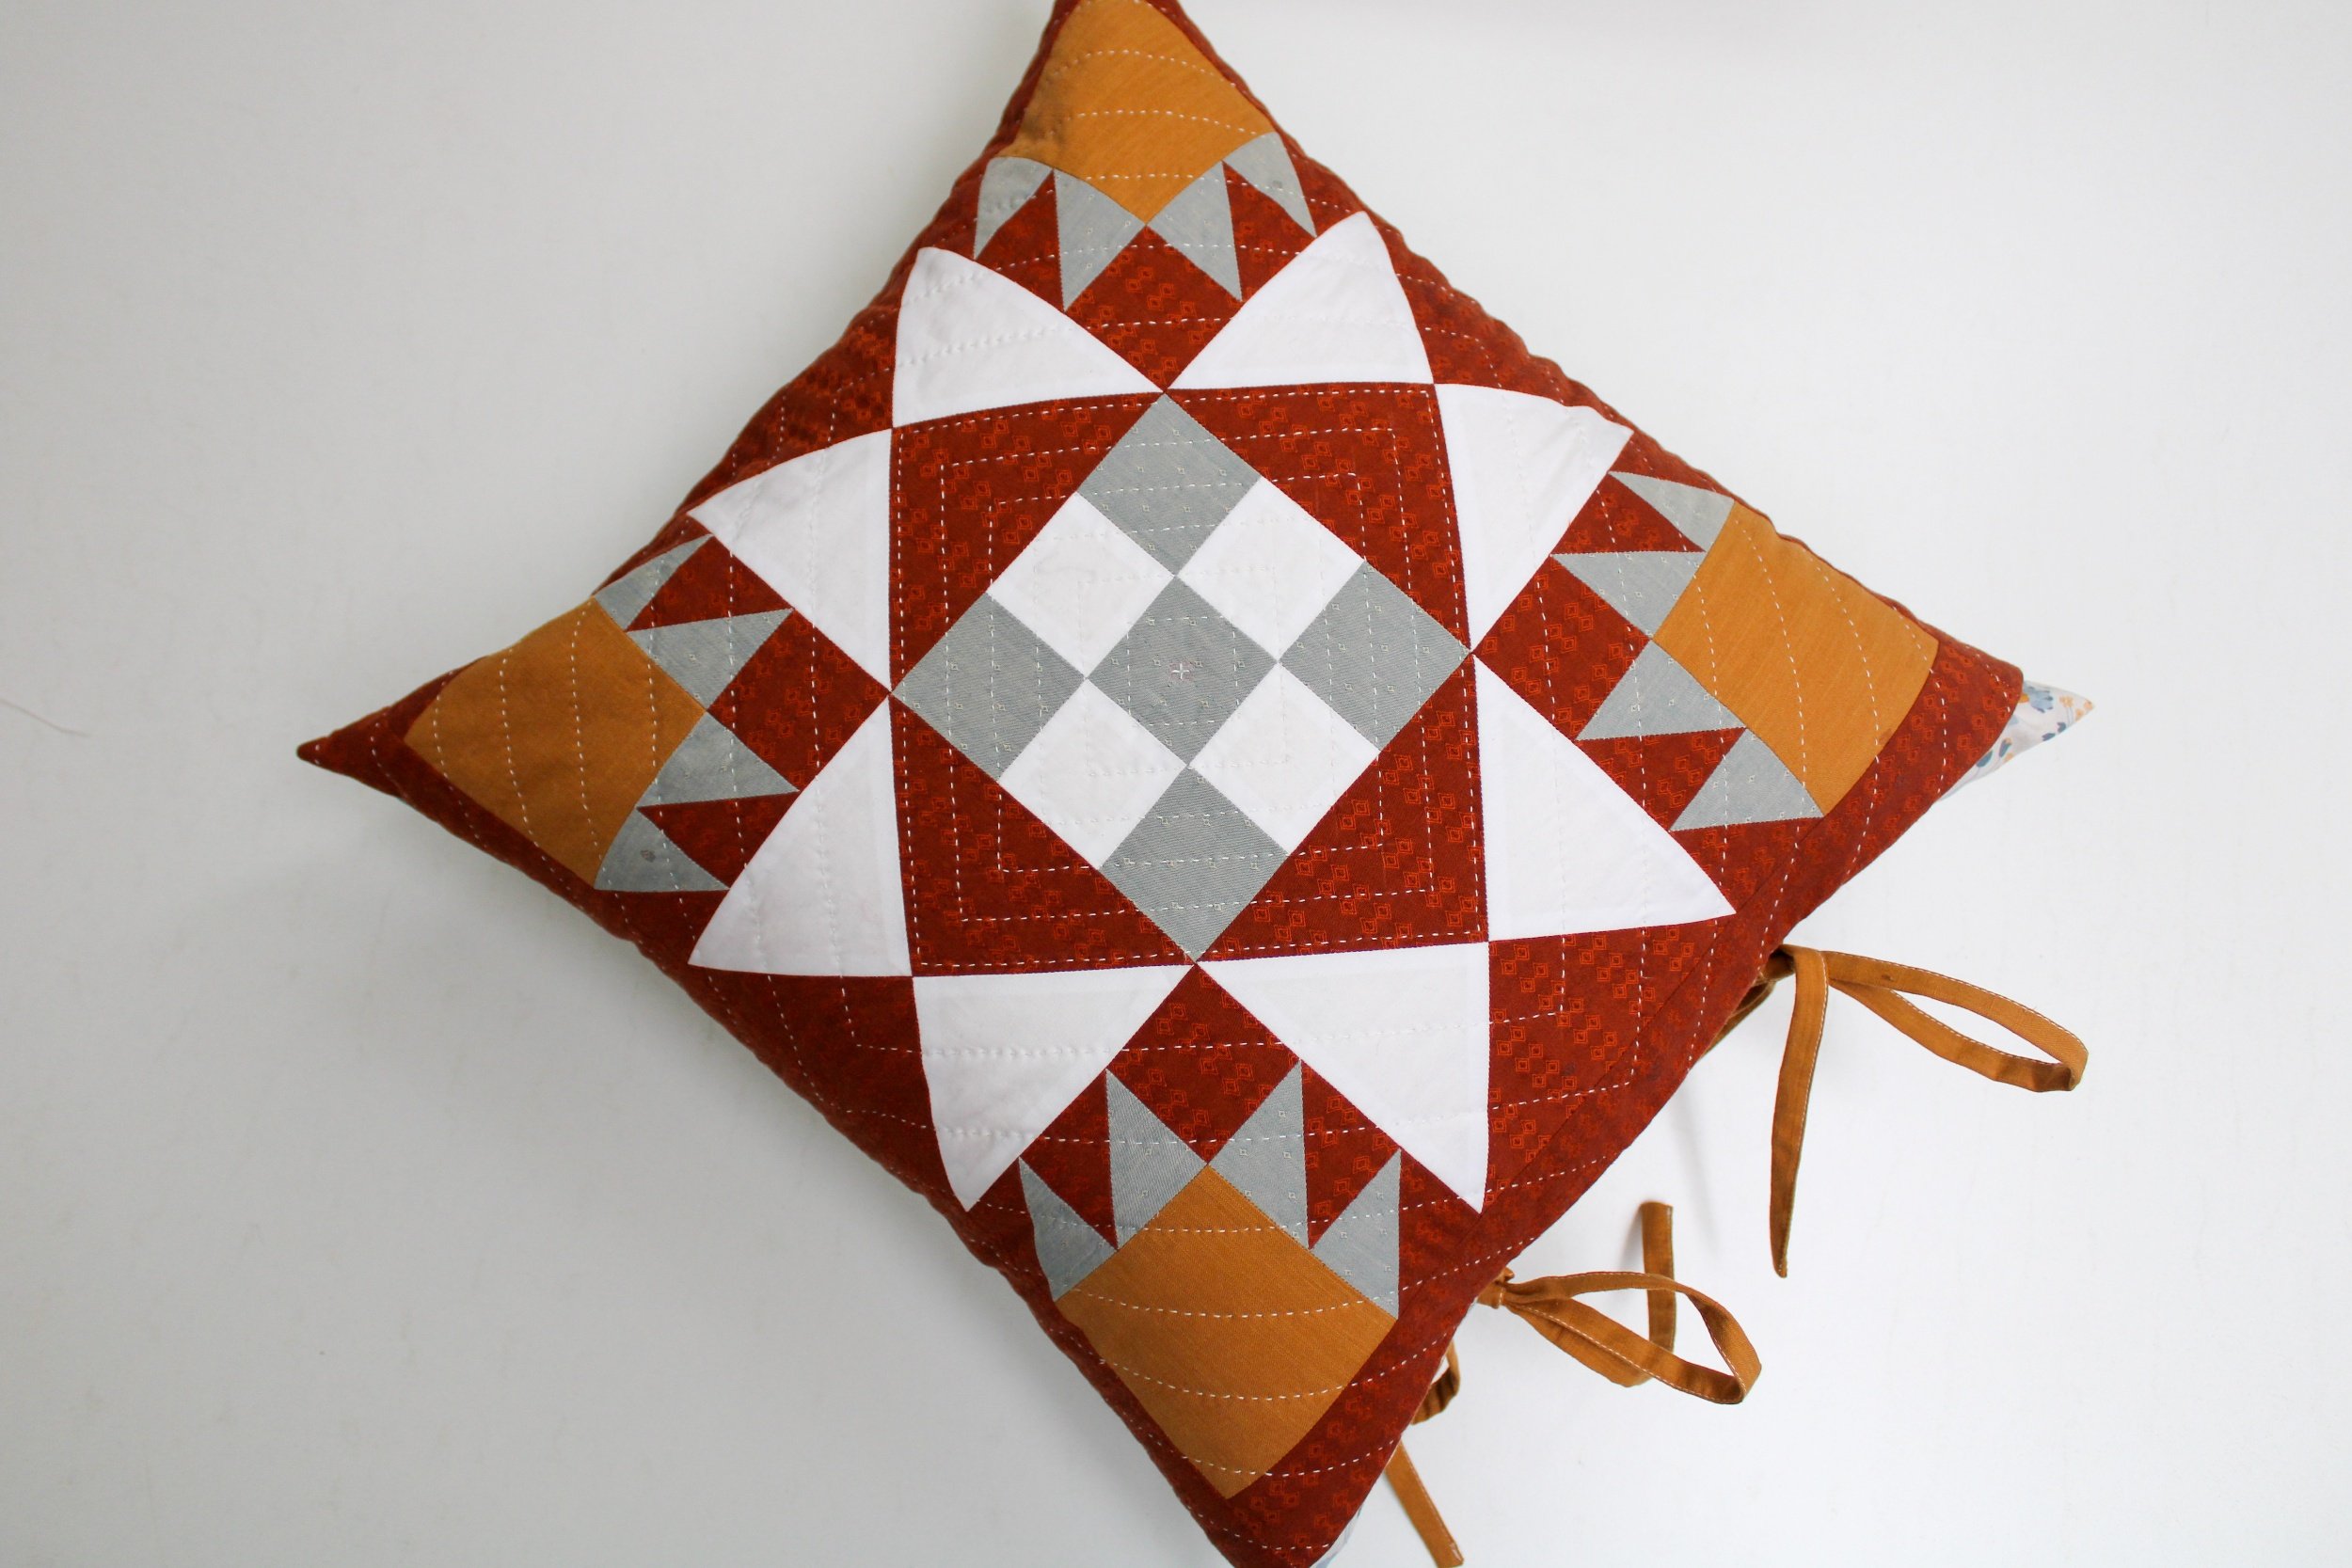
What’s better than a Crow Canyon pillow? Two Crow Canyon pillows! With tie closures!
Aren’t tie closure pillows so cute?
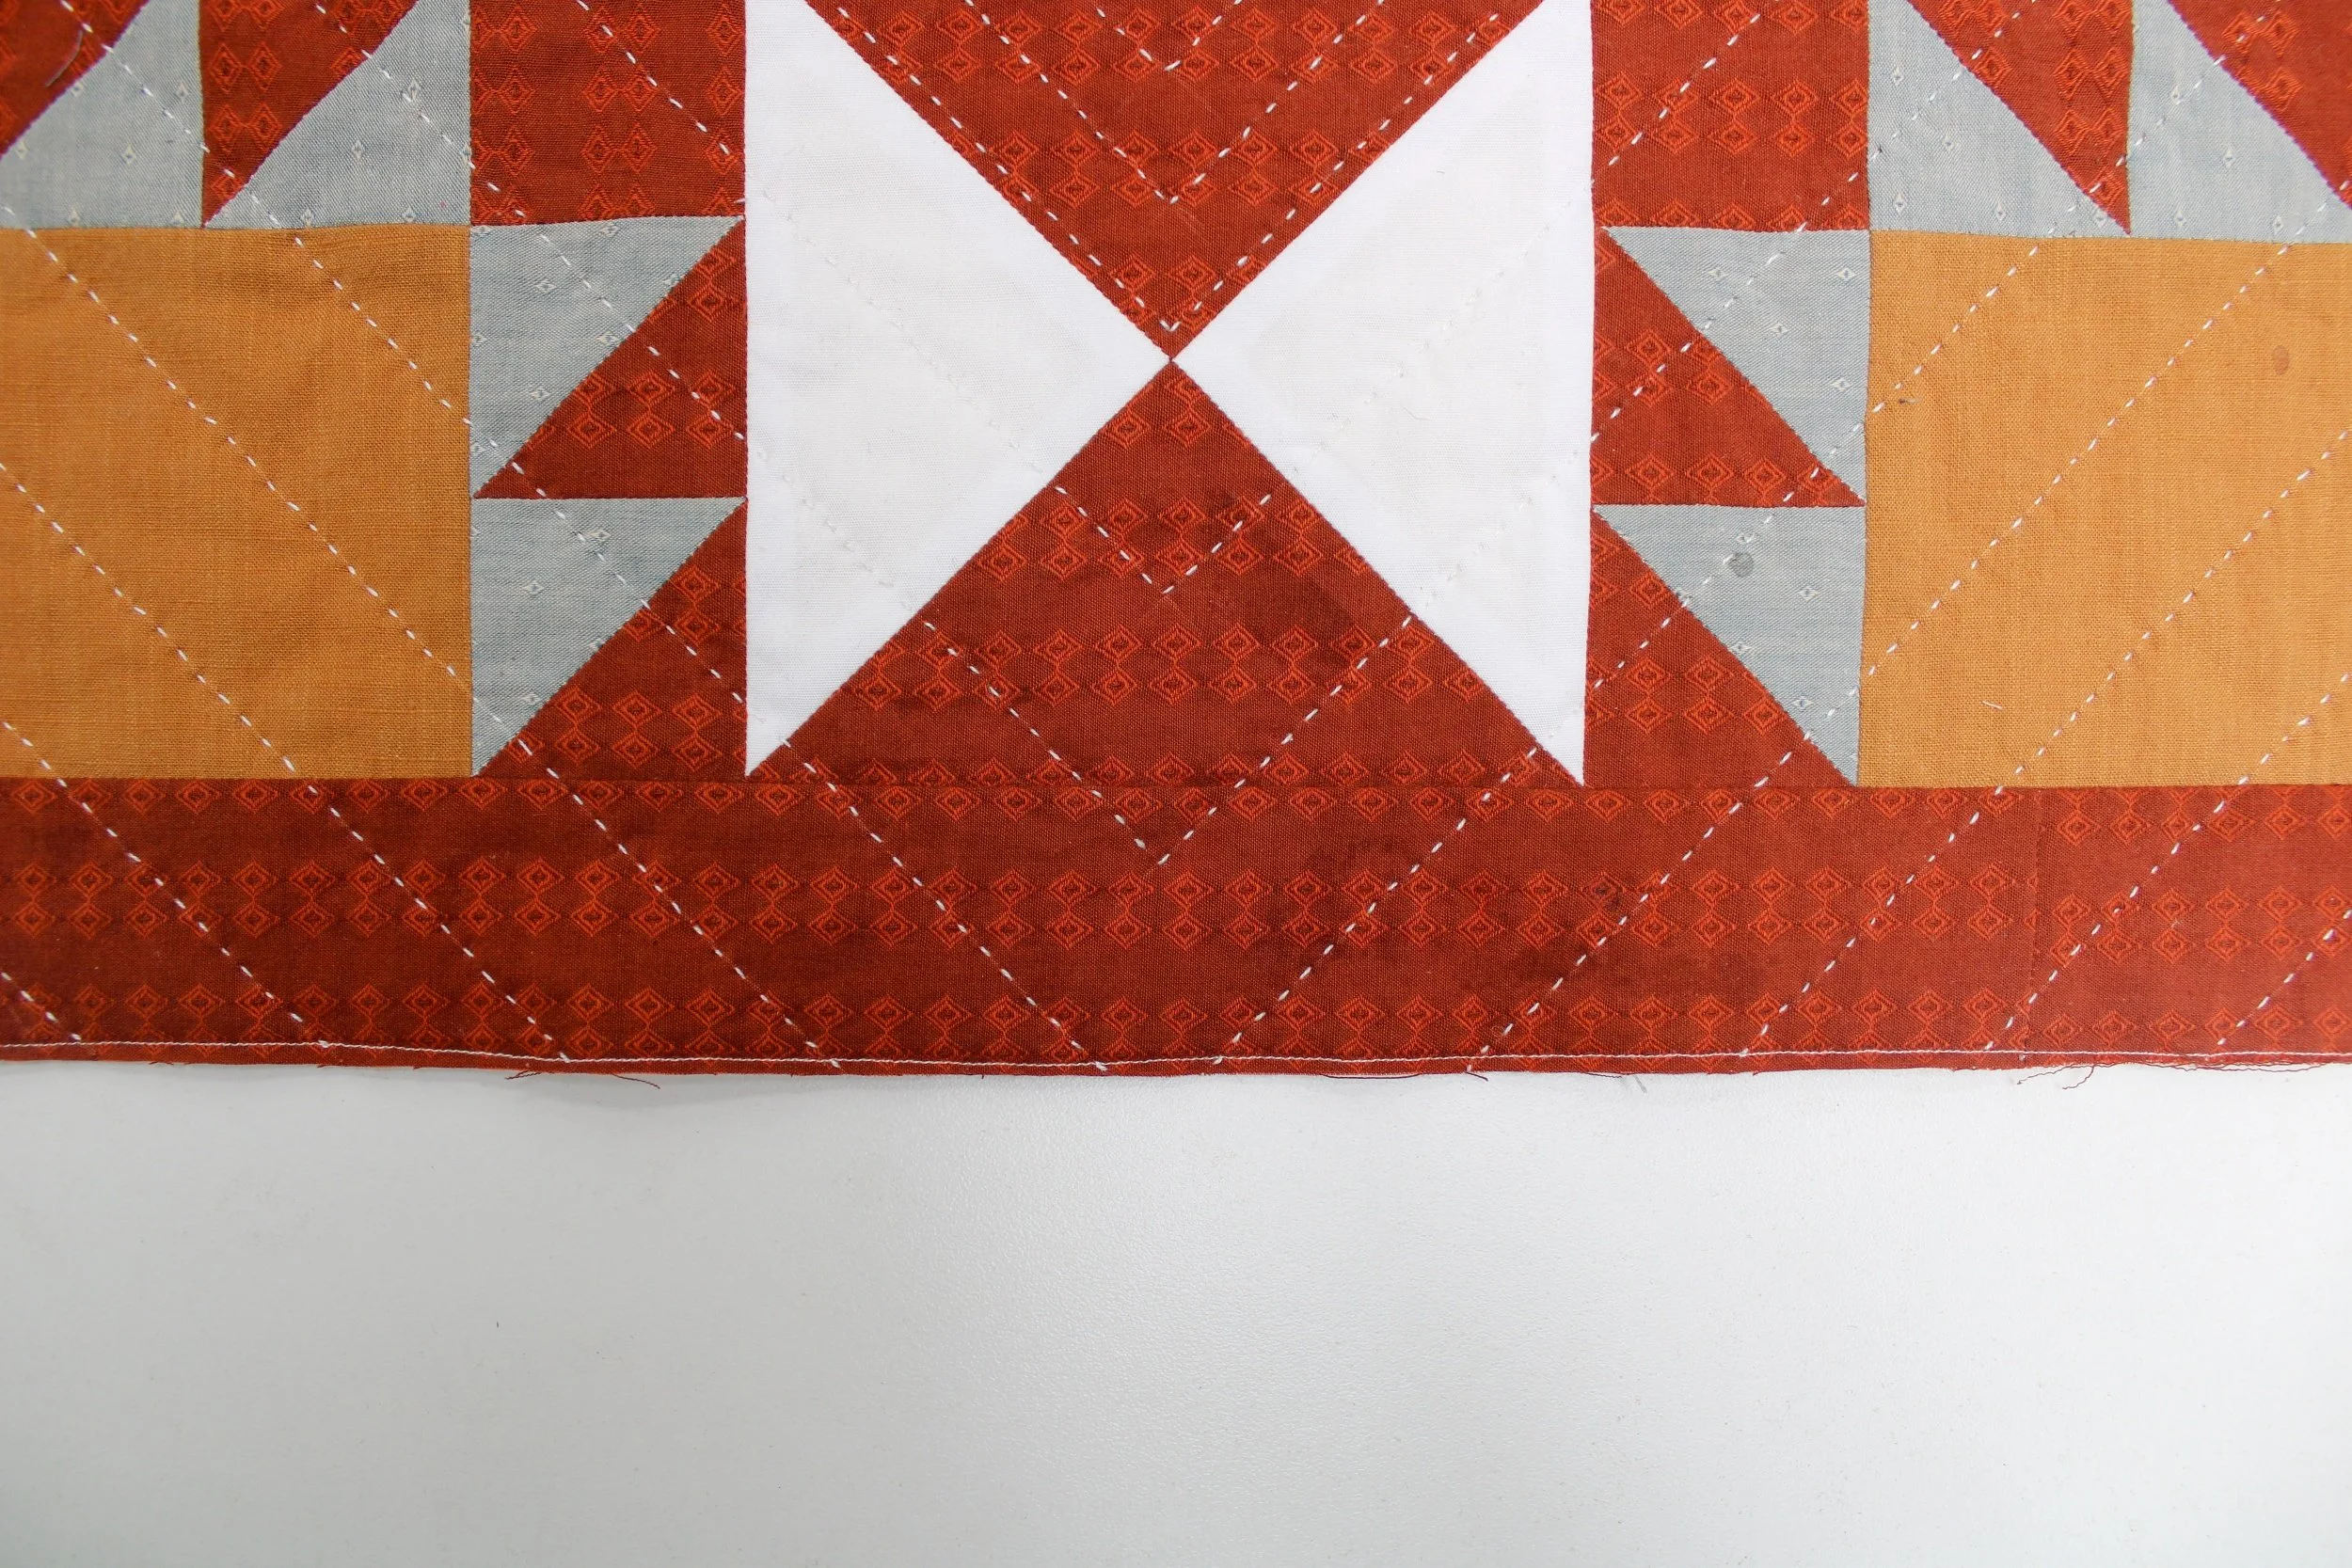
For these two pillows, I made a 16” pillow using Suzy Quilts Wildflower Wovens. This pillow uses the Crow Canyon block from the pattern, and then I added a border to increase the block size to fit the pillow form size.
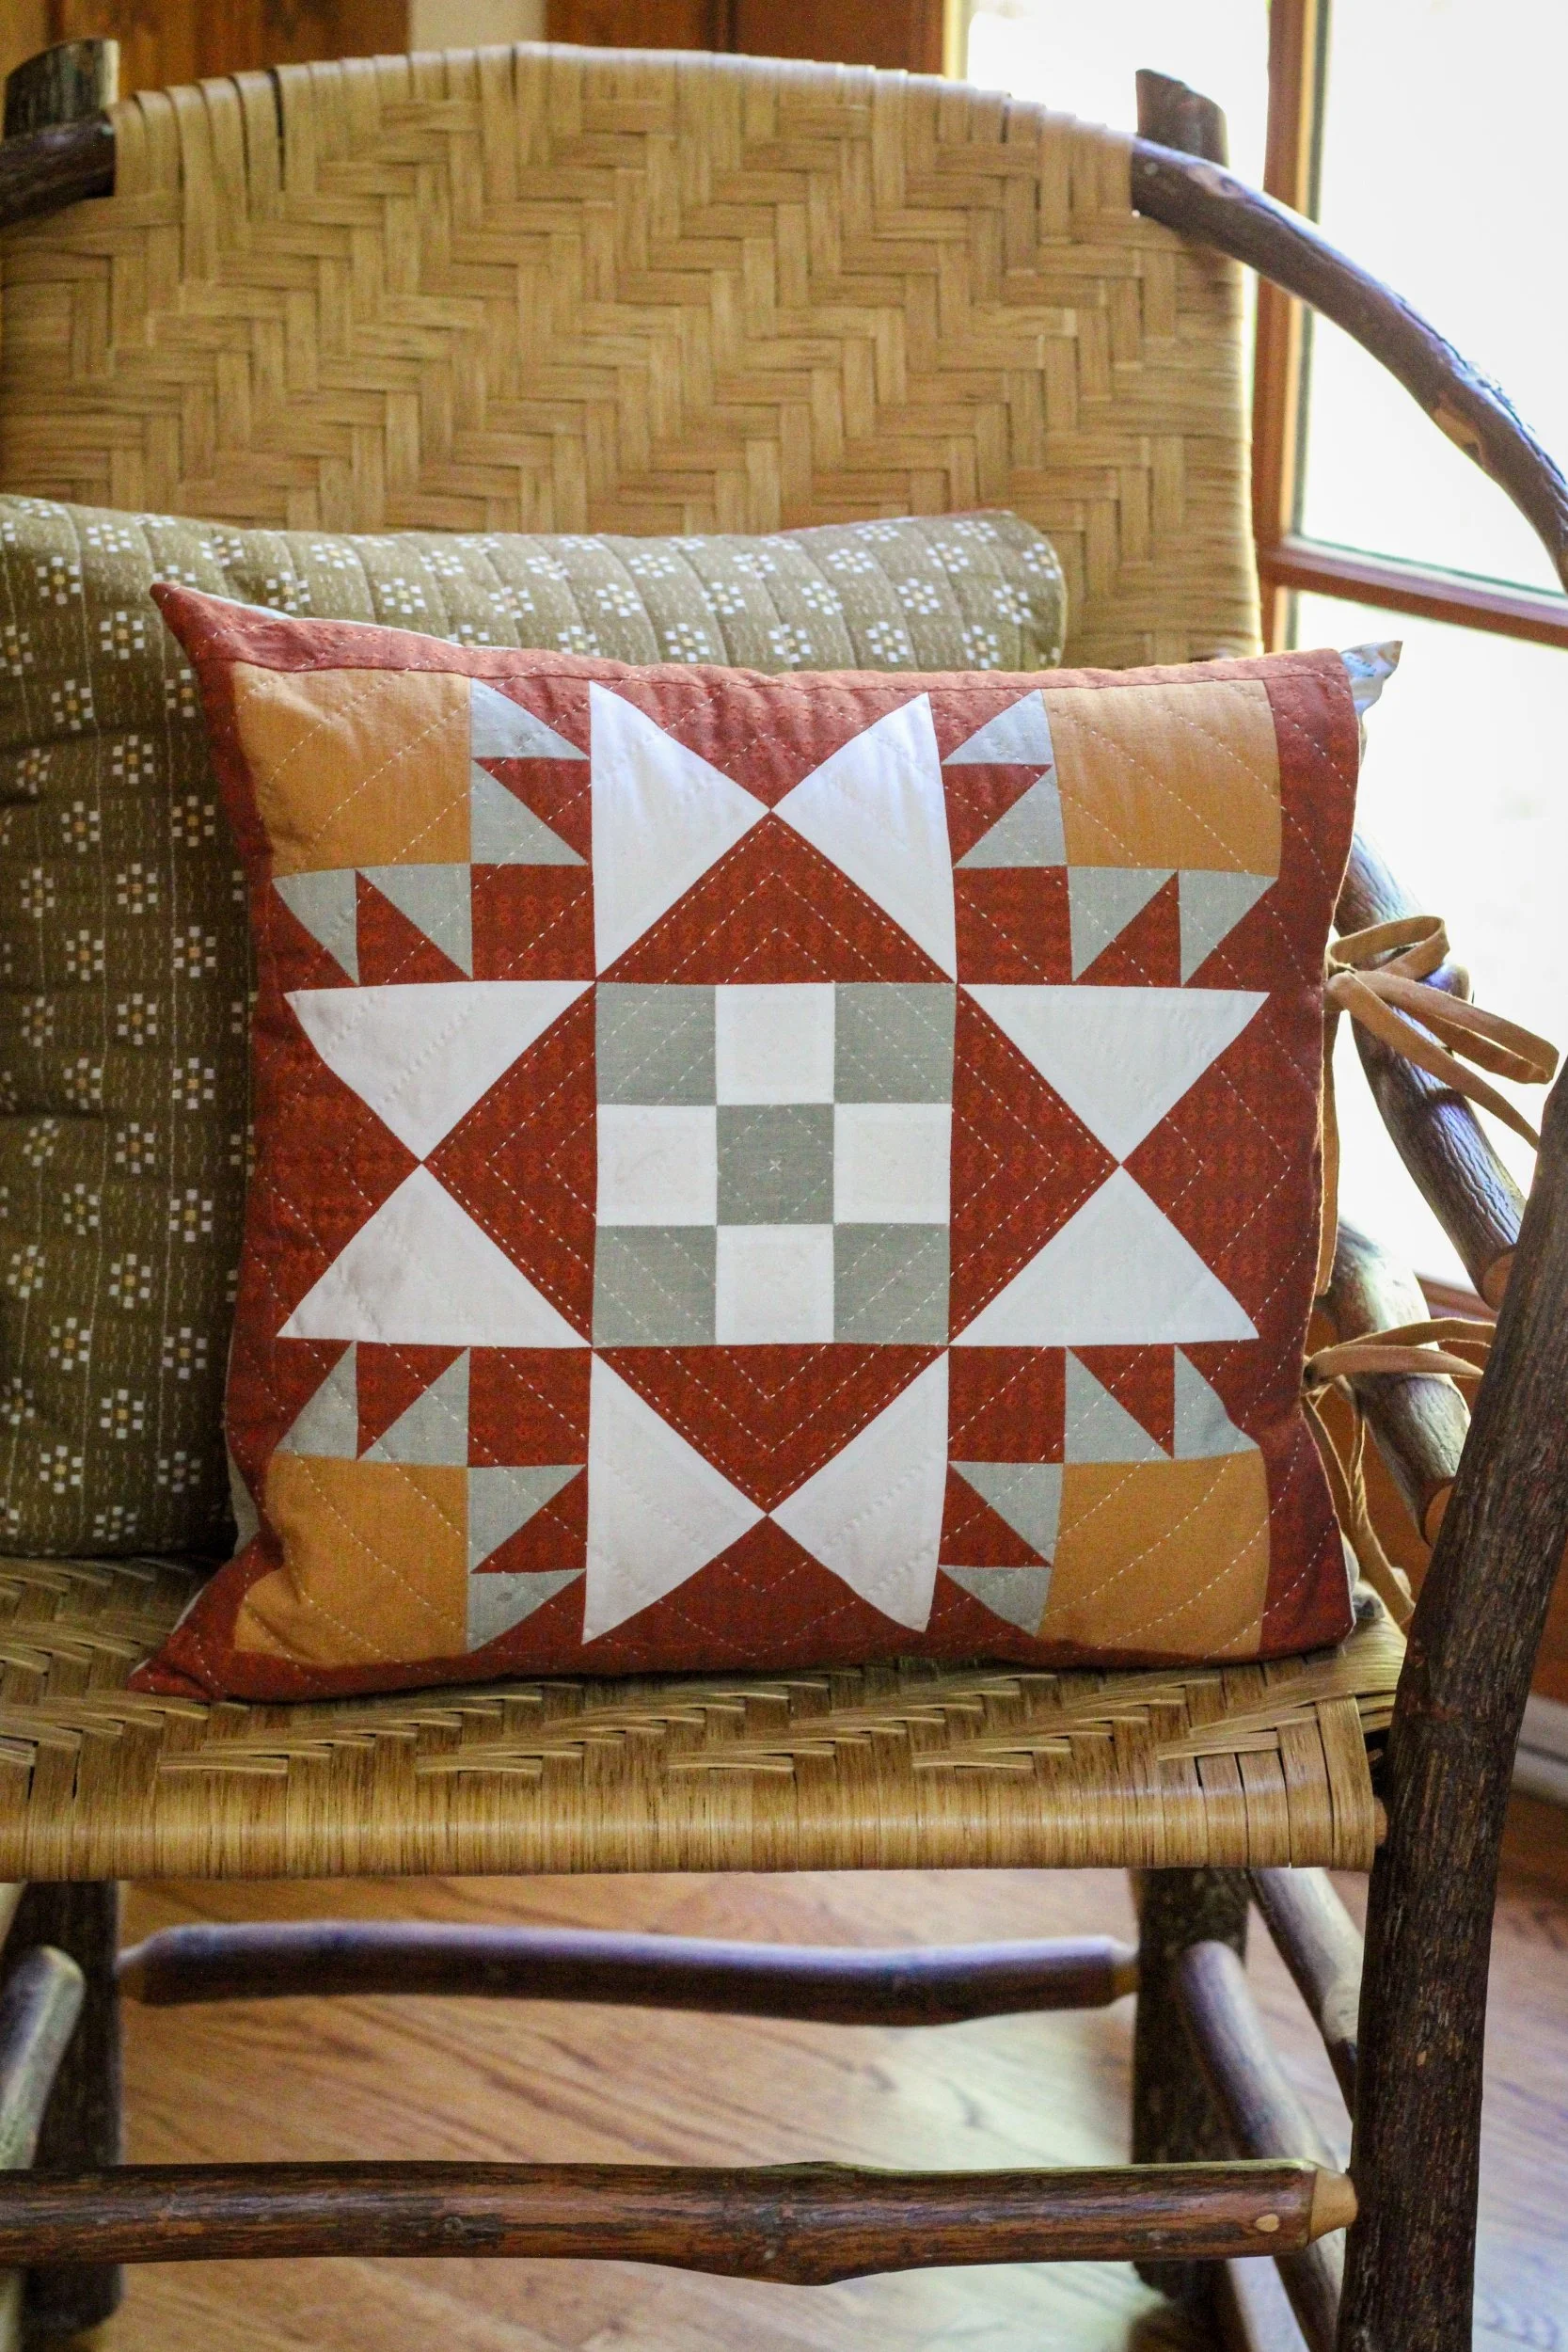
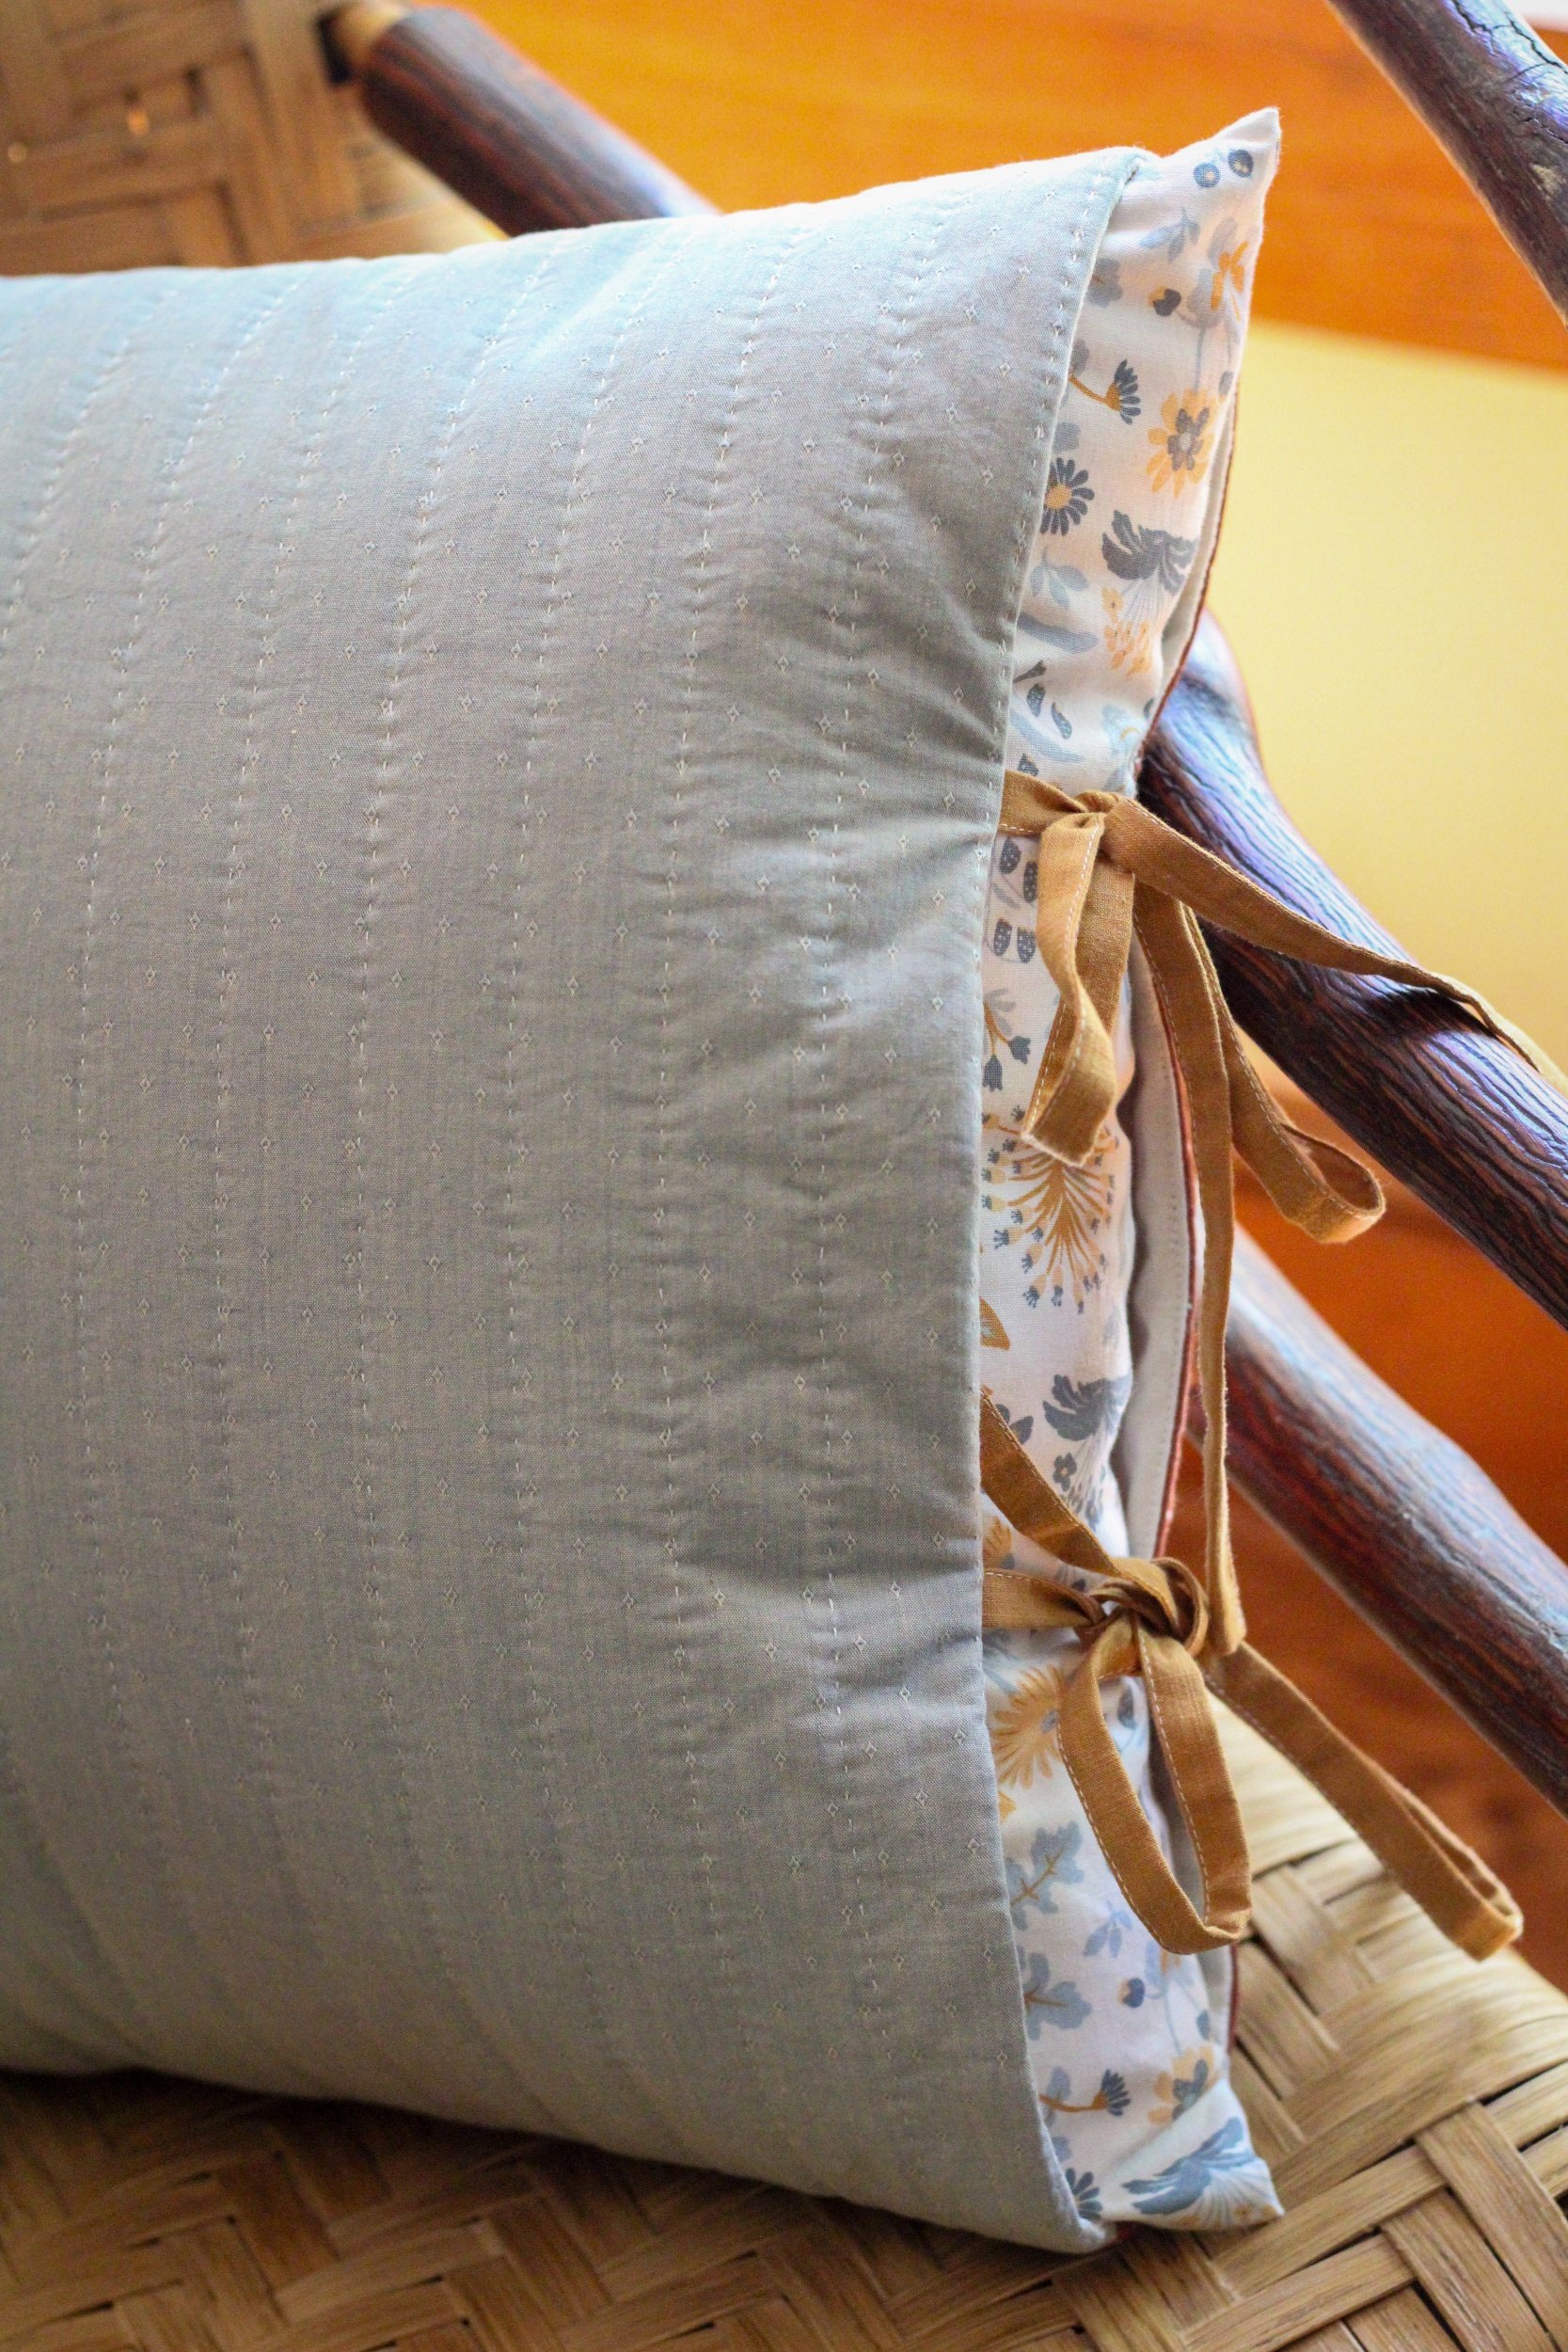
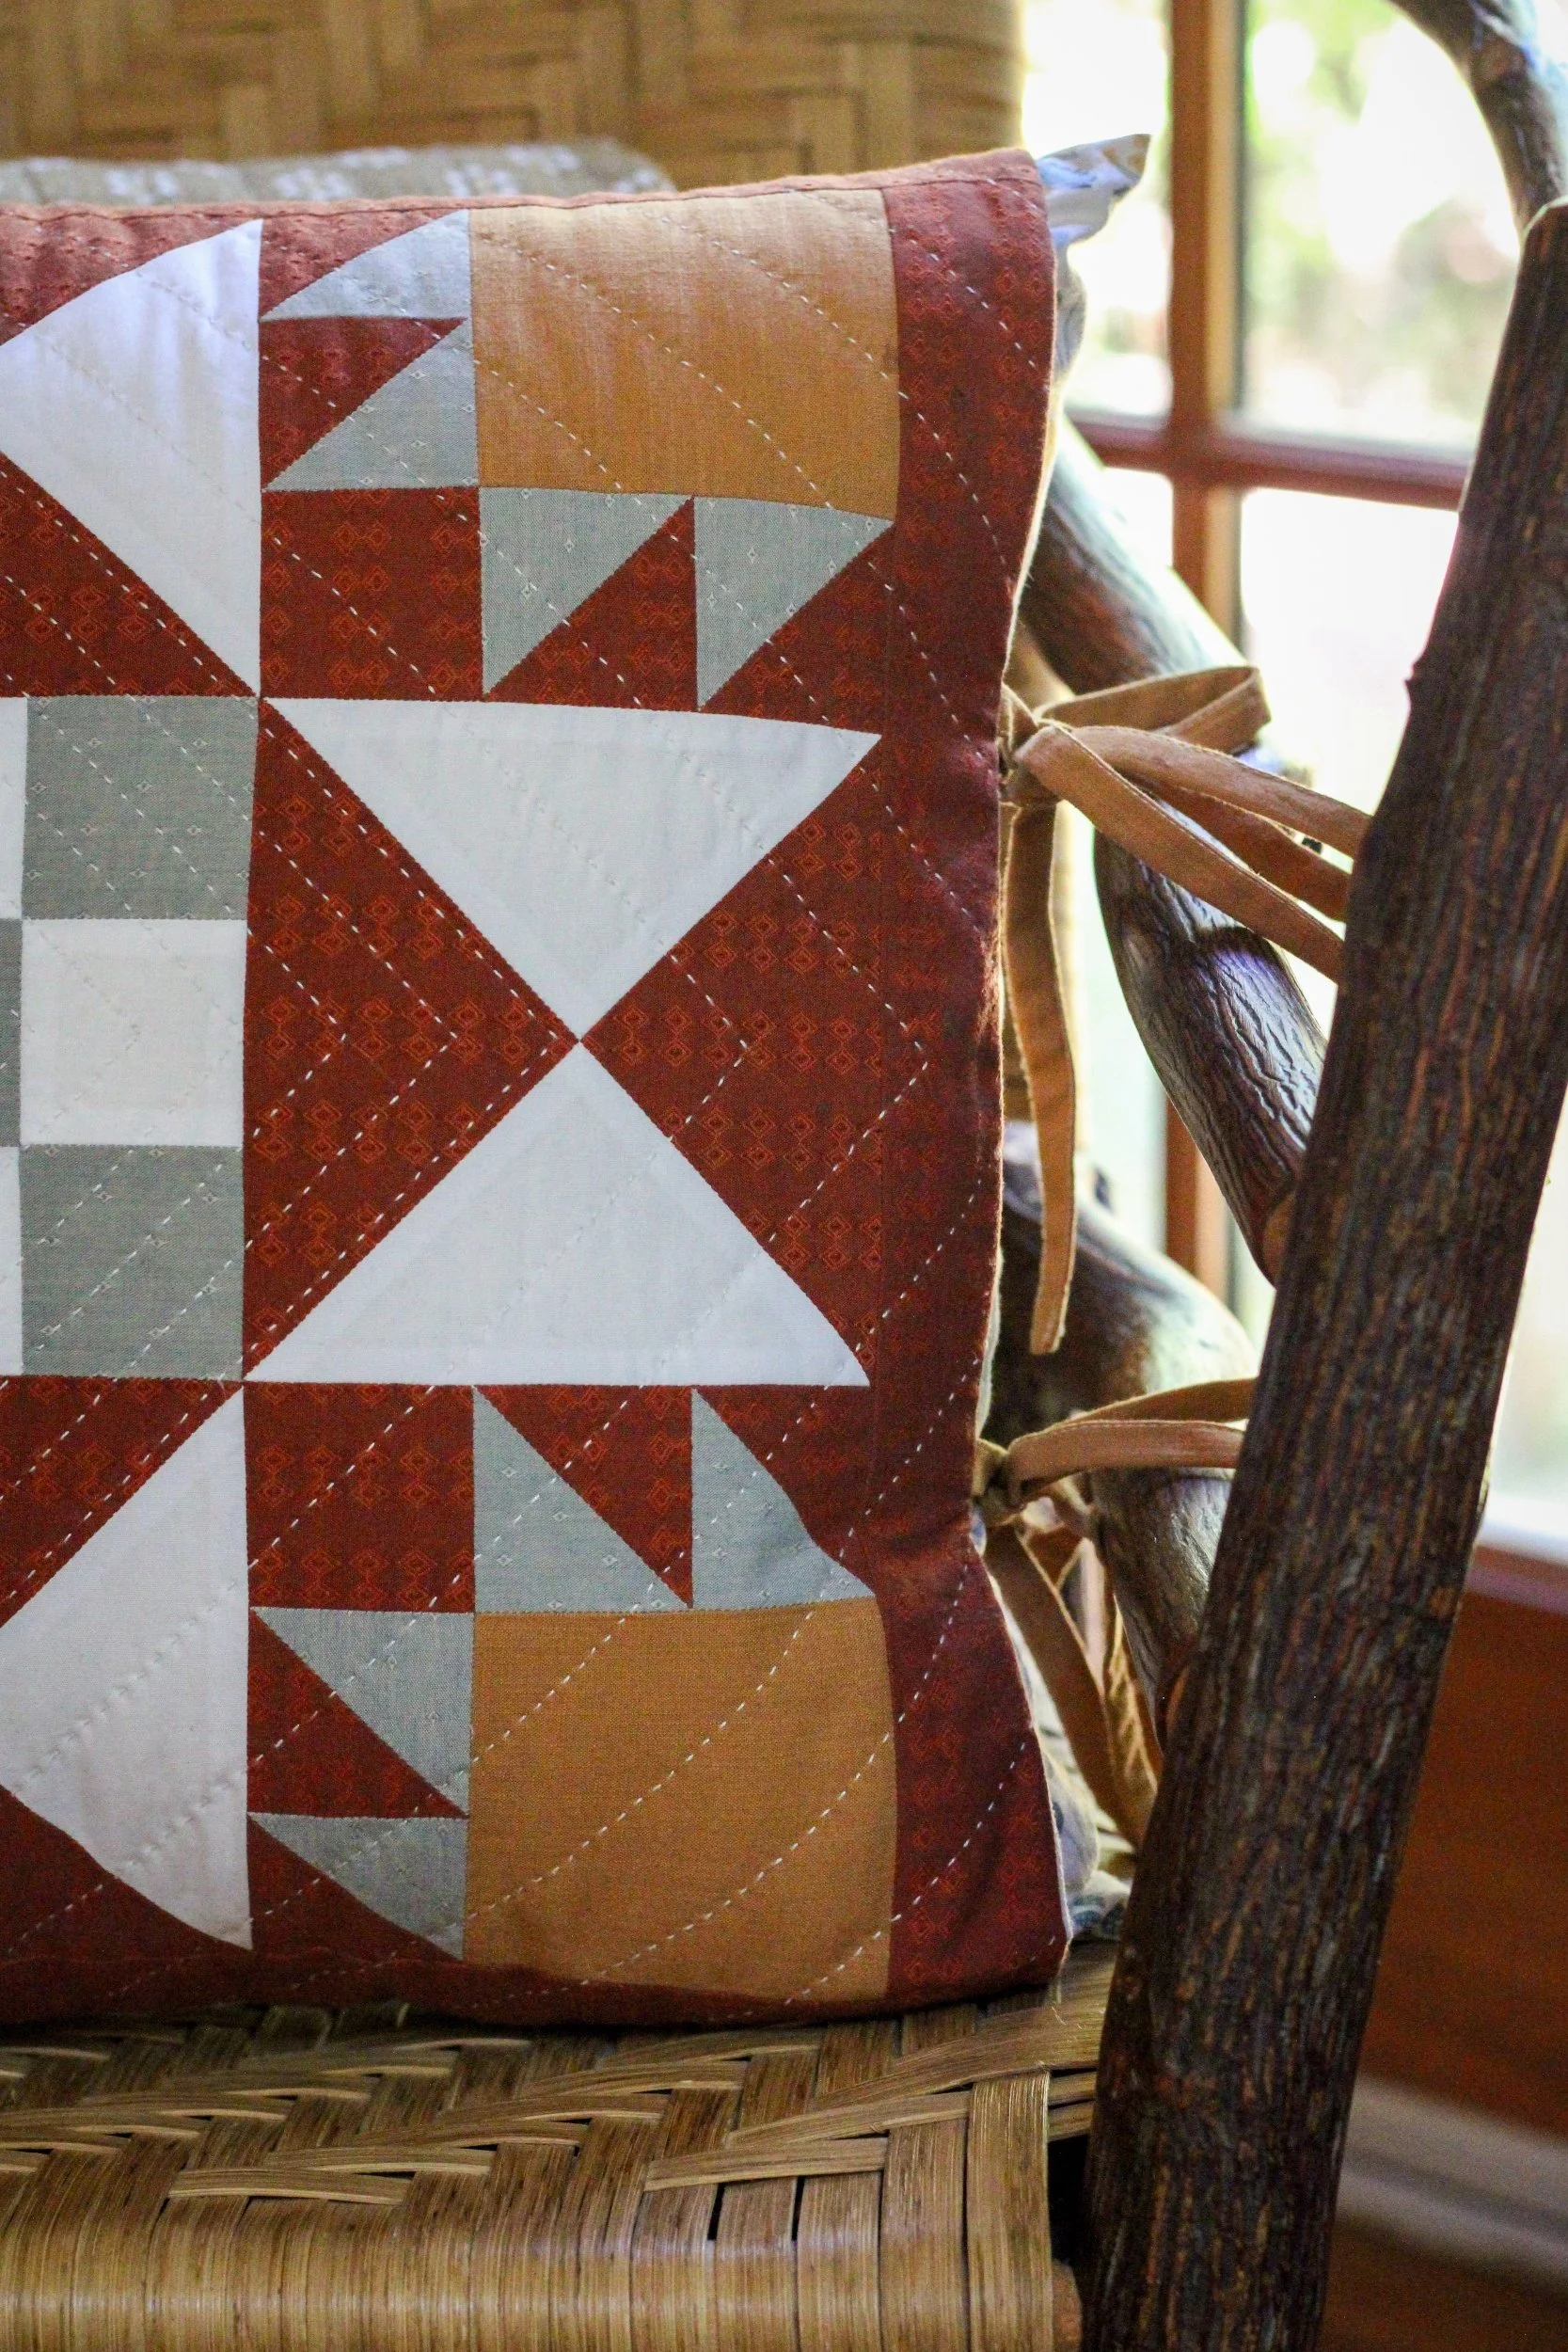
I even hand quilted the back of the pillowcase! Here’s a link to where I get my favorite hand quilting needles from; I like to use a size 6 or 7 needle — either a milliner’s, cotton darning, or embroidery needle. I used Perle size 16 thread, which you can also find with that link.
To make the patchwork for the front of the 16” pillow, I use (2) A red squares, (2) B red squares and (2) blue B squares, (4) yellow C squares, (4) red D squares, and (5) blue E squares. For the white, I used (2) squares the size of A, and (4) squares the size of E. (All the measurements for these are in the pattern.)
Then I sewed (2) red 1.75”x14” strips and (2) red 1.75”x16.5” strips to the sides to increase the size of the patchwork to 16.5”.
Once the patchwork is pieced, quilt the panel to a piece of batting (you don’t need to use backing fabric for the quilted panel, as the pillowcase is lined), and it’s ready to go!
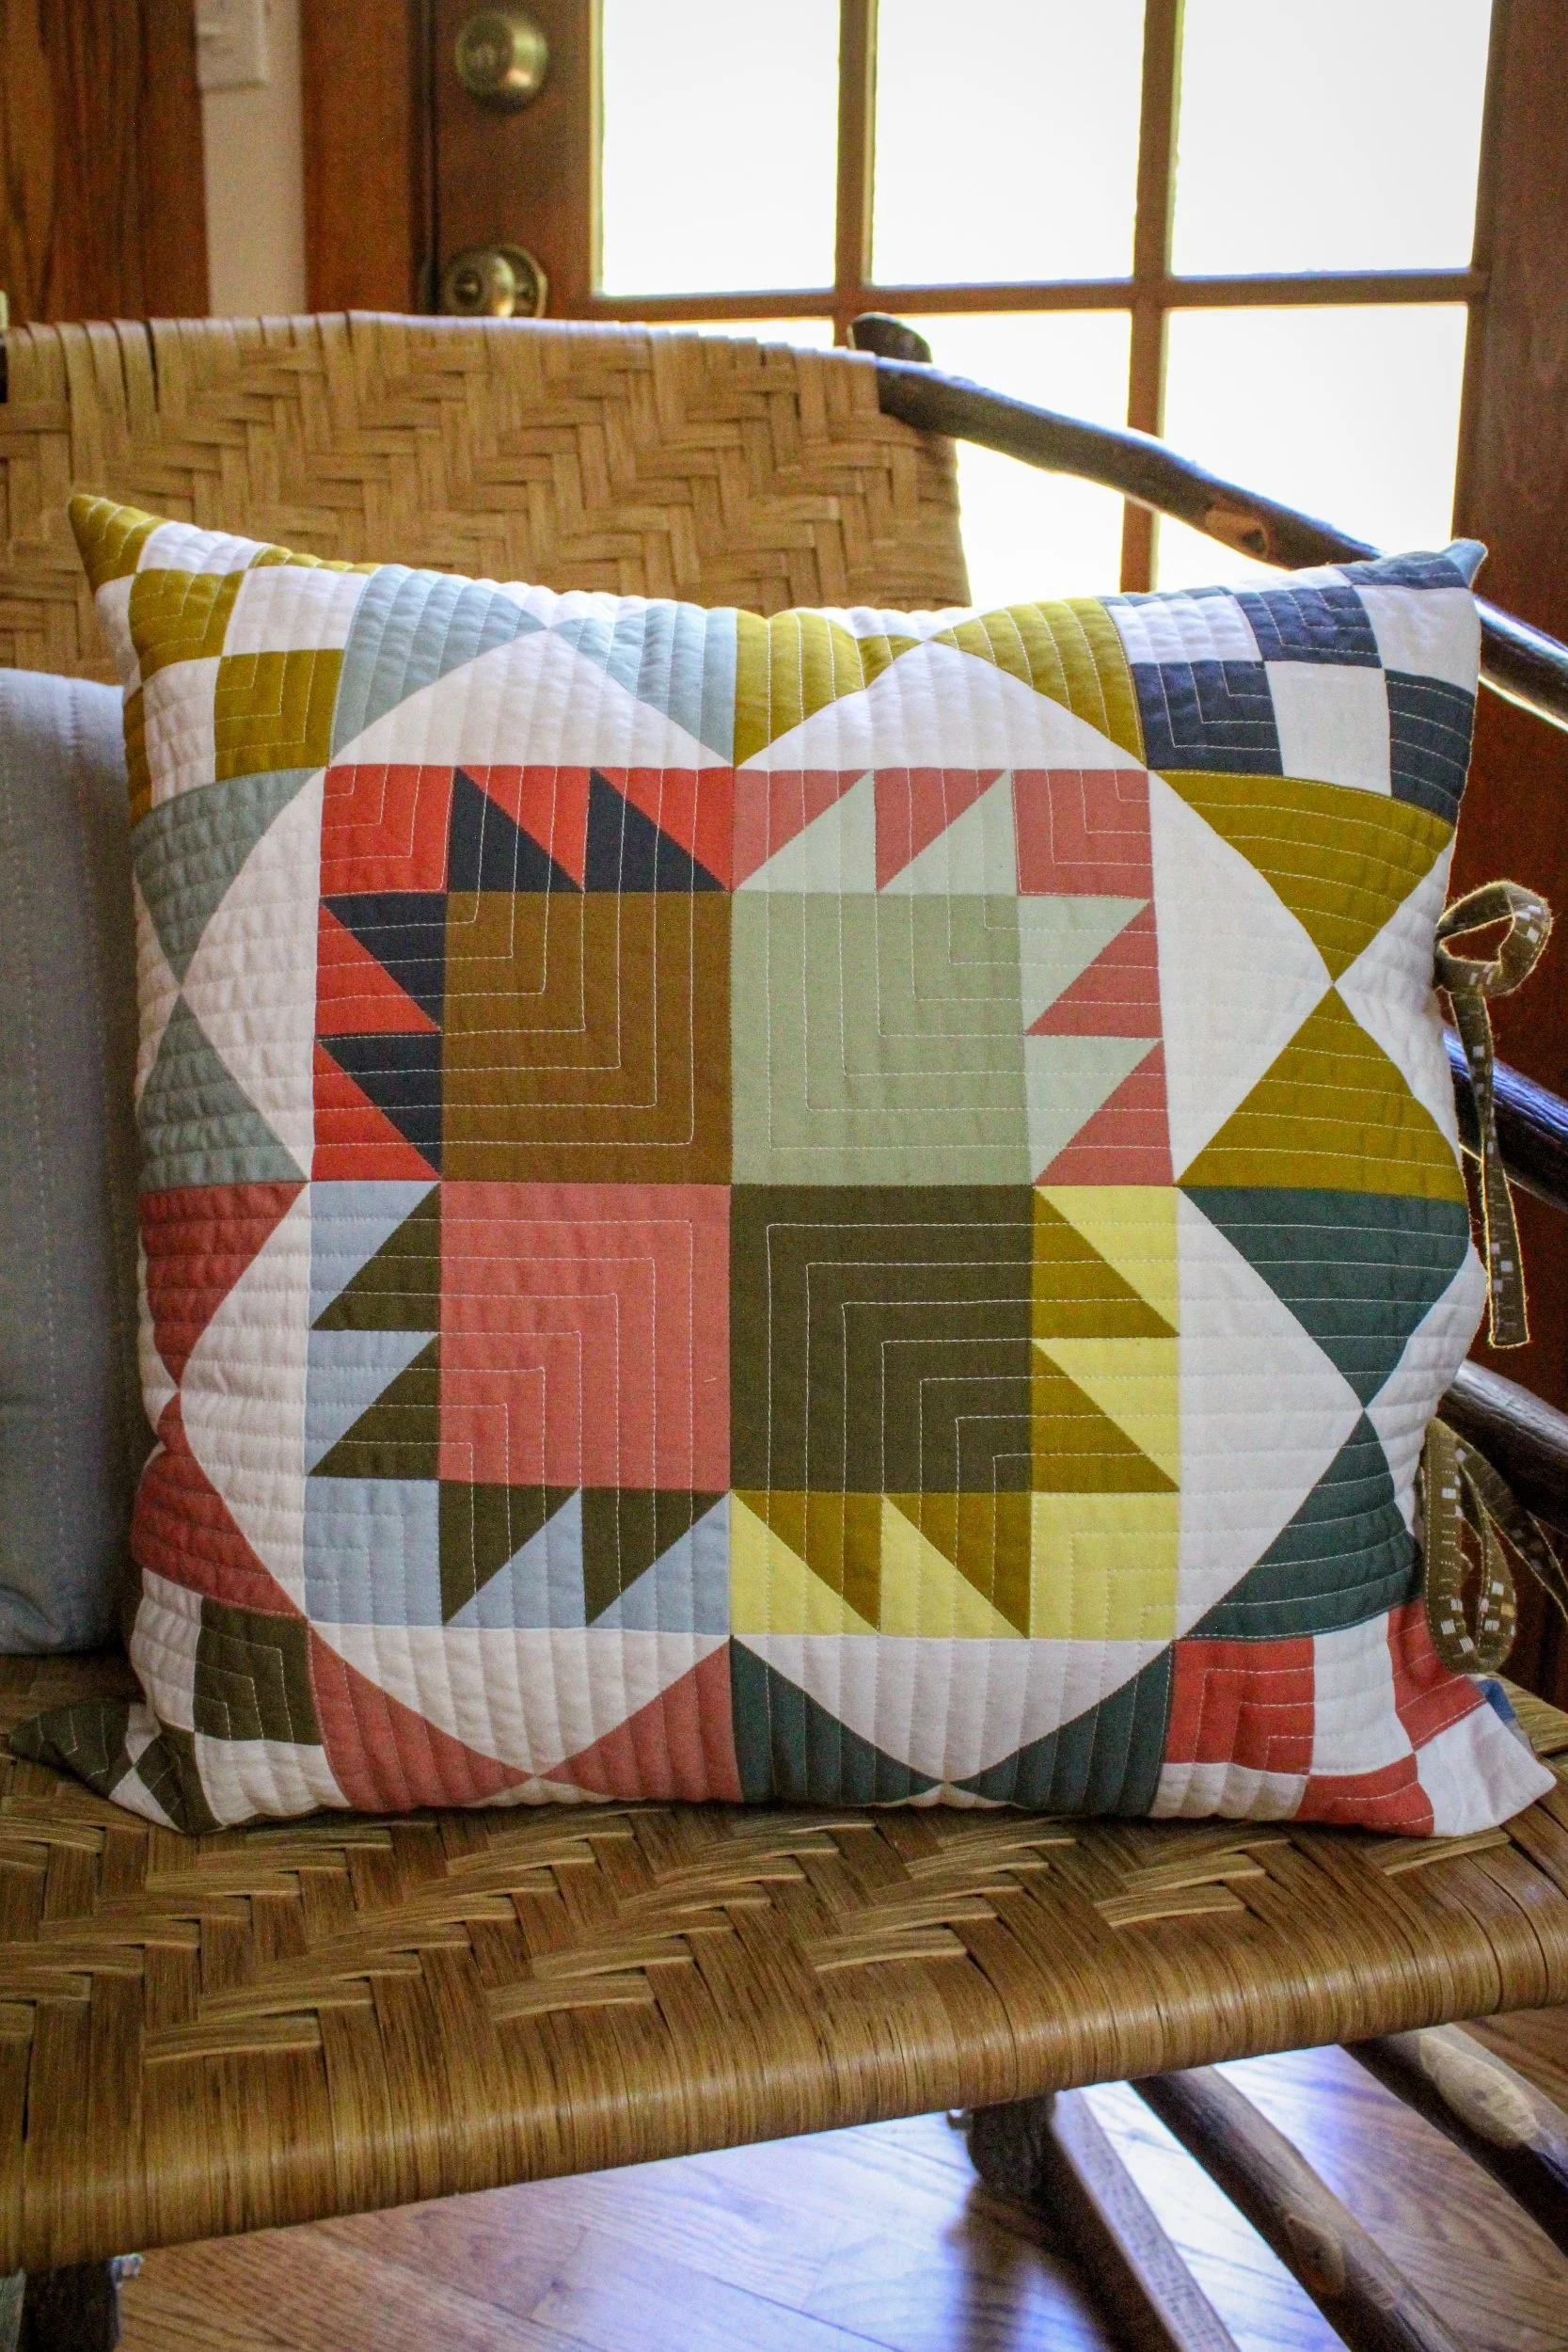
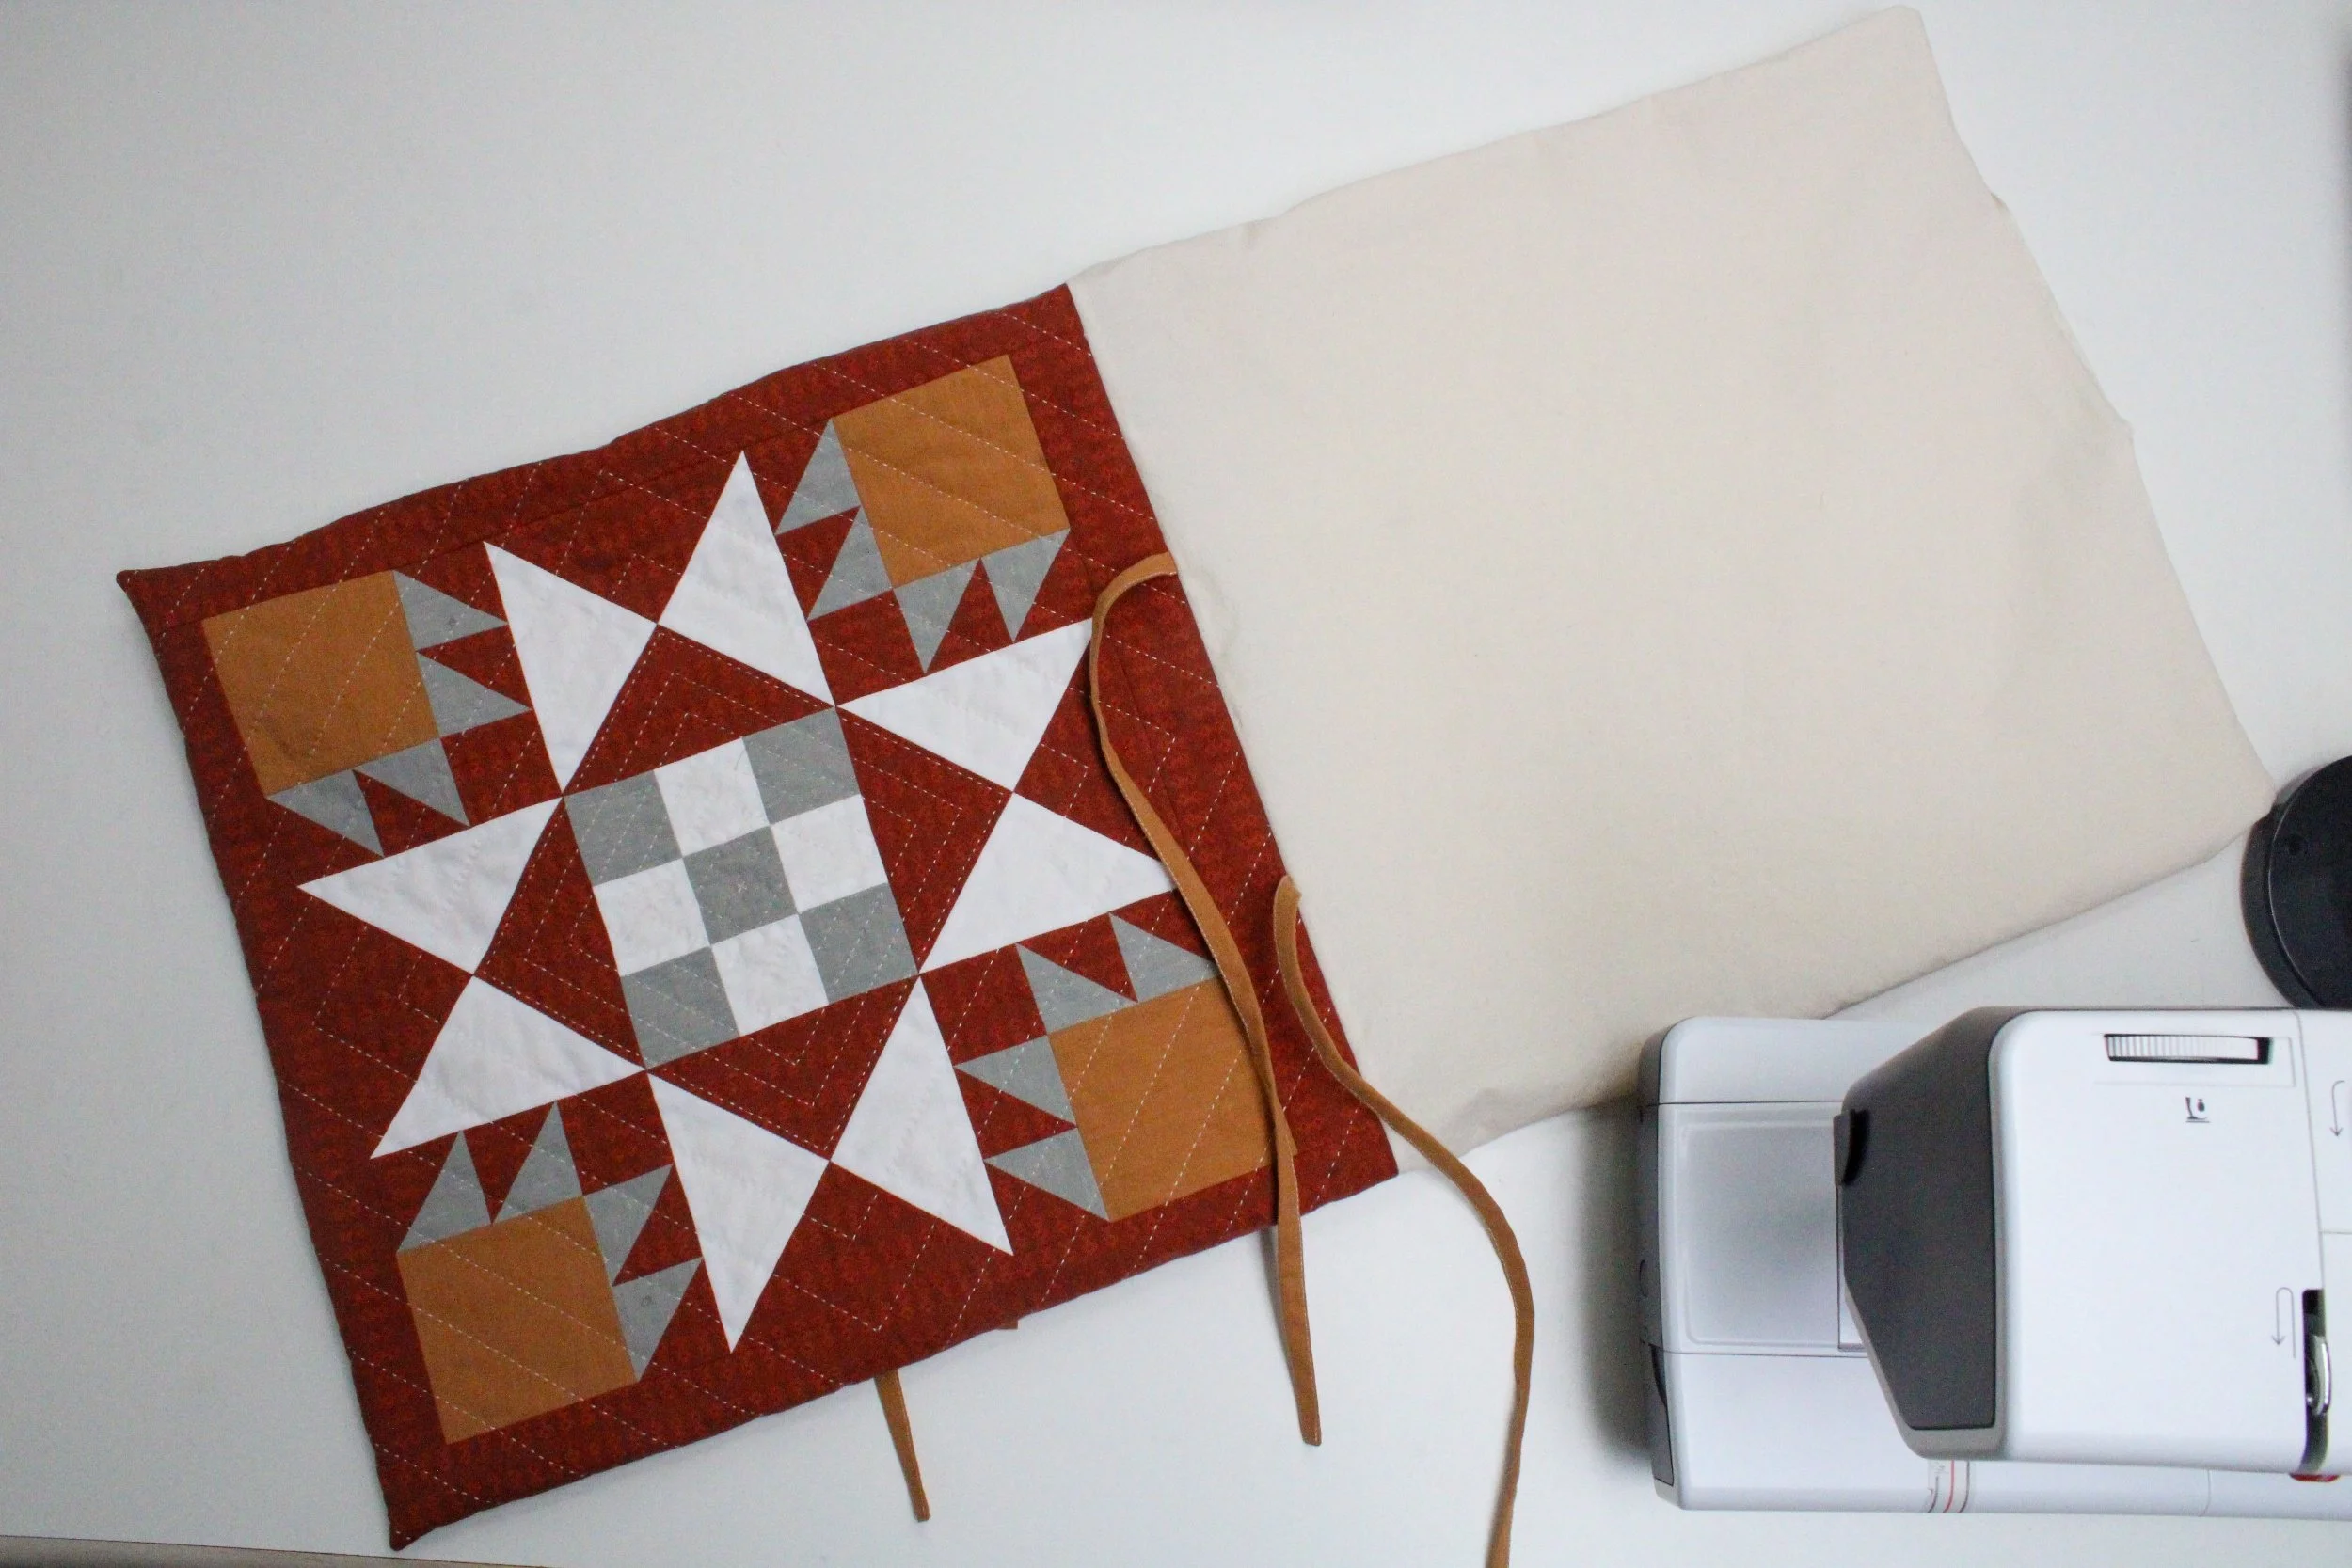
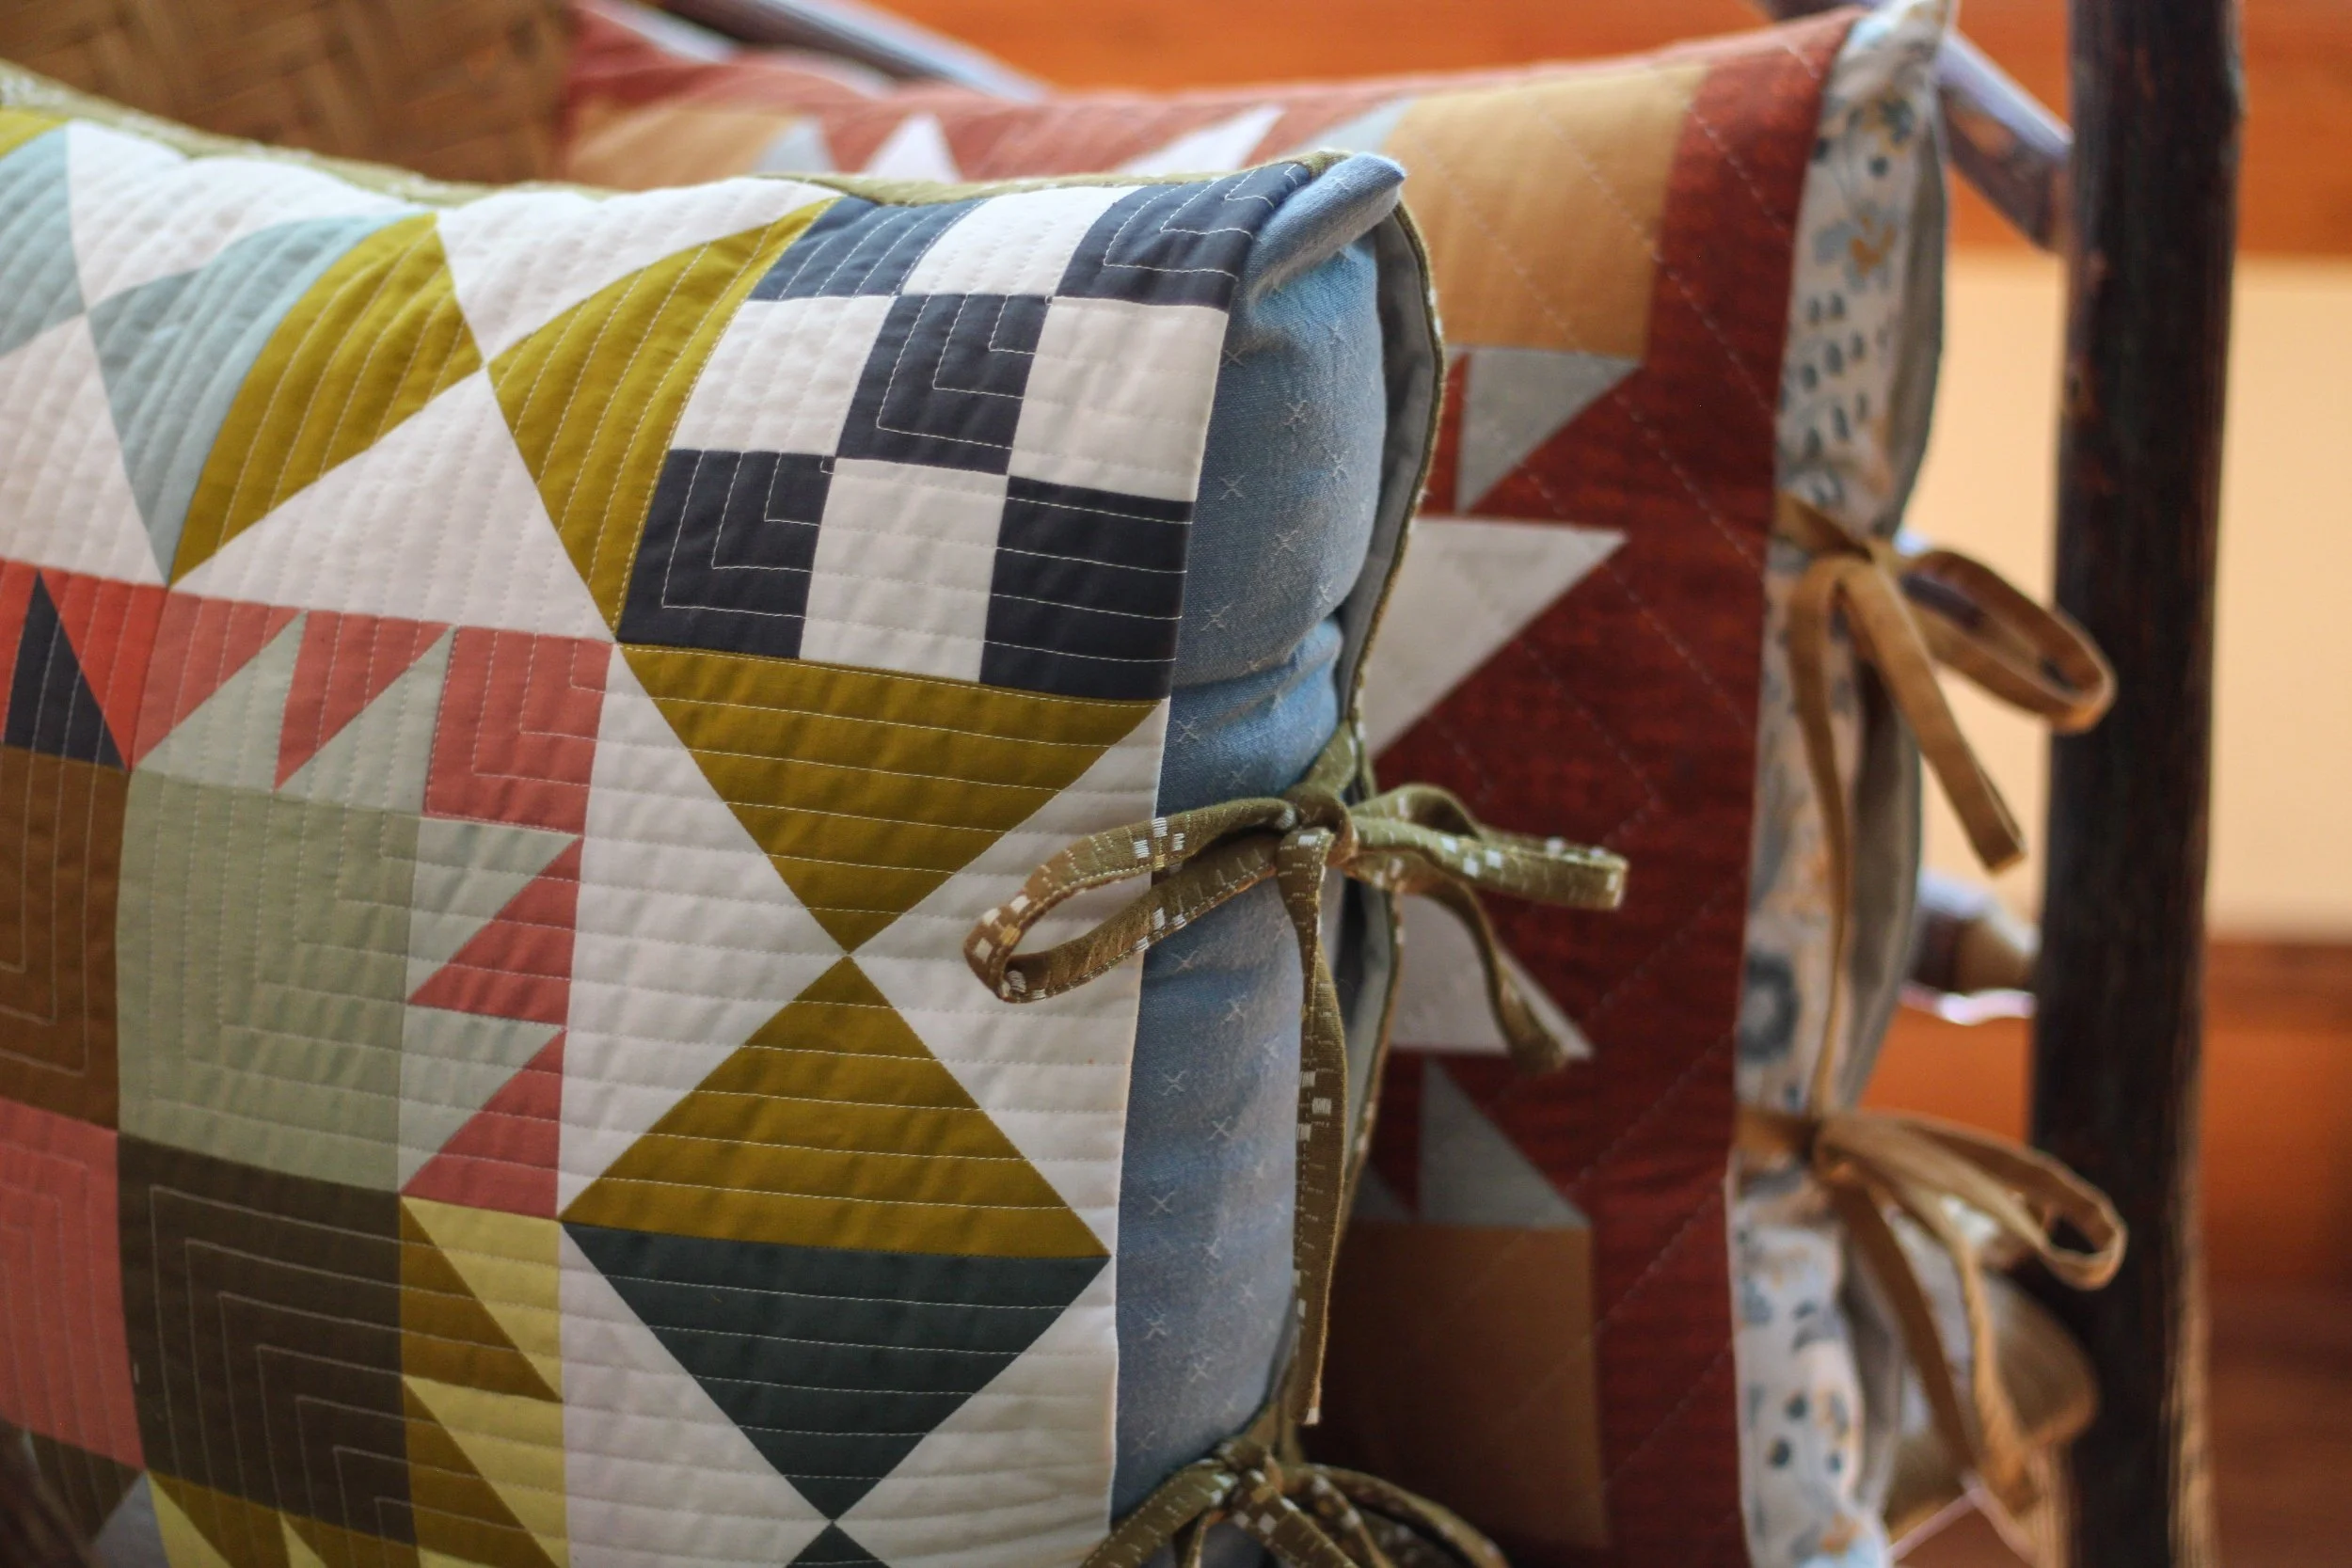
Here’s the second, 18” pillow I made:
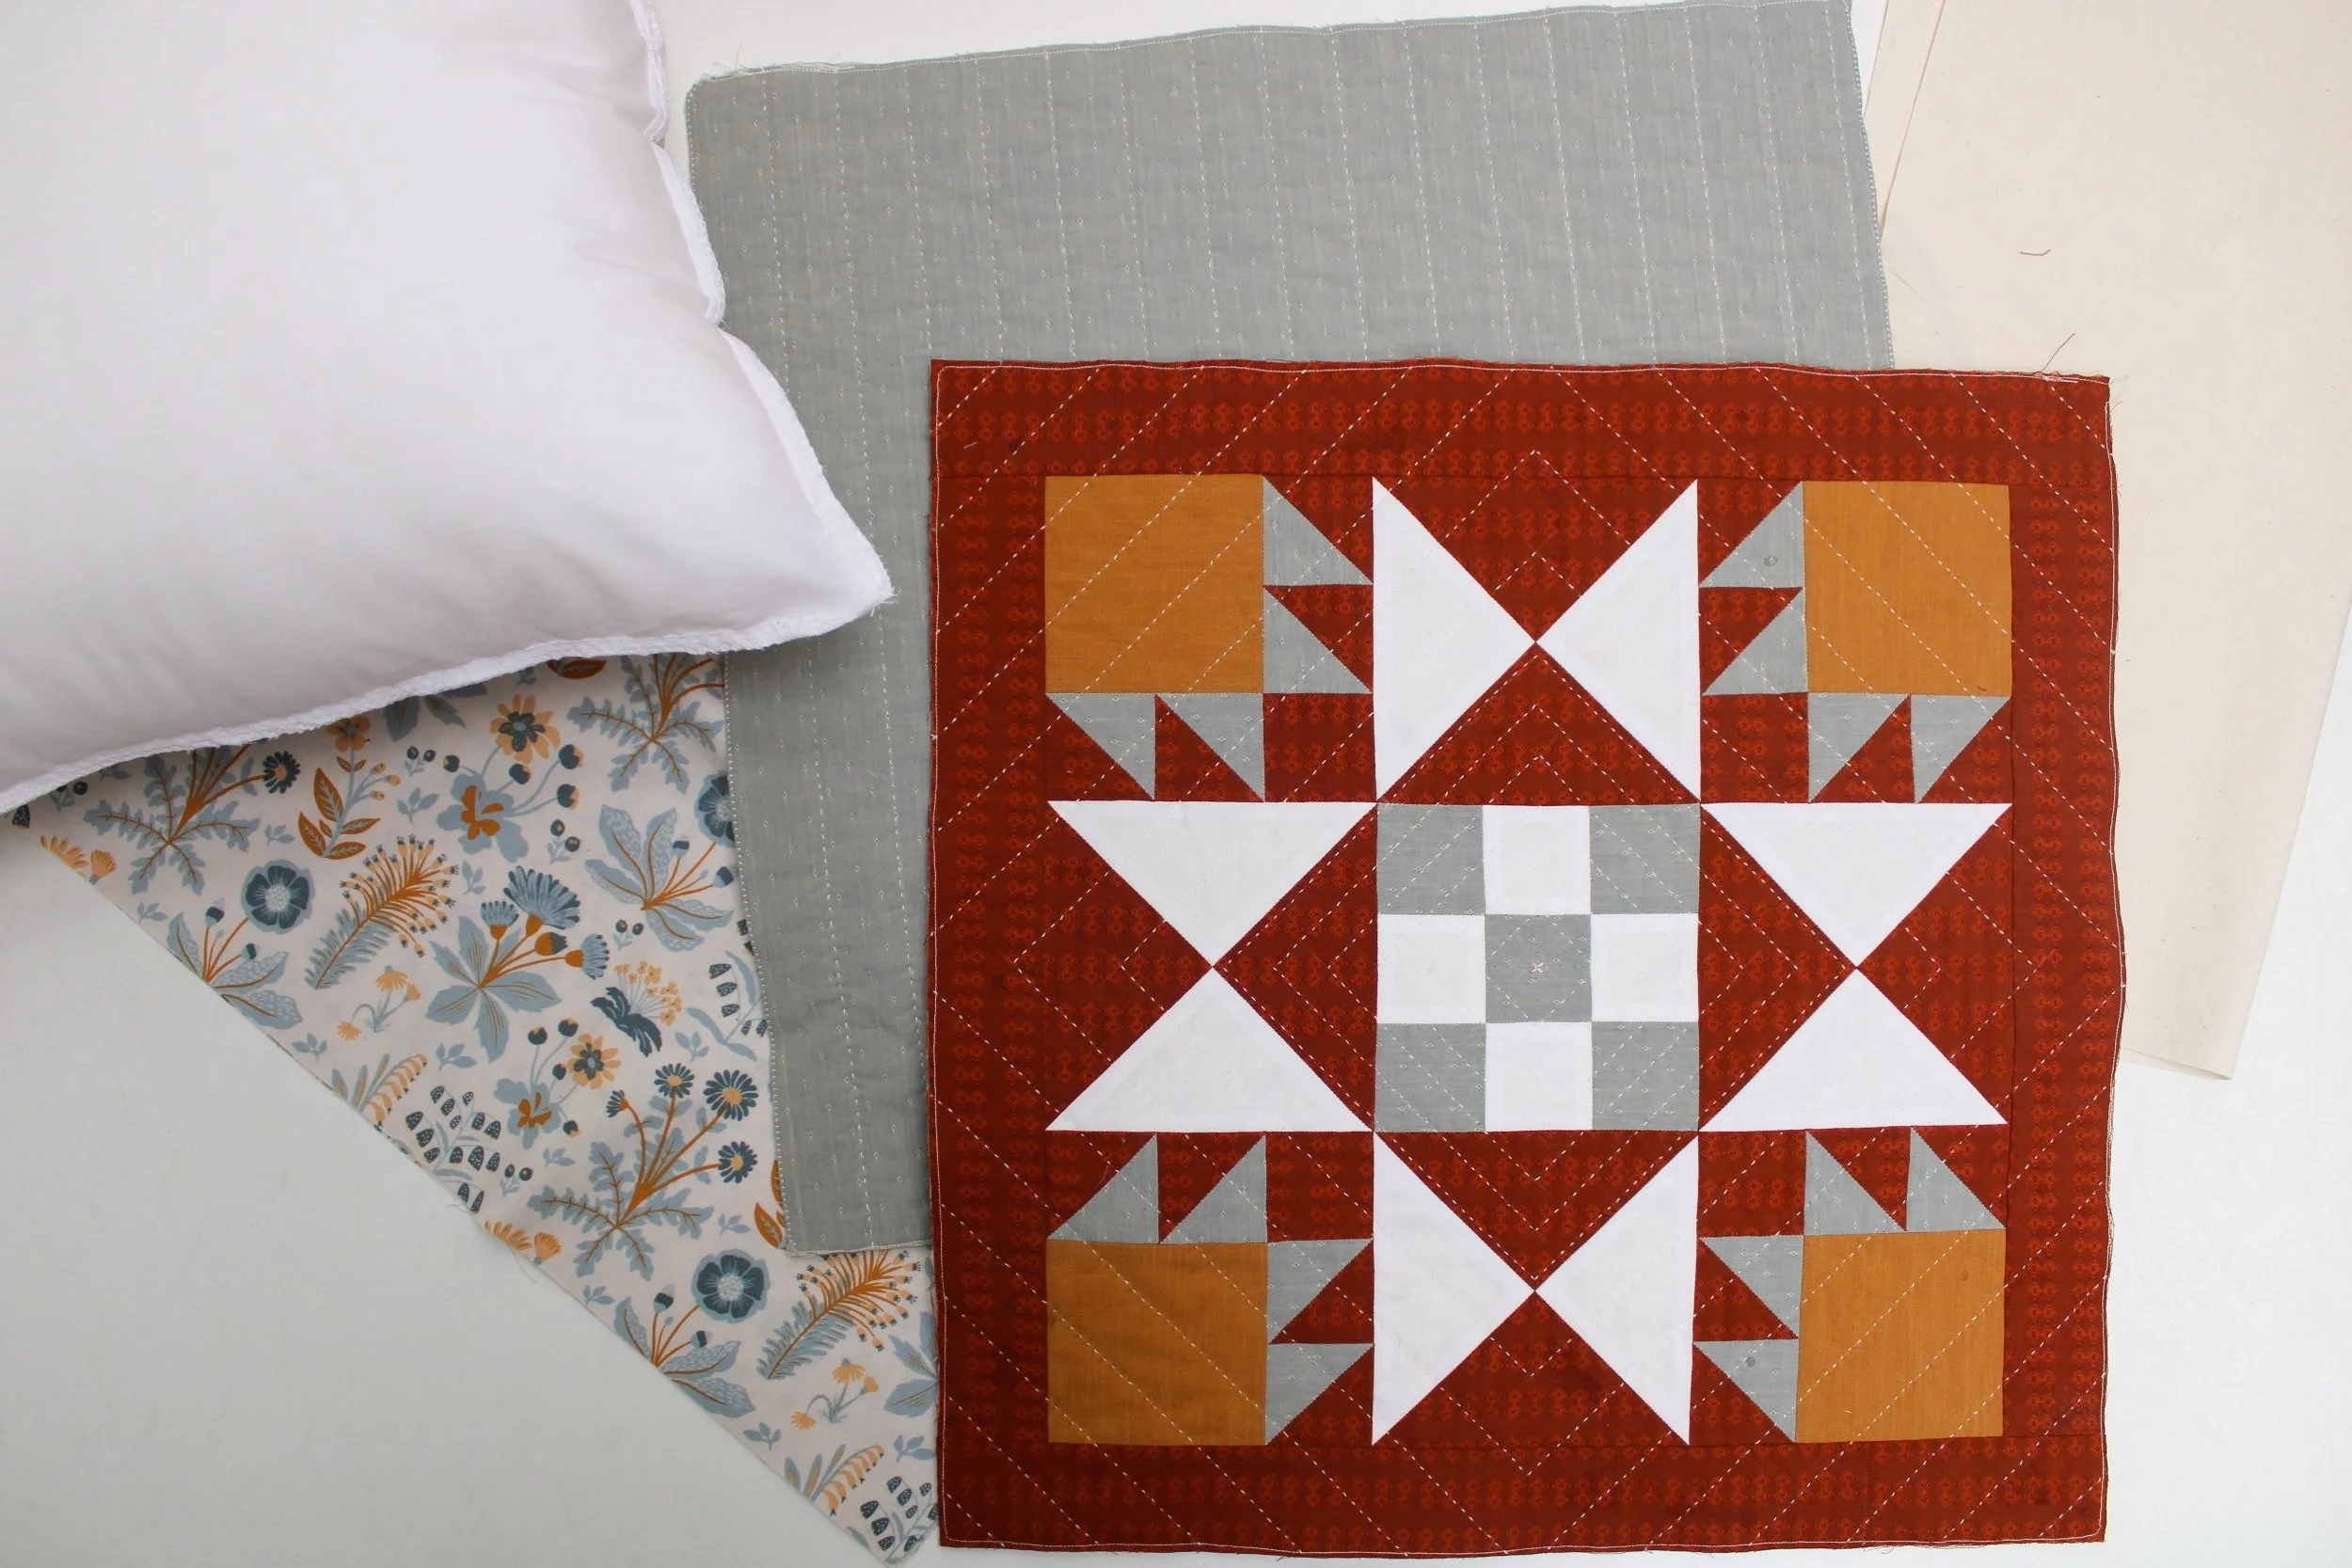
To make this scrappier version with the secondary design from the pattern, I used (4) A squares in all different colors, (4) C squares in all different colors, (4) D squares in all different colors, (4) sets of (5) E squares, and instead of using B squares, I used 2.5” squares to make (2) at a time HSTs so I could keep it scrappy: I used (4) 2.5” squares in (2) different colors for each Quarter Crow’s Foot unit. For the white, I used (4) squares the size of A, and (16) squares the size of E. The panel for this version finishes at 18.5”. IMO this pillow is a little more challenging than the 16” one, because the patchwork finishes right at the edge of the pillow, but I really like how it turned out!
Okay, only one more picture before I get to the instructions section. Just a closeup of the hand quilting:
Yum! Okay so once you’ve done your patchwork (instructions for how to make the units are available in the Crow Canyon pattern), and you’ve quilted your patchwork to a piece of batting, here’s what you need:
For the 16” pillow, you’ll need:
(2) 16.5”x16.5” quilted panels, no backing required (just patchwork + batting)
(2) 16.5”x16.5” lining pieces
(4) 1.5”x16” fabric strips (for the ties)
(1) 16” pillow form
(1) 16.75”x32.75” piece (for pillow insert)
For the 18” pillow, you’ll need
(2) 18.5”x18.5” quilted panels, no backing required (just patchwork + batting)
(2) 18.5”x18.5” lining pieces
(4) 1.5”x16” fabric strips (for the ties)
(1) 18” pillow form
(1) 18.75”x36.75” piece (for pillow insert)
Before you start:
It’s a good idea to sew a little victory lap around the edge of your quilted panels. This prevents the quilting coming undone while you work.
Here are the quick instructions:
Pillowcase exterior: Sew (2) quilted panels RST along (3) sides using a quarter-inch seam allowance. Trim the corners.
Pillowcase liner: Sew (2) lining pieces RST along (3) sides using a quarter-inch seam allowance, but leave a turning gap.
Ties: Make (4) ties, sewing the 1.5” fabric strips into double fold binding; finish one end of the ties and keep other end unfinished with a raw edge.
Finishing the exterior pillowcase: Baste the raw edge of the ties 5.25” away from the side seams (16” pillow) or 6” away from the side seams (18” pillow) of exterior quilted panels; with the exterior pillowcase right side out and the liner inside out., place the exterior pillowcse inside the lining, so that right sides are together, and sew raw edges together using a quarter-inch seam allowance. Press, and topstitch or understitch pillowcase opening. Sew turning gap closed.
Covering the pillow insert: Fold the long piece of fabric in half along the width RST and sew using a 3/8” seam allowance — leave a very large turning gap, and backstitch along the edges of the turning gap very well. Press turning gap well. Turn right side out, and insert pillow form. Using a ladder stitch and a double length of thread, hand sew the turning gap closed.
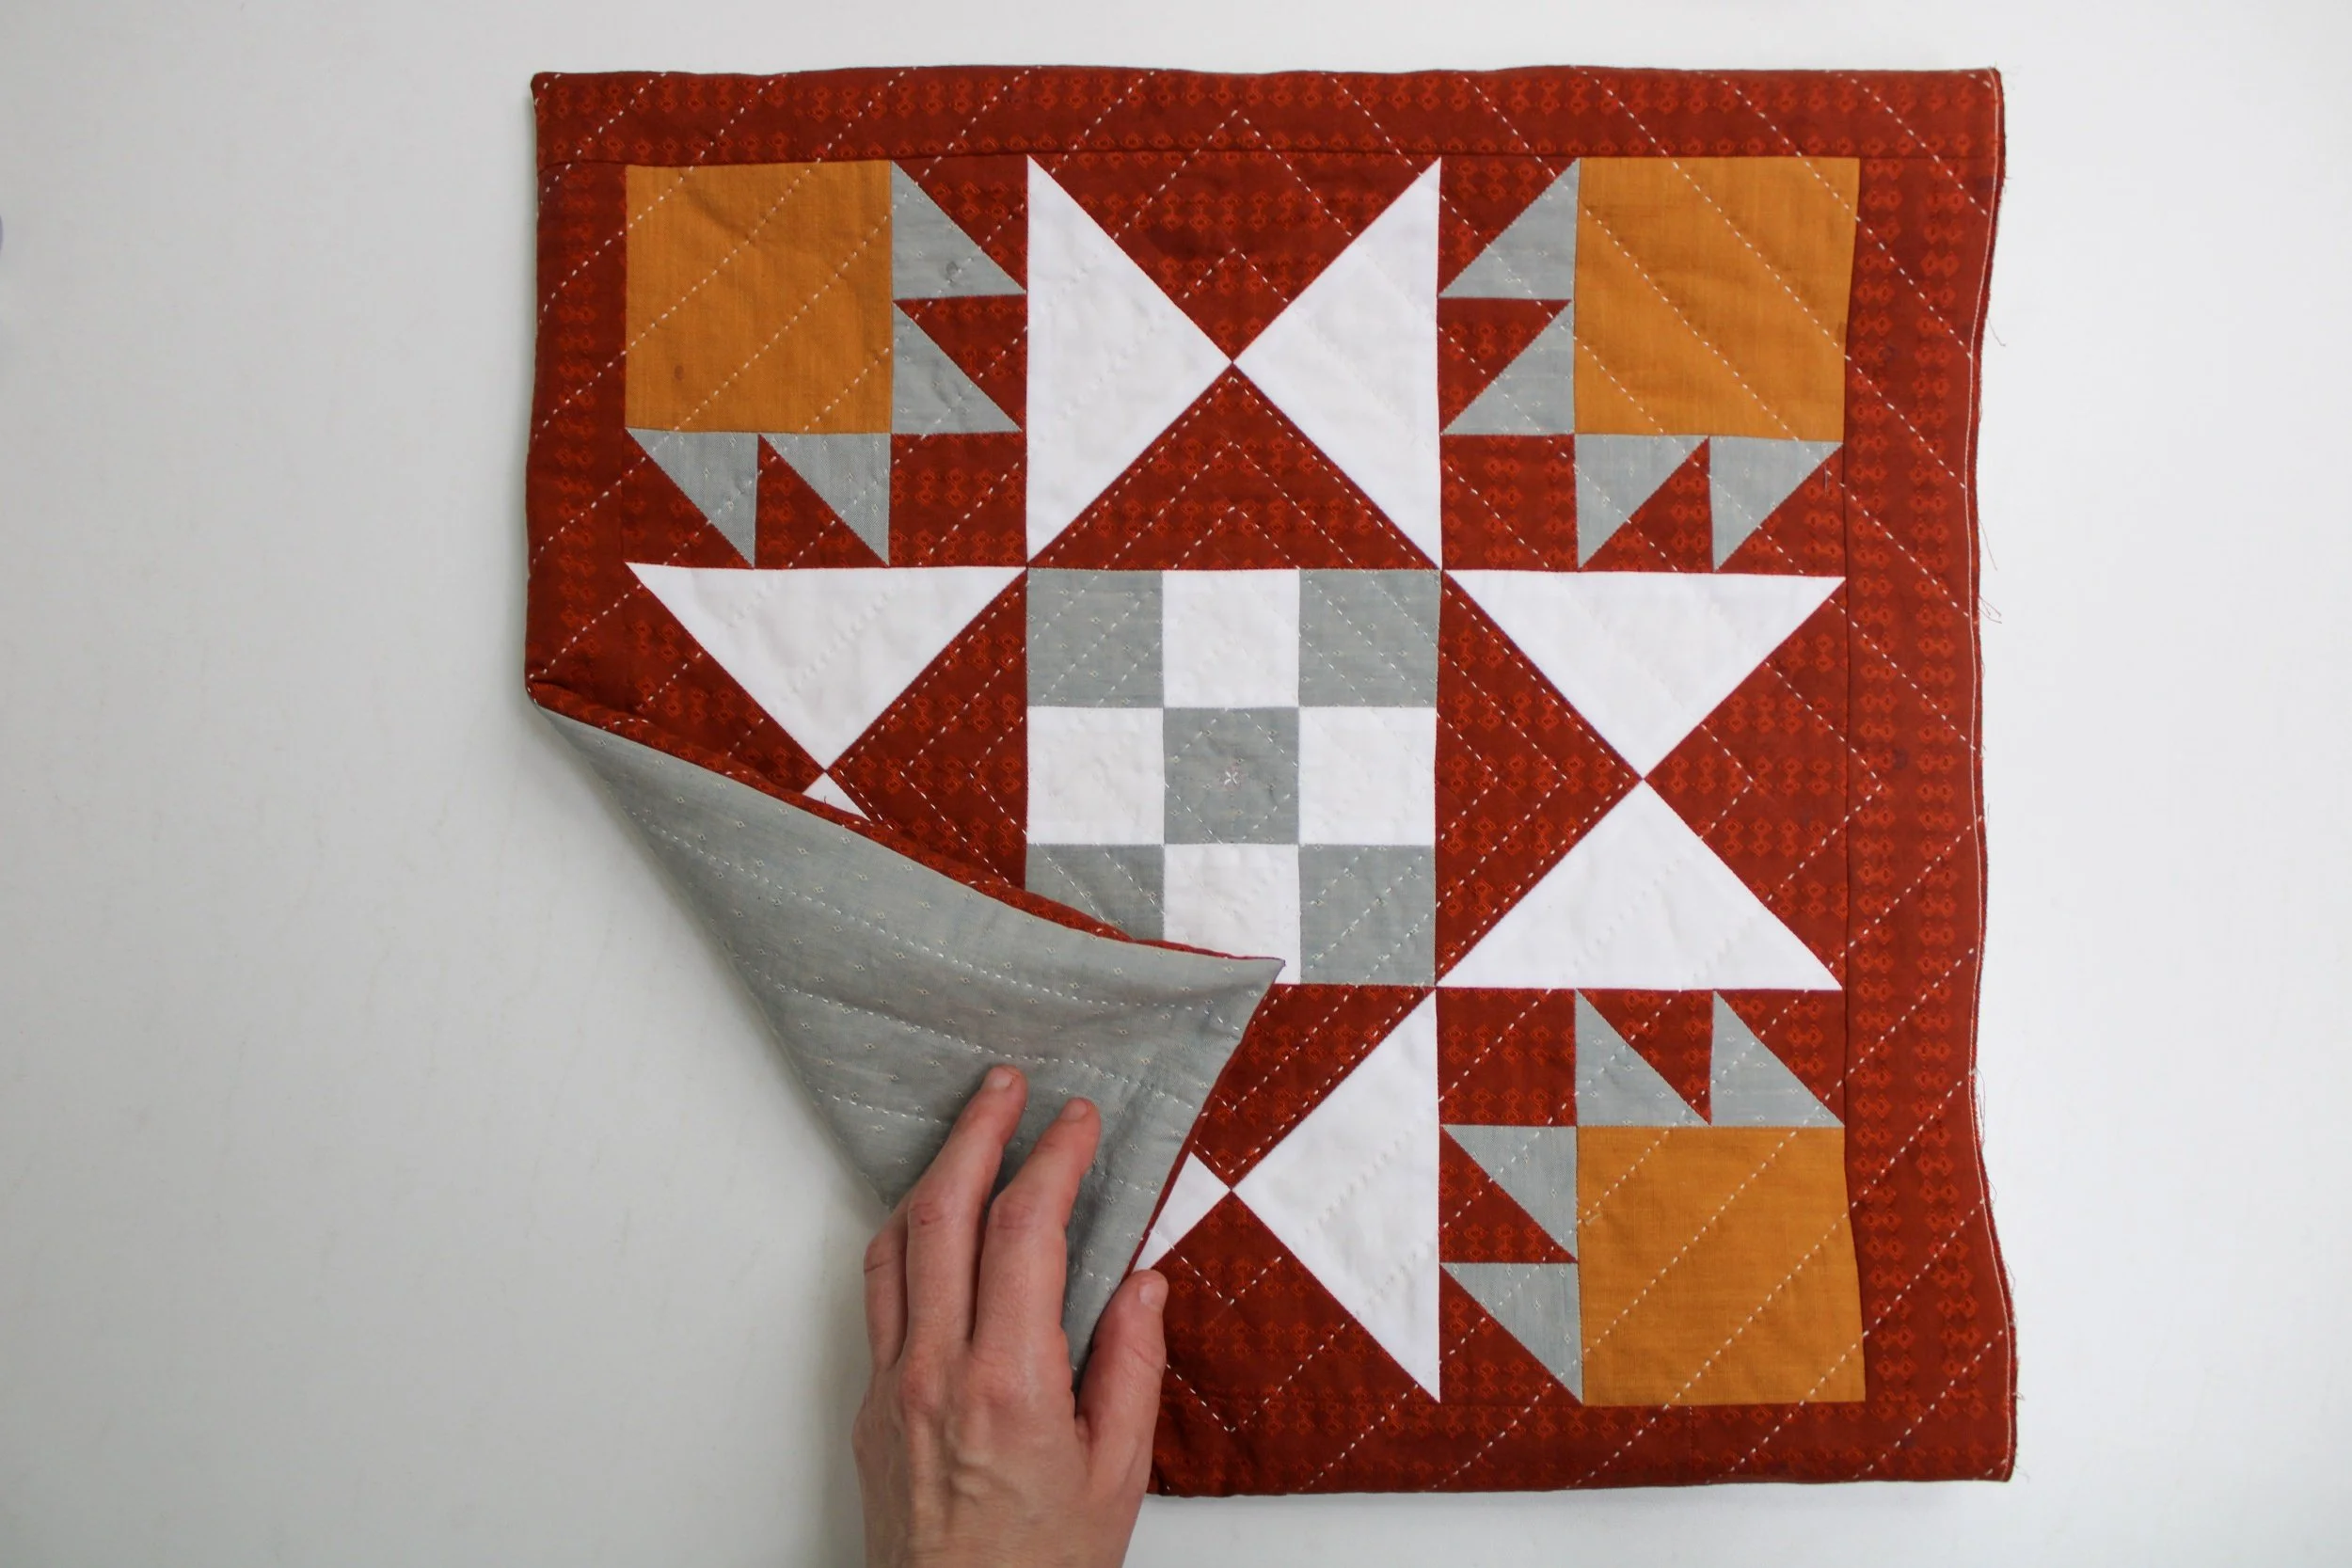
Insert covered pillow form into pillowcase and tie. Voila.
…and here are the more detailed instructions. I’ve included lots of pics to show every step, because some of us are visual learners!
Step one: Pillowcase exterior
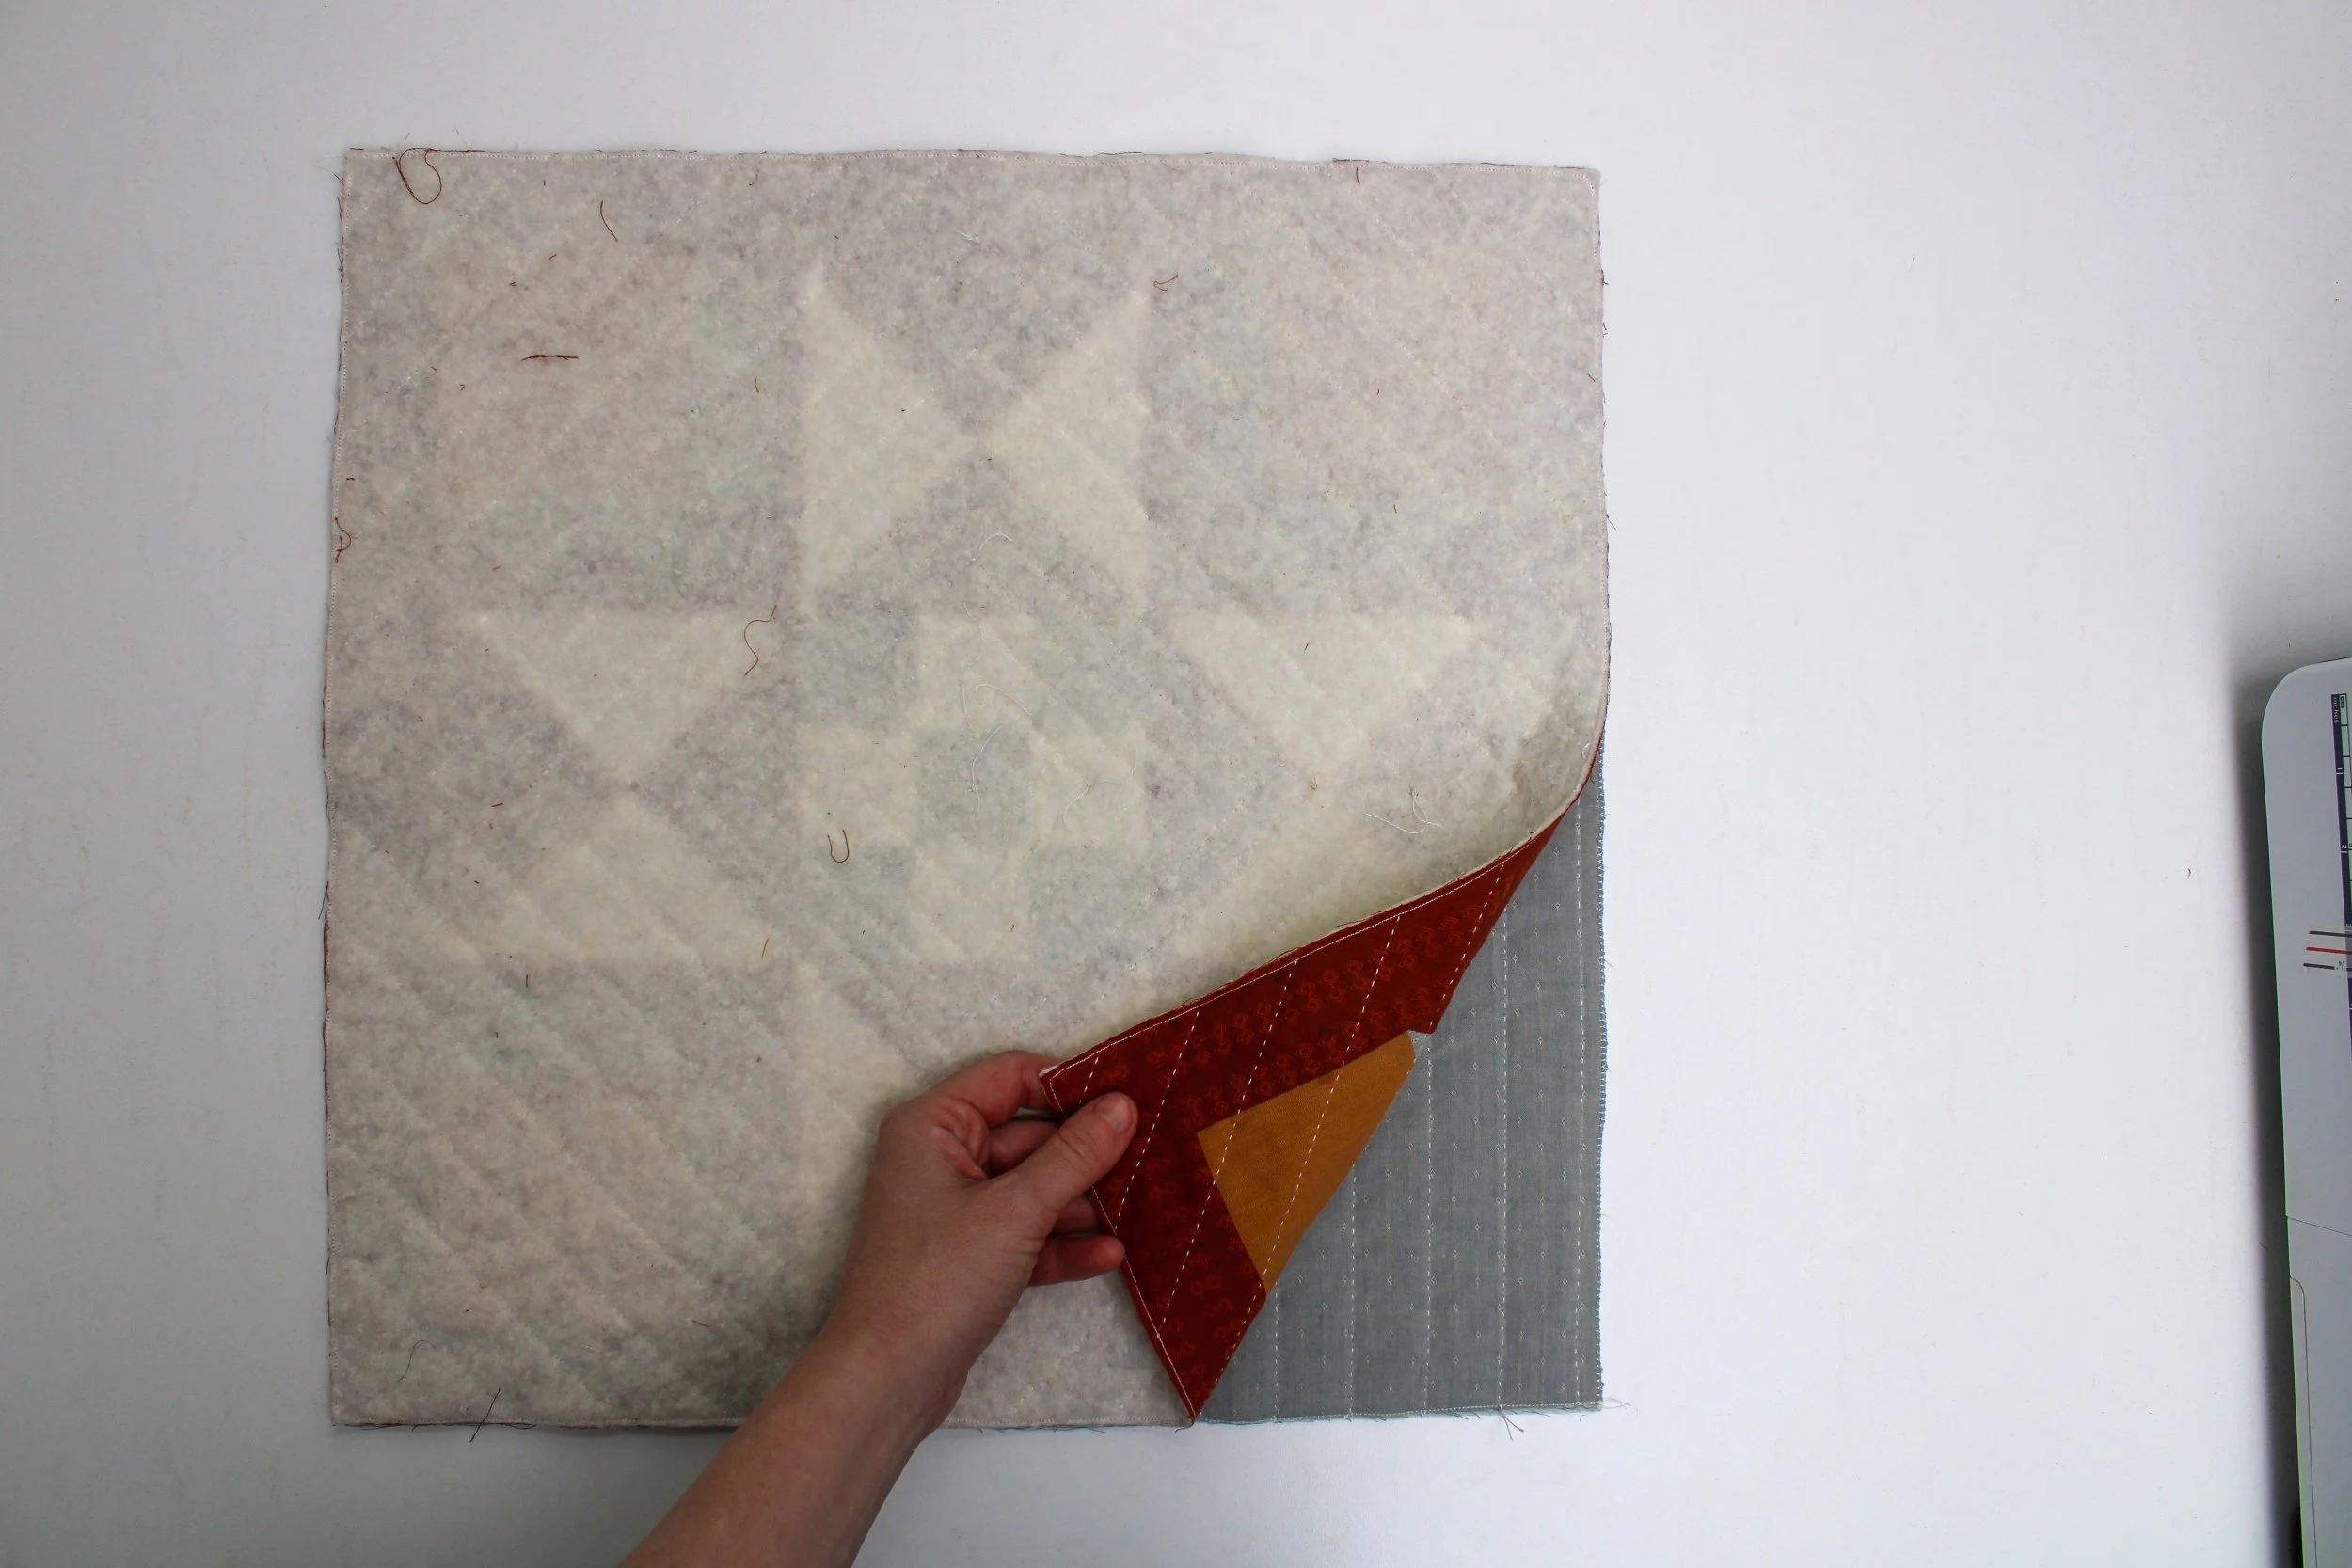
Place your quilted panels RST (right sides together) and sew a quarter-inch seam along three sides, leaving one side open. (Remember to backstitch when starting and stopping!)

Trim the corners. Make sure you don’t clip through the seam!
Give the seams a good press open. I like to use a sleeve roll or a tailor’s ham.
Here’s what it looks like now!
Step two: Pillowcase liner
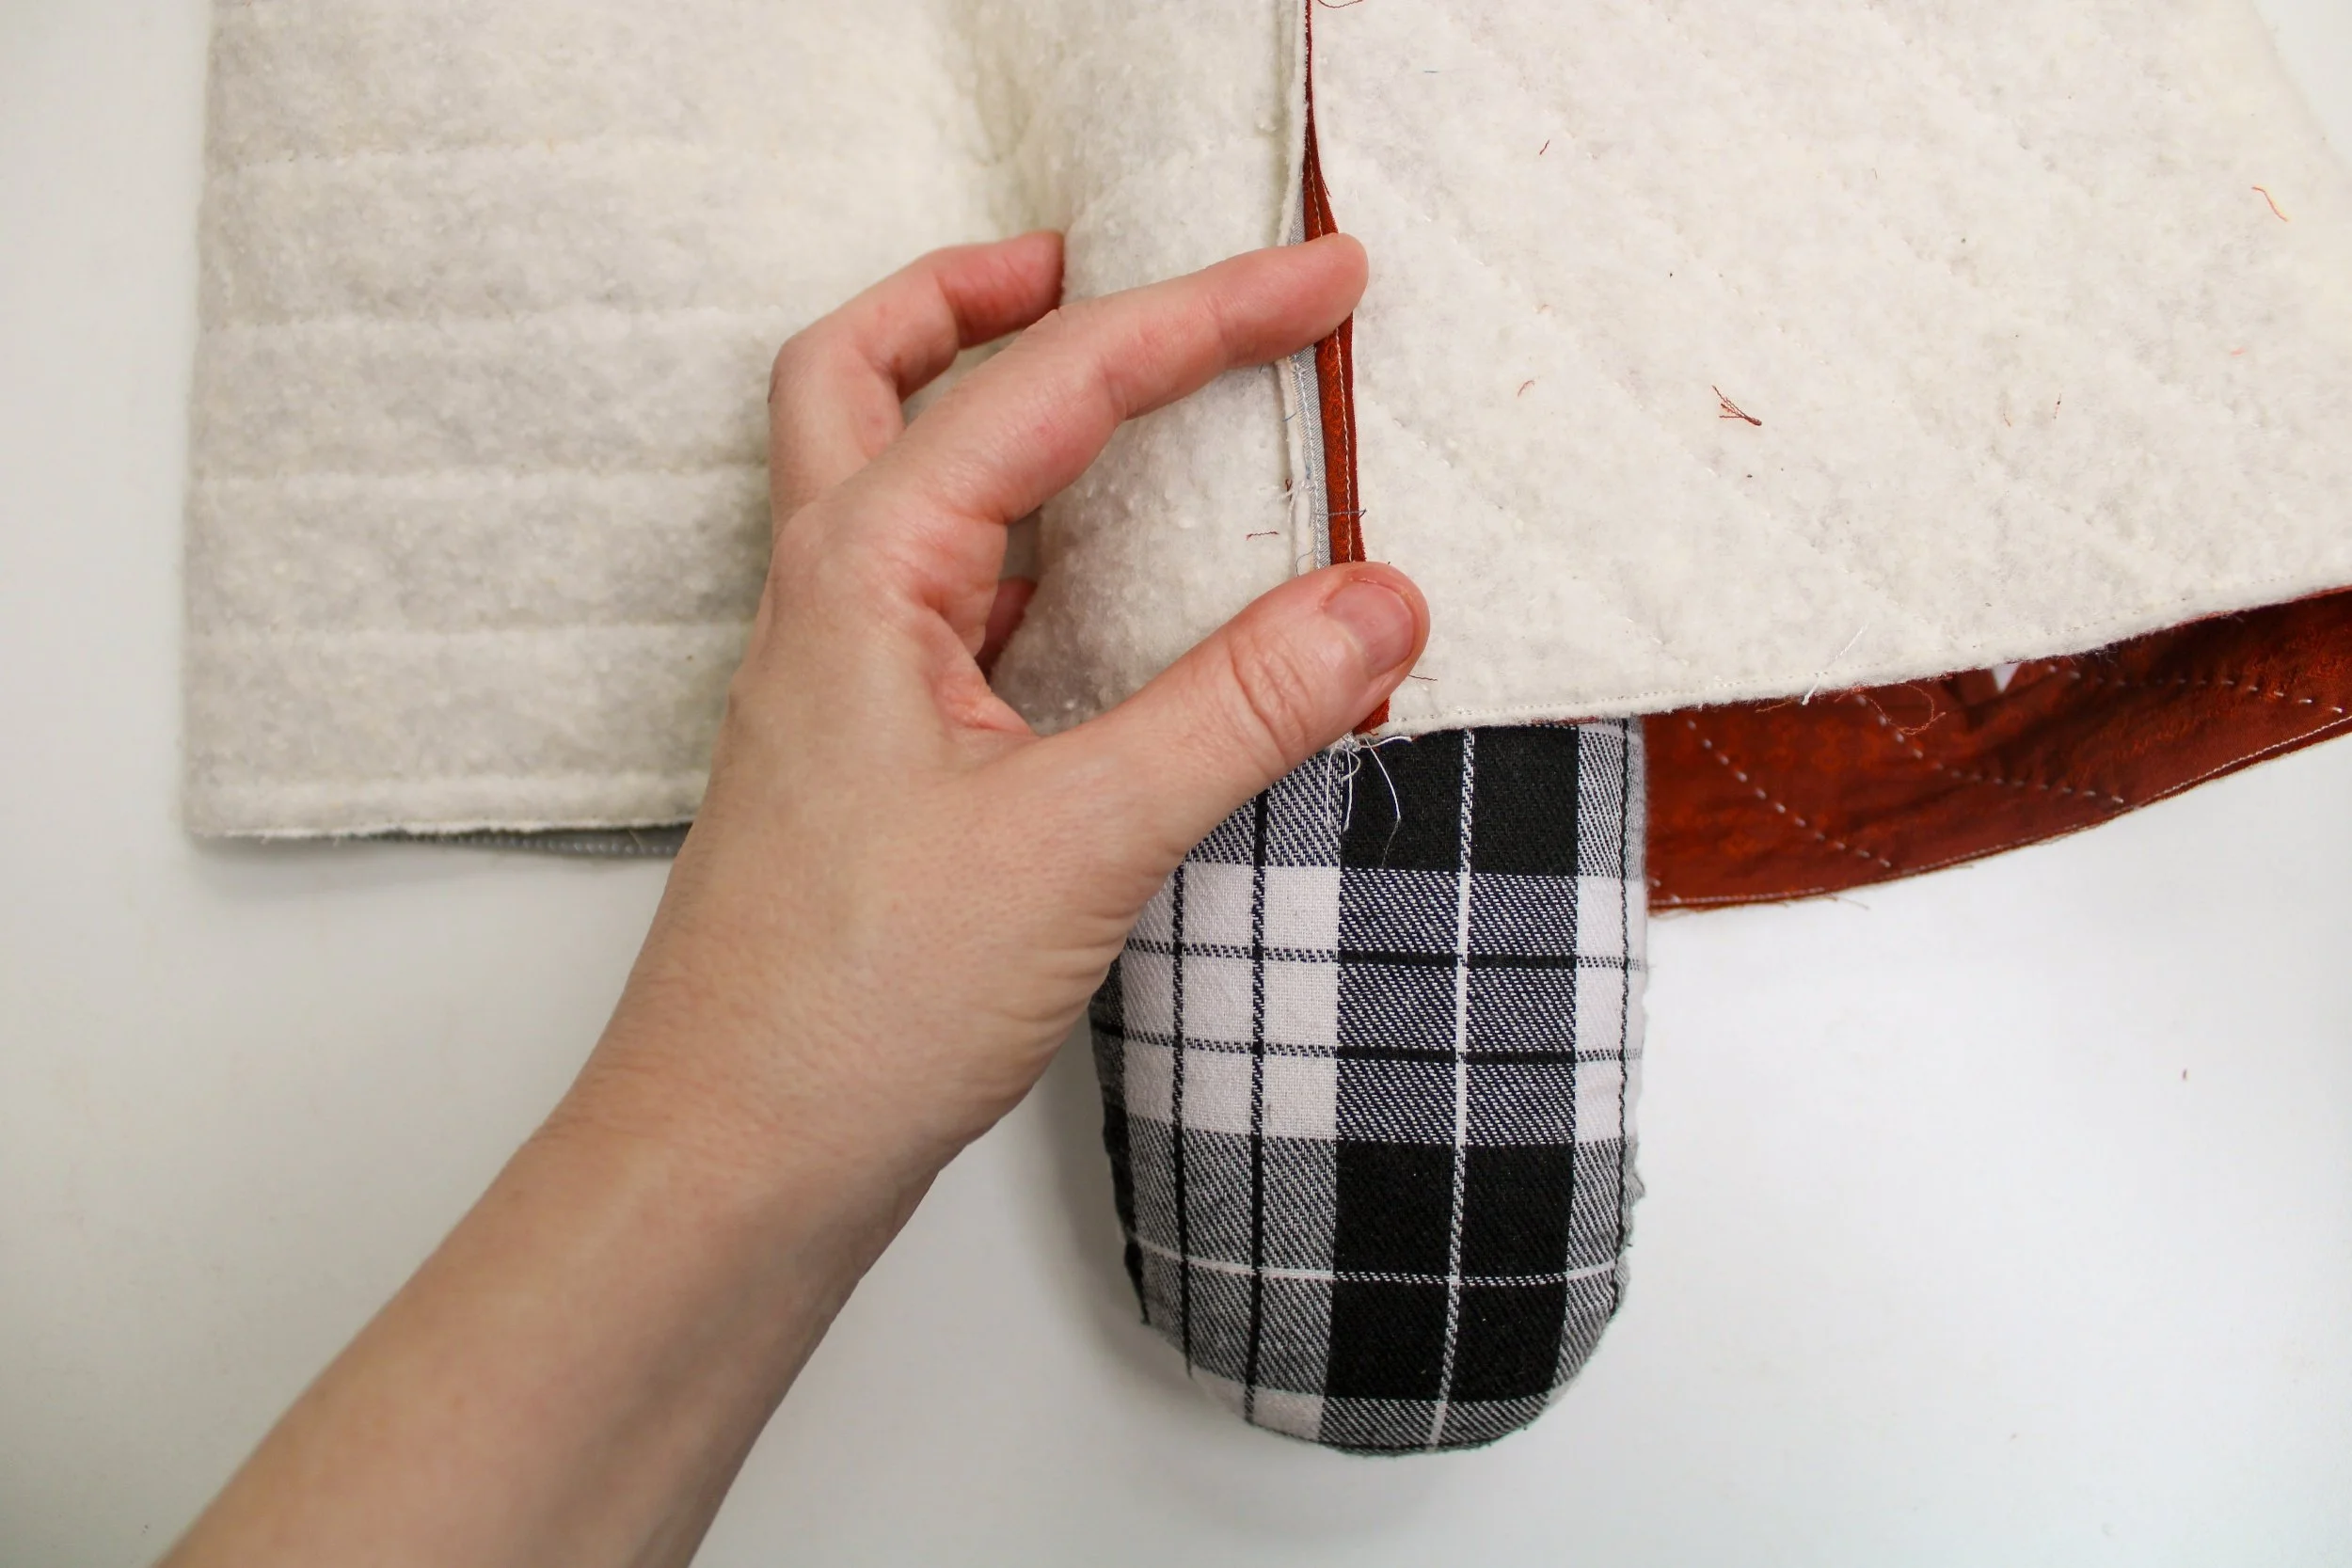
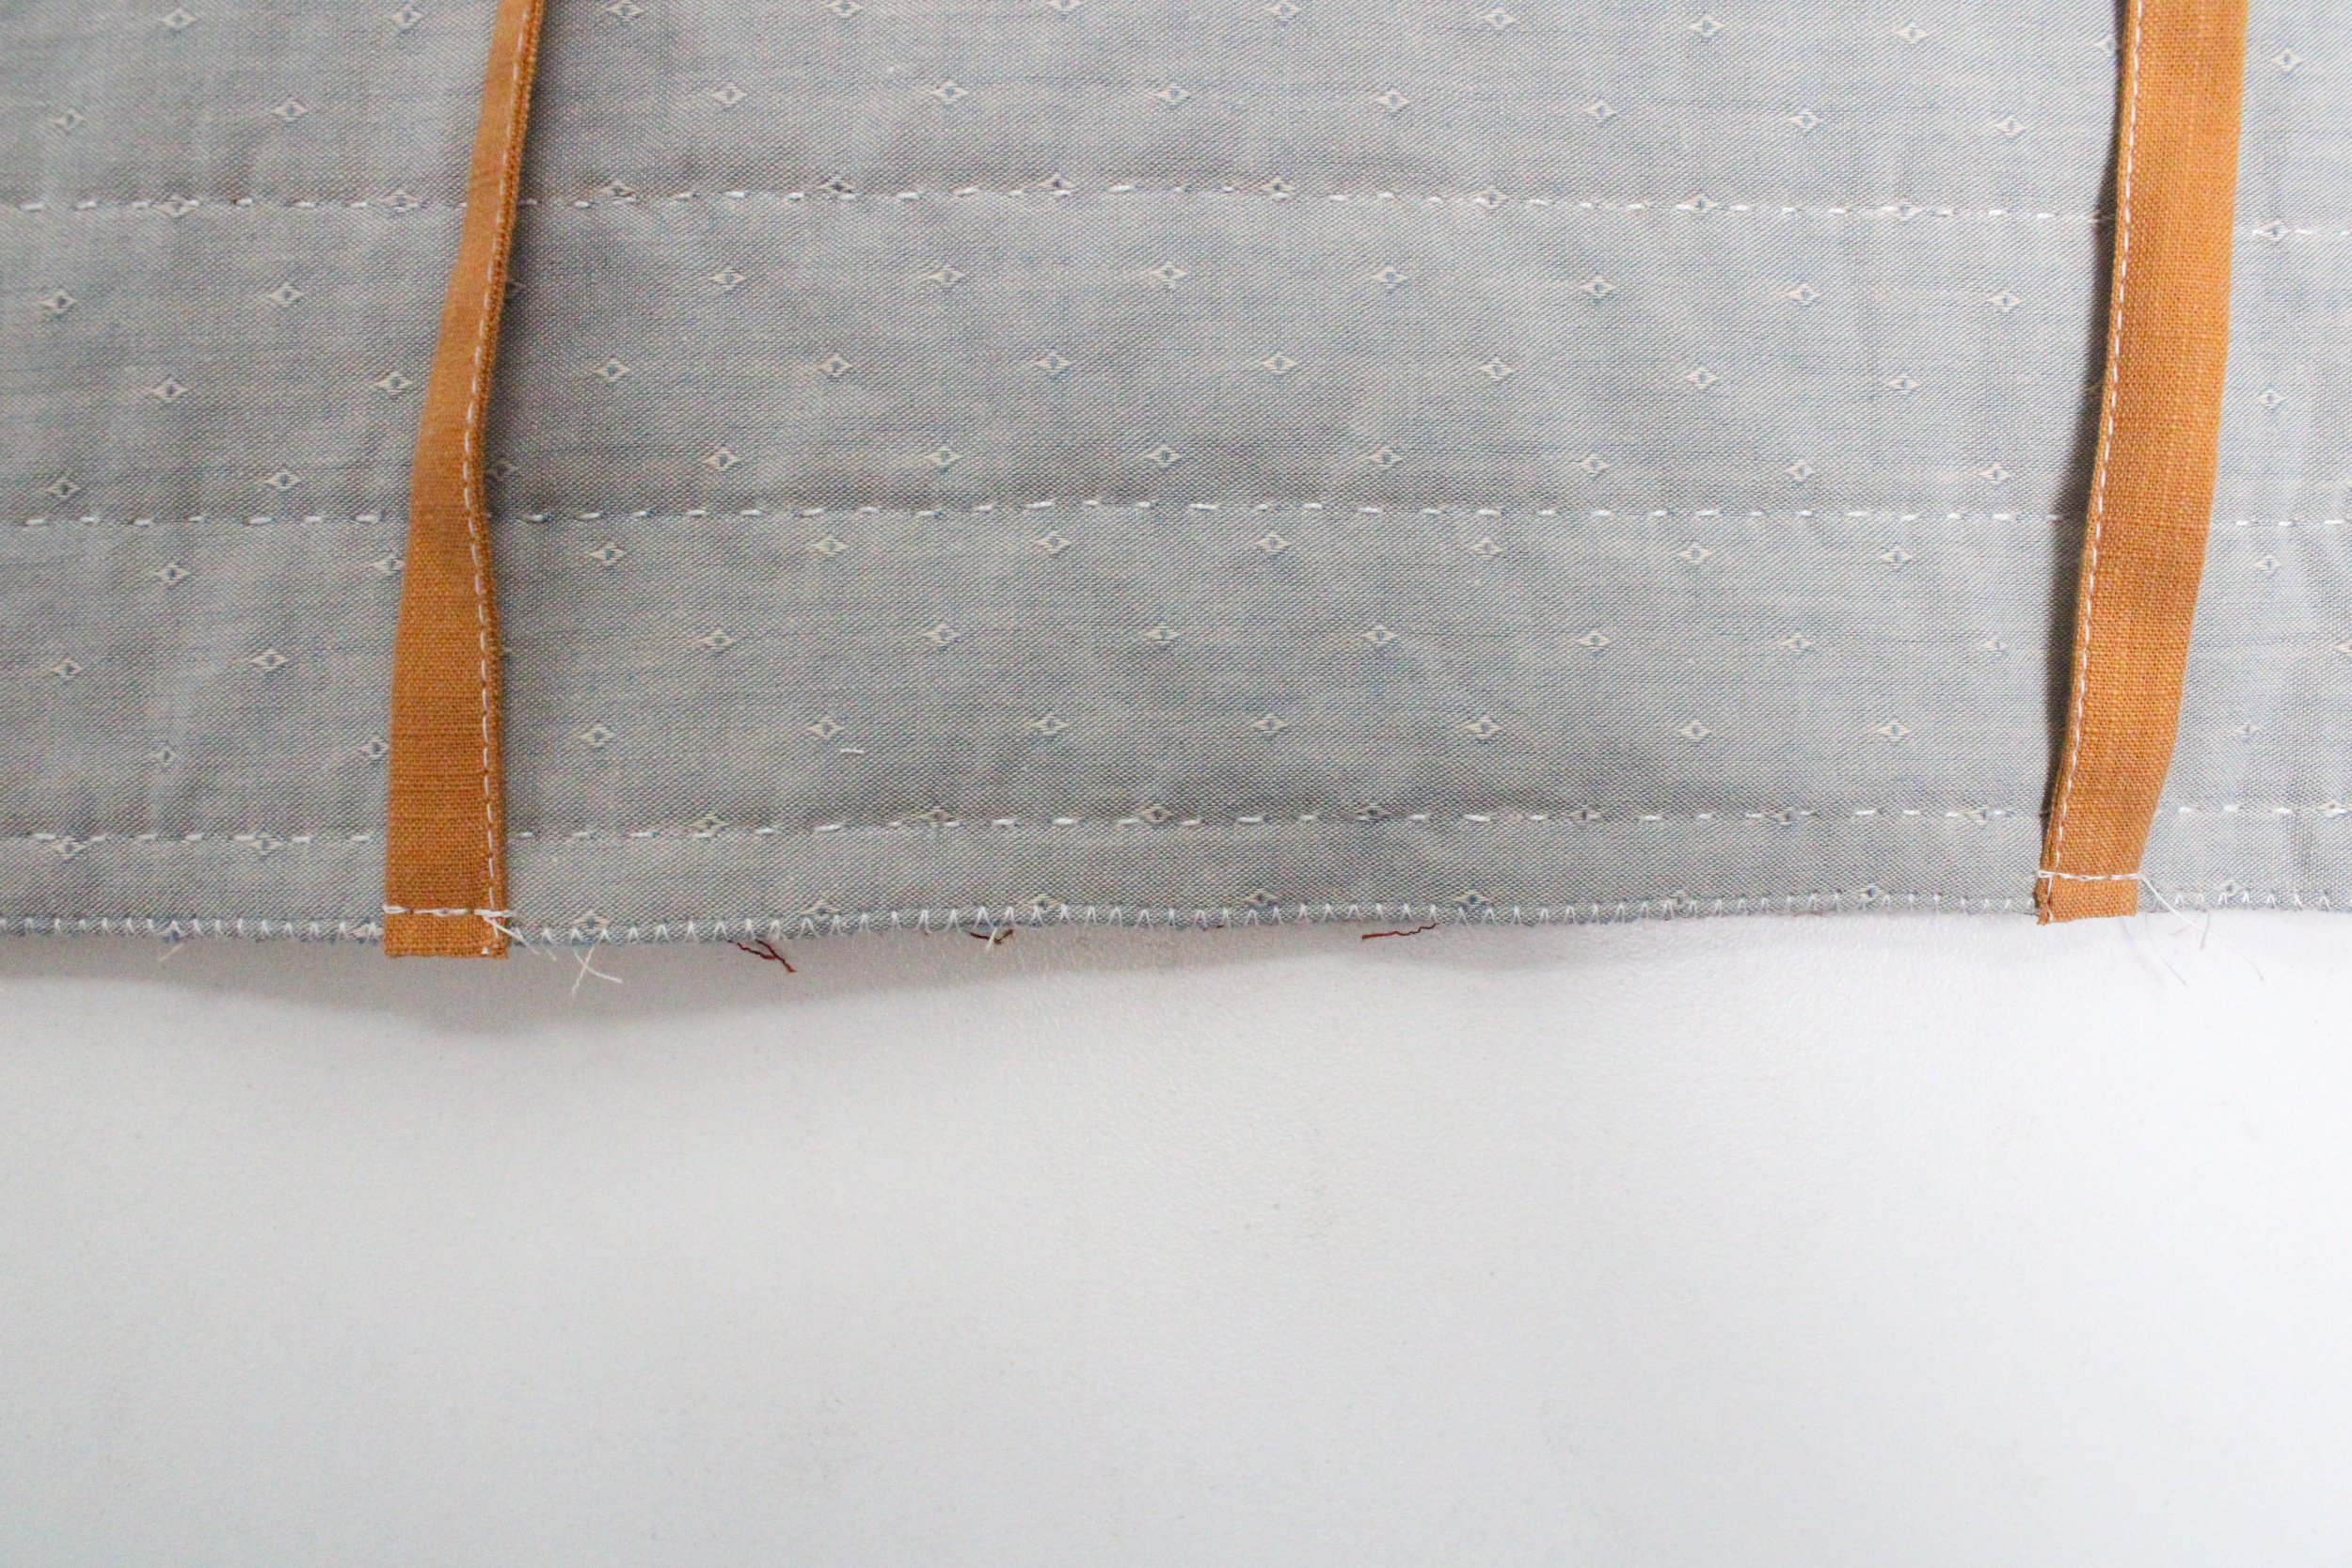
The liner won’t be seen too much, so I just use muslin. Place the (2) pieces RST and sew with a quarter-inch seam allowance along (3) sides, as you did in the steps above, but this time, leave a turning gap.
You can see here I’ve sewn along (3) sides and left a gap between those clips. Make sure to backstitch at these spots!
On the side where you left the turning gap, press the seam open, pressing one edge up first…
…and then the other. Giving a good press here will help when you go to close the turning gap.
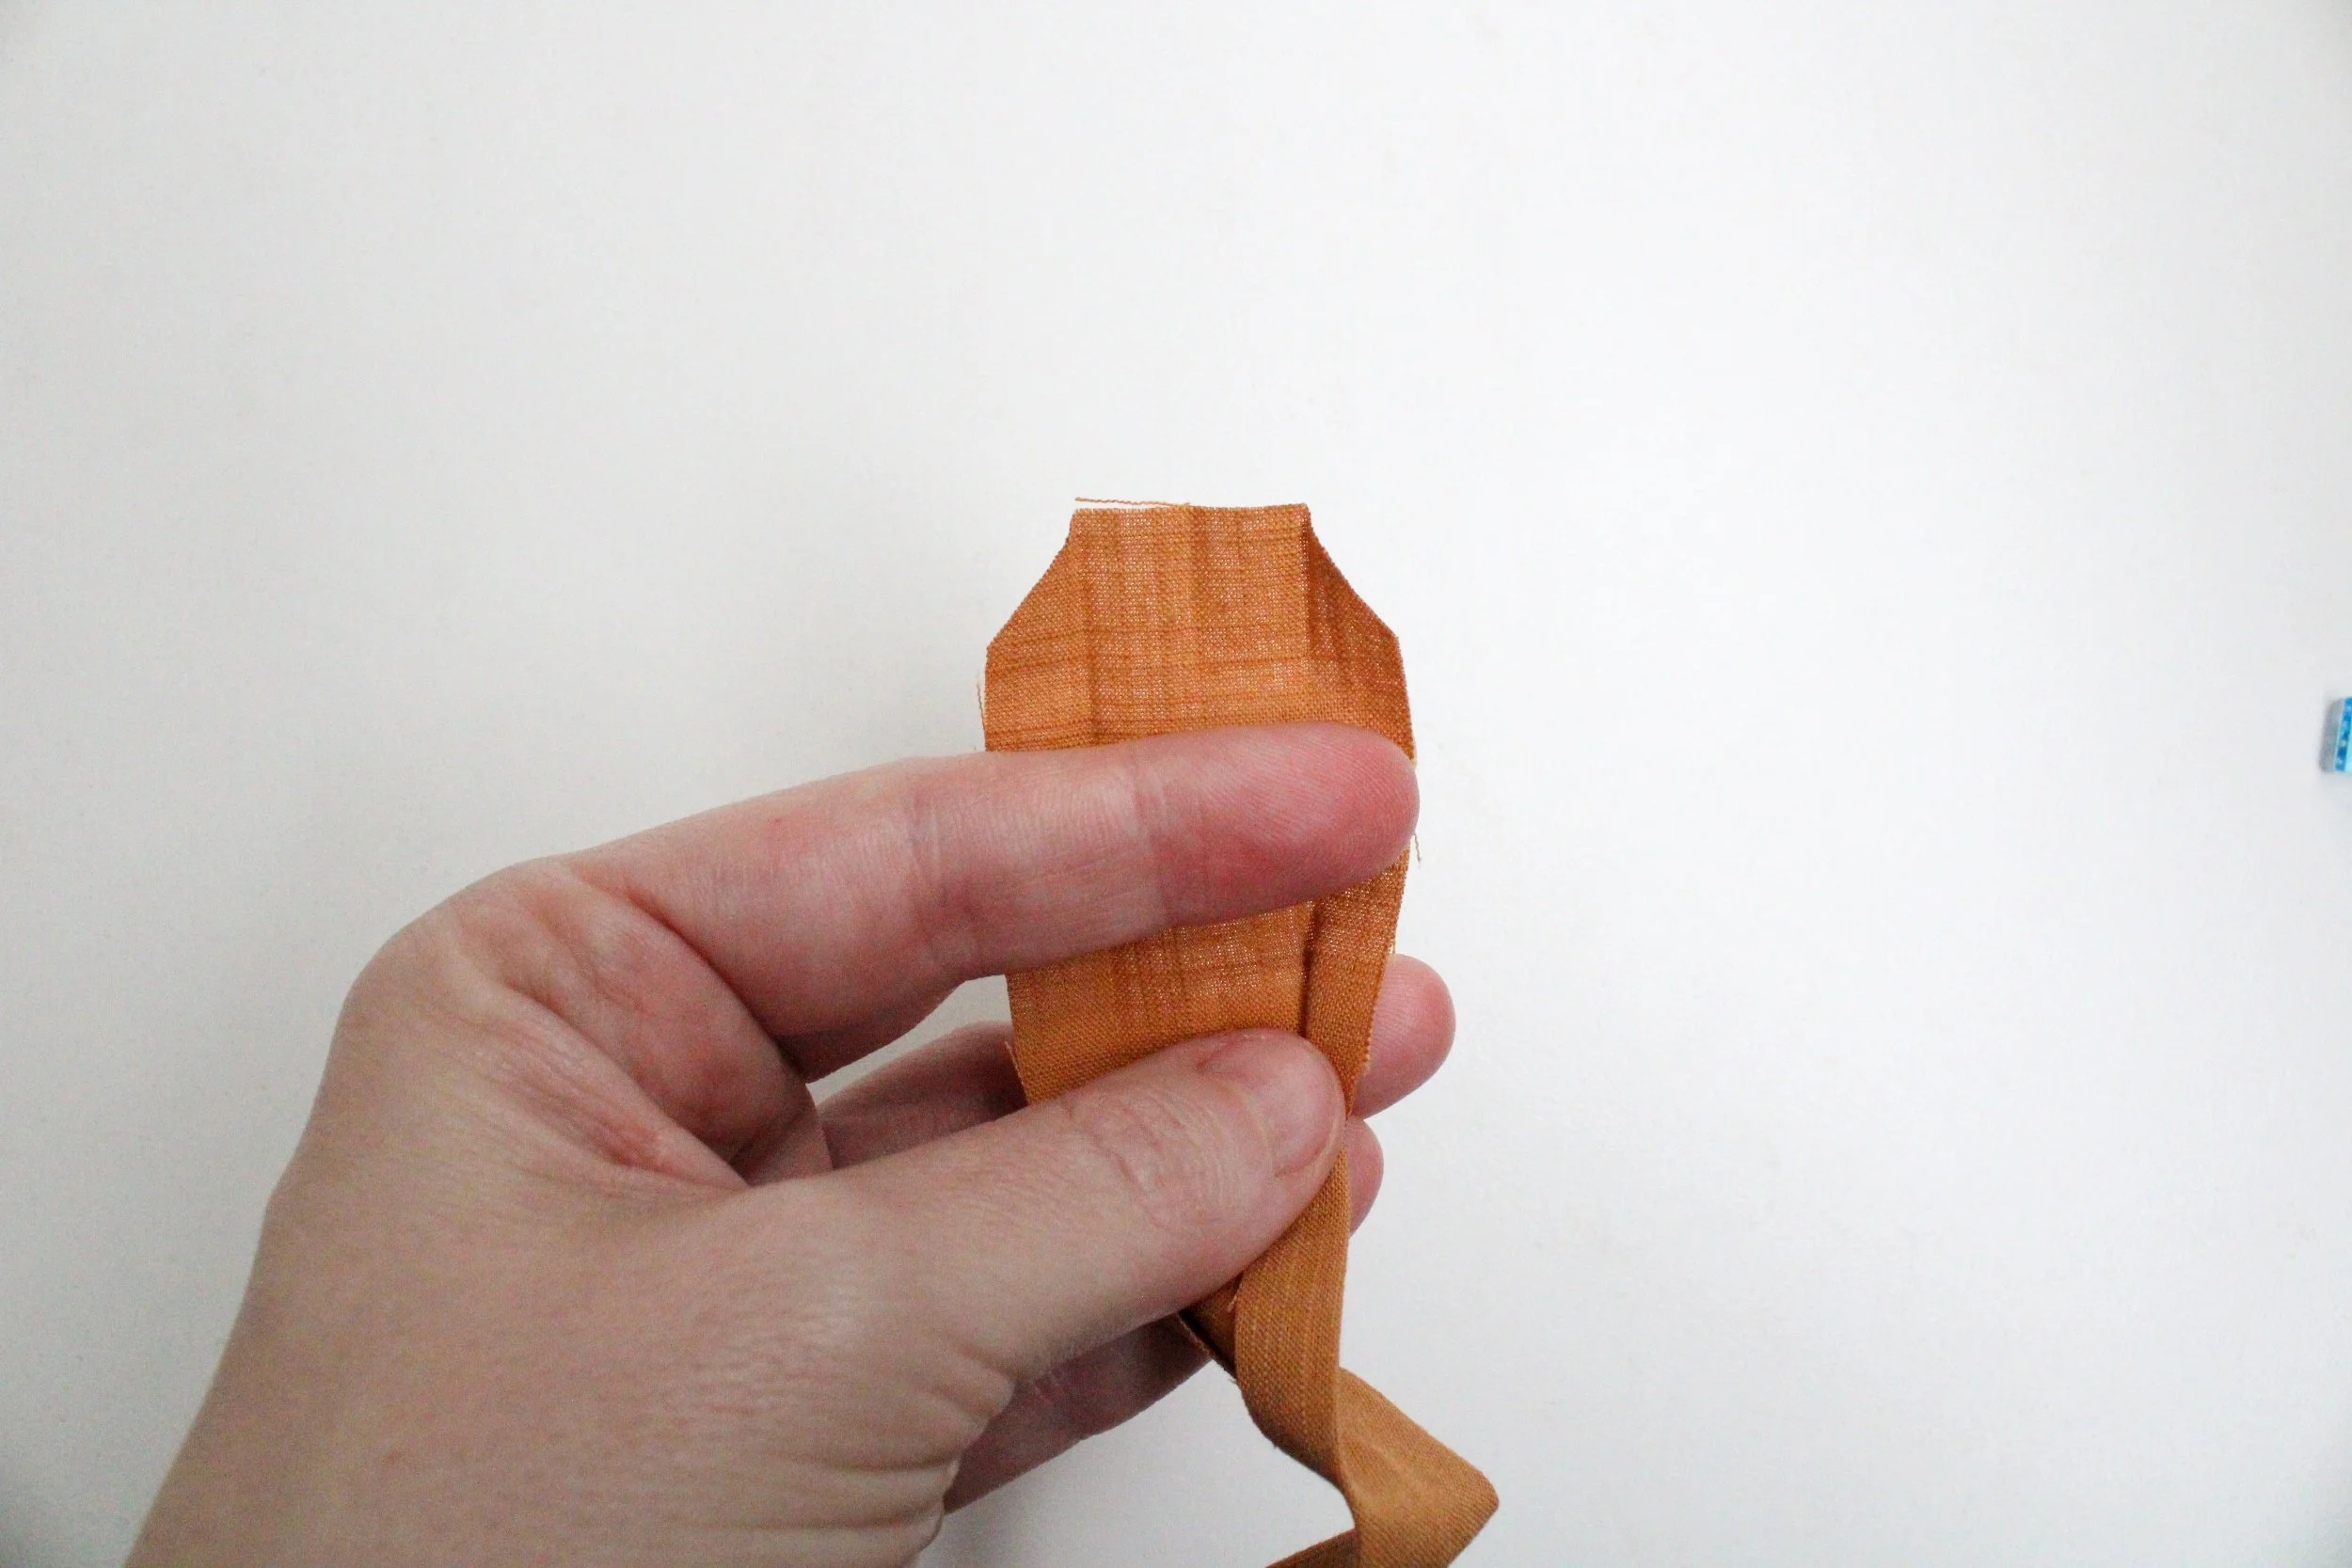
Step three: Ties (make 4)
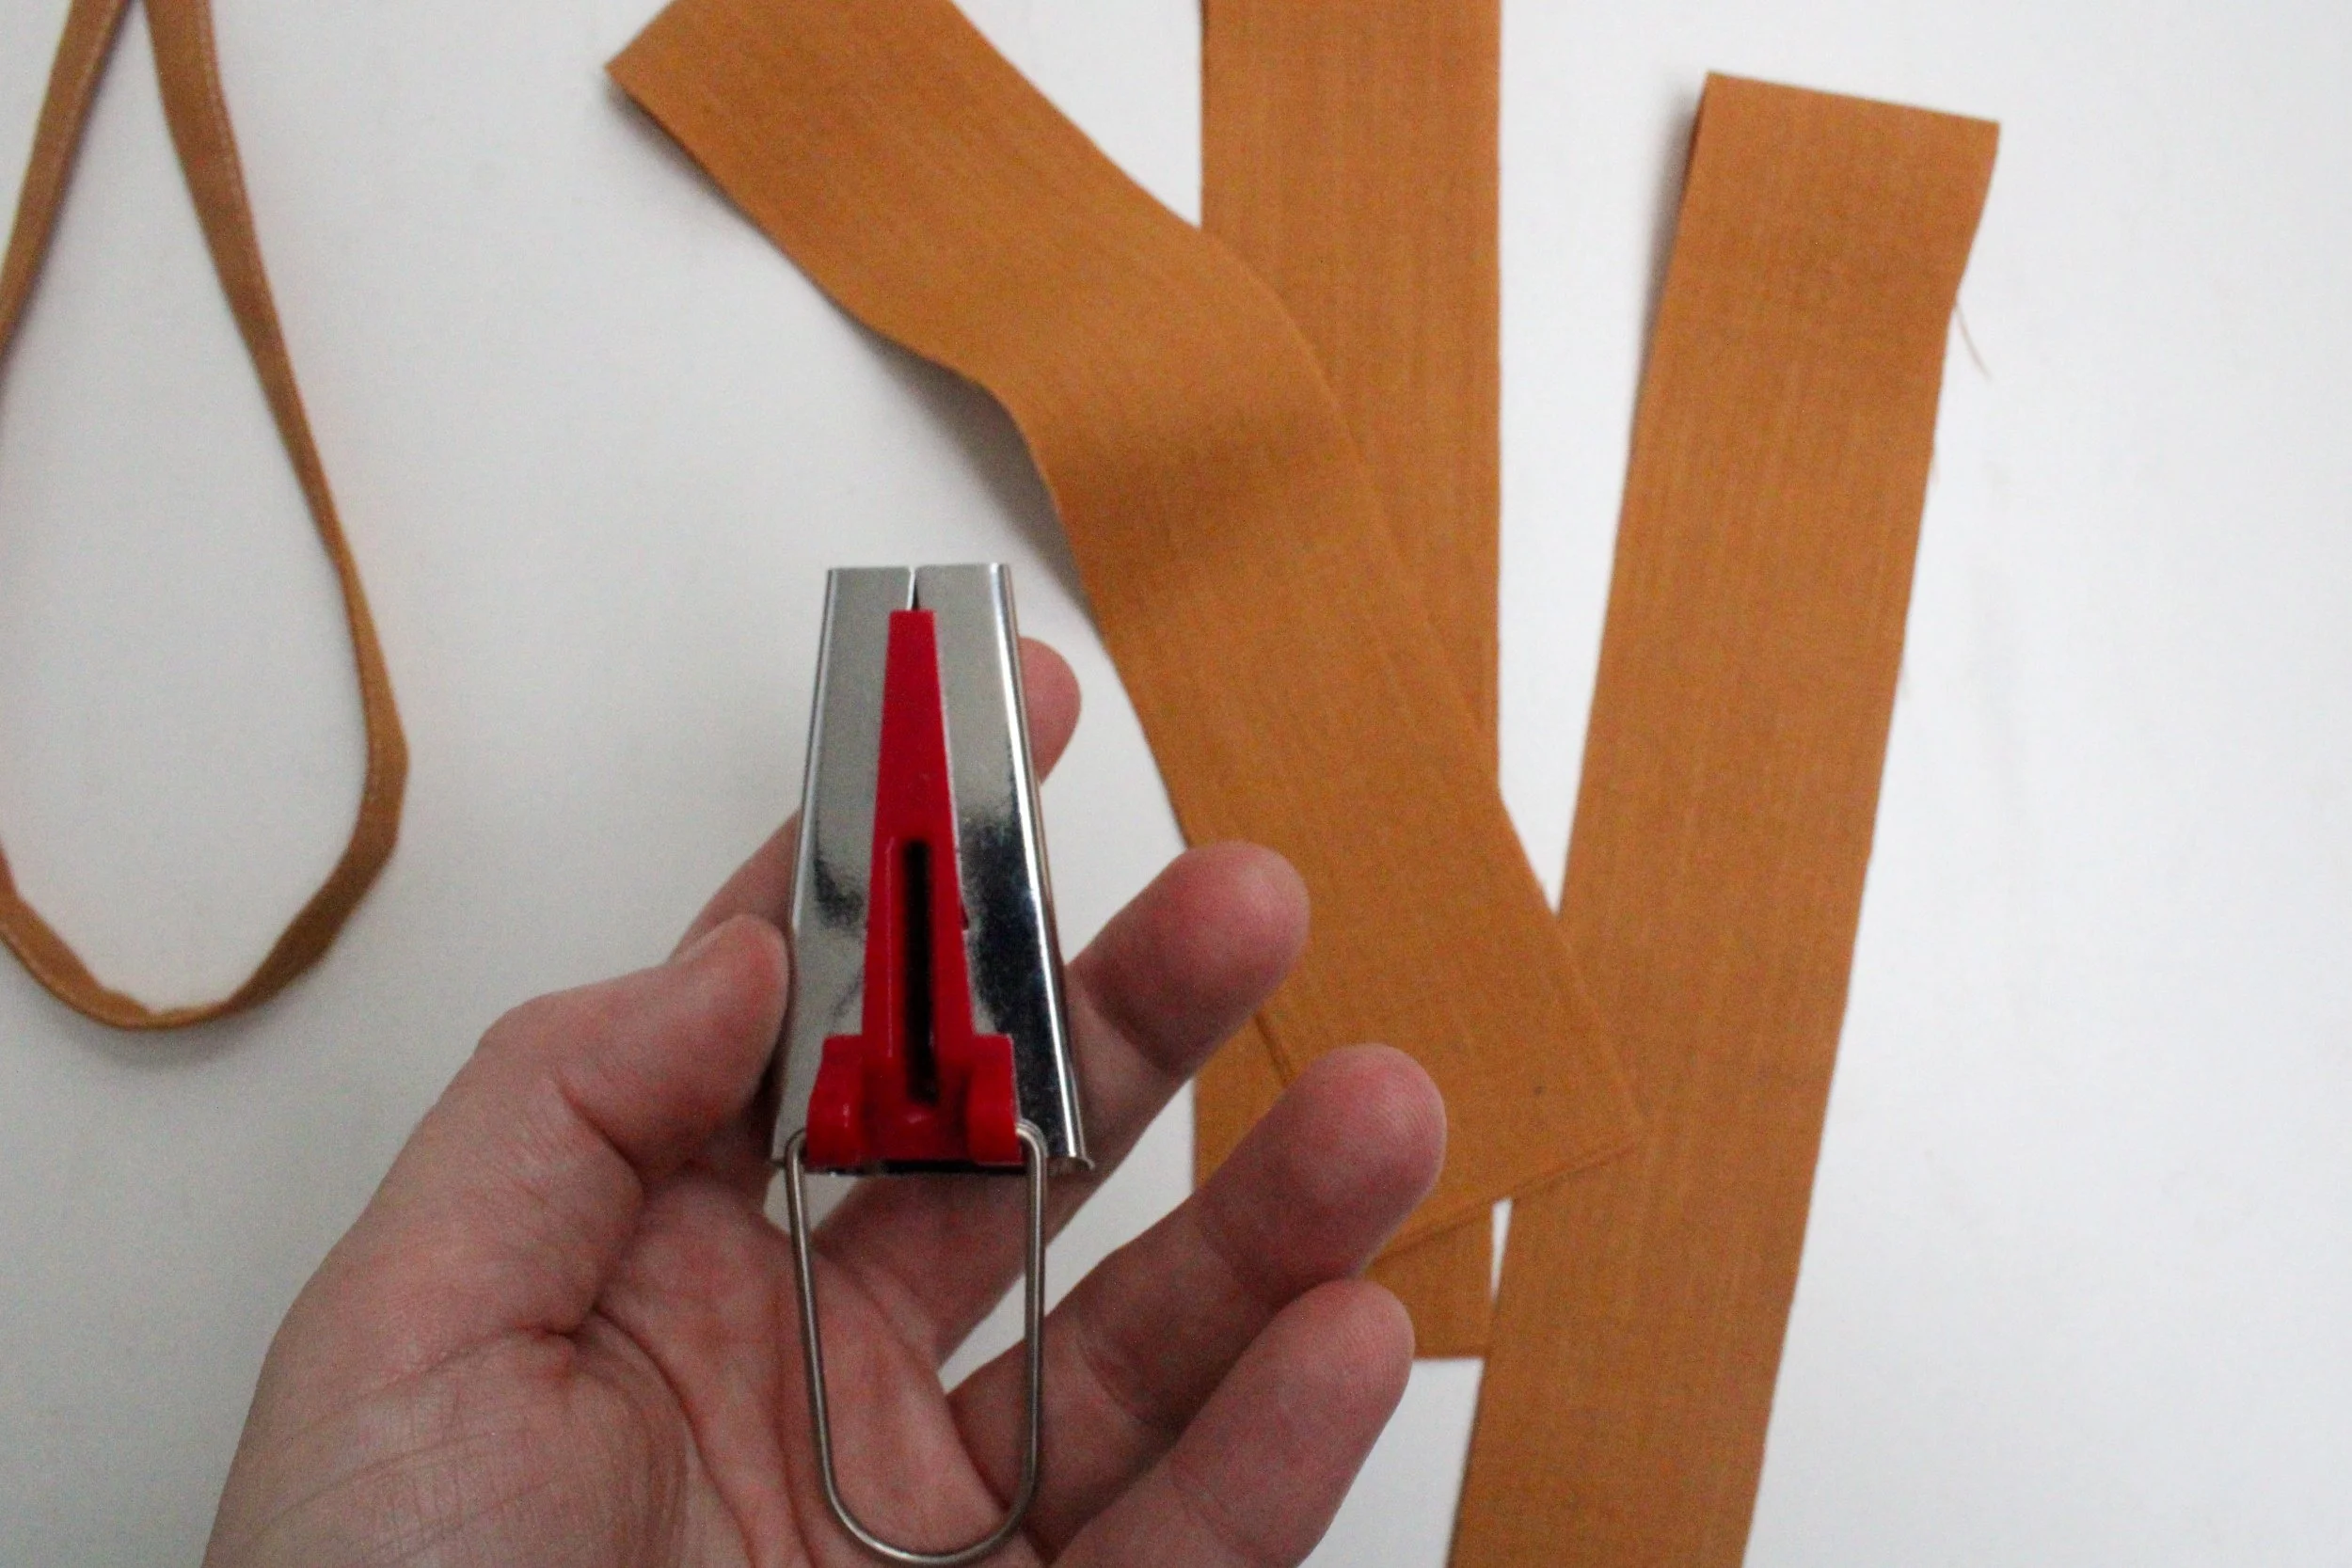
For these, I like to use a bias tape maker. It’s one of my favorite little tools! You can absolutely make ties without one, though.
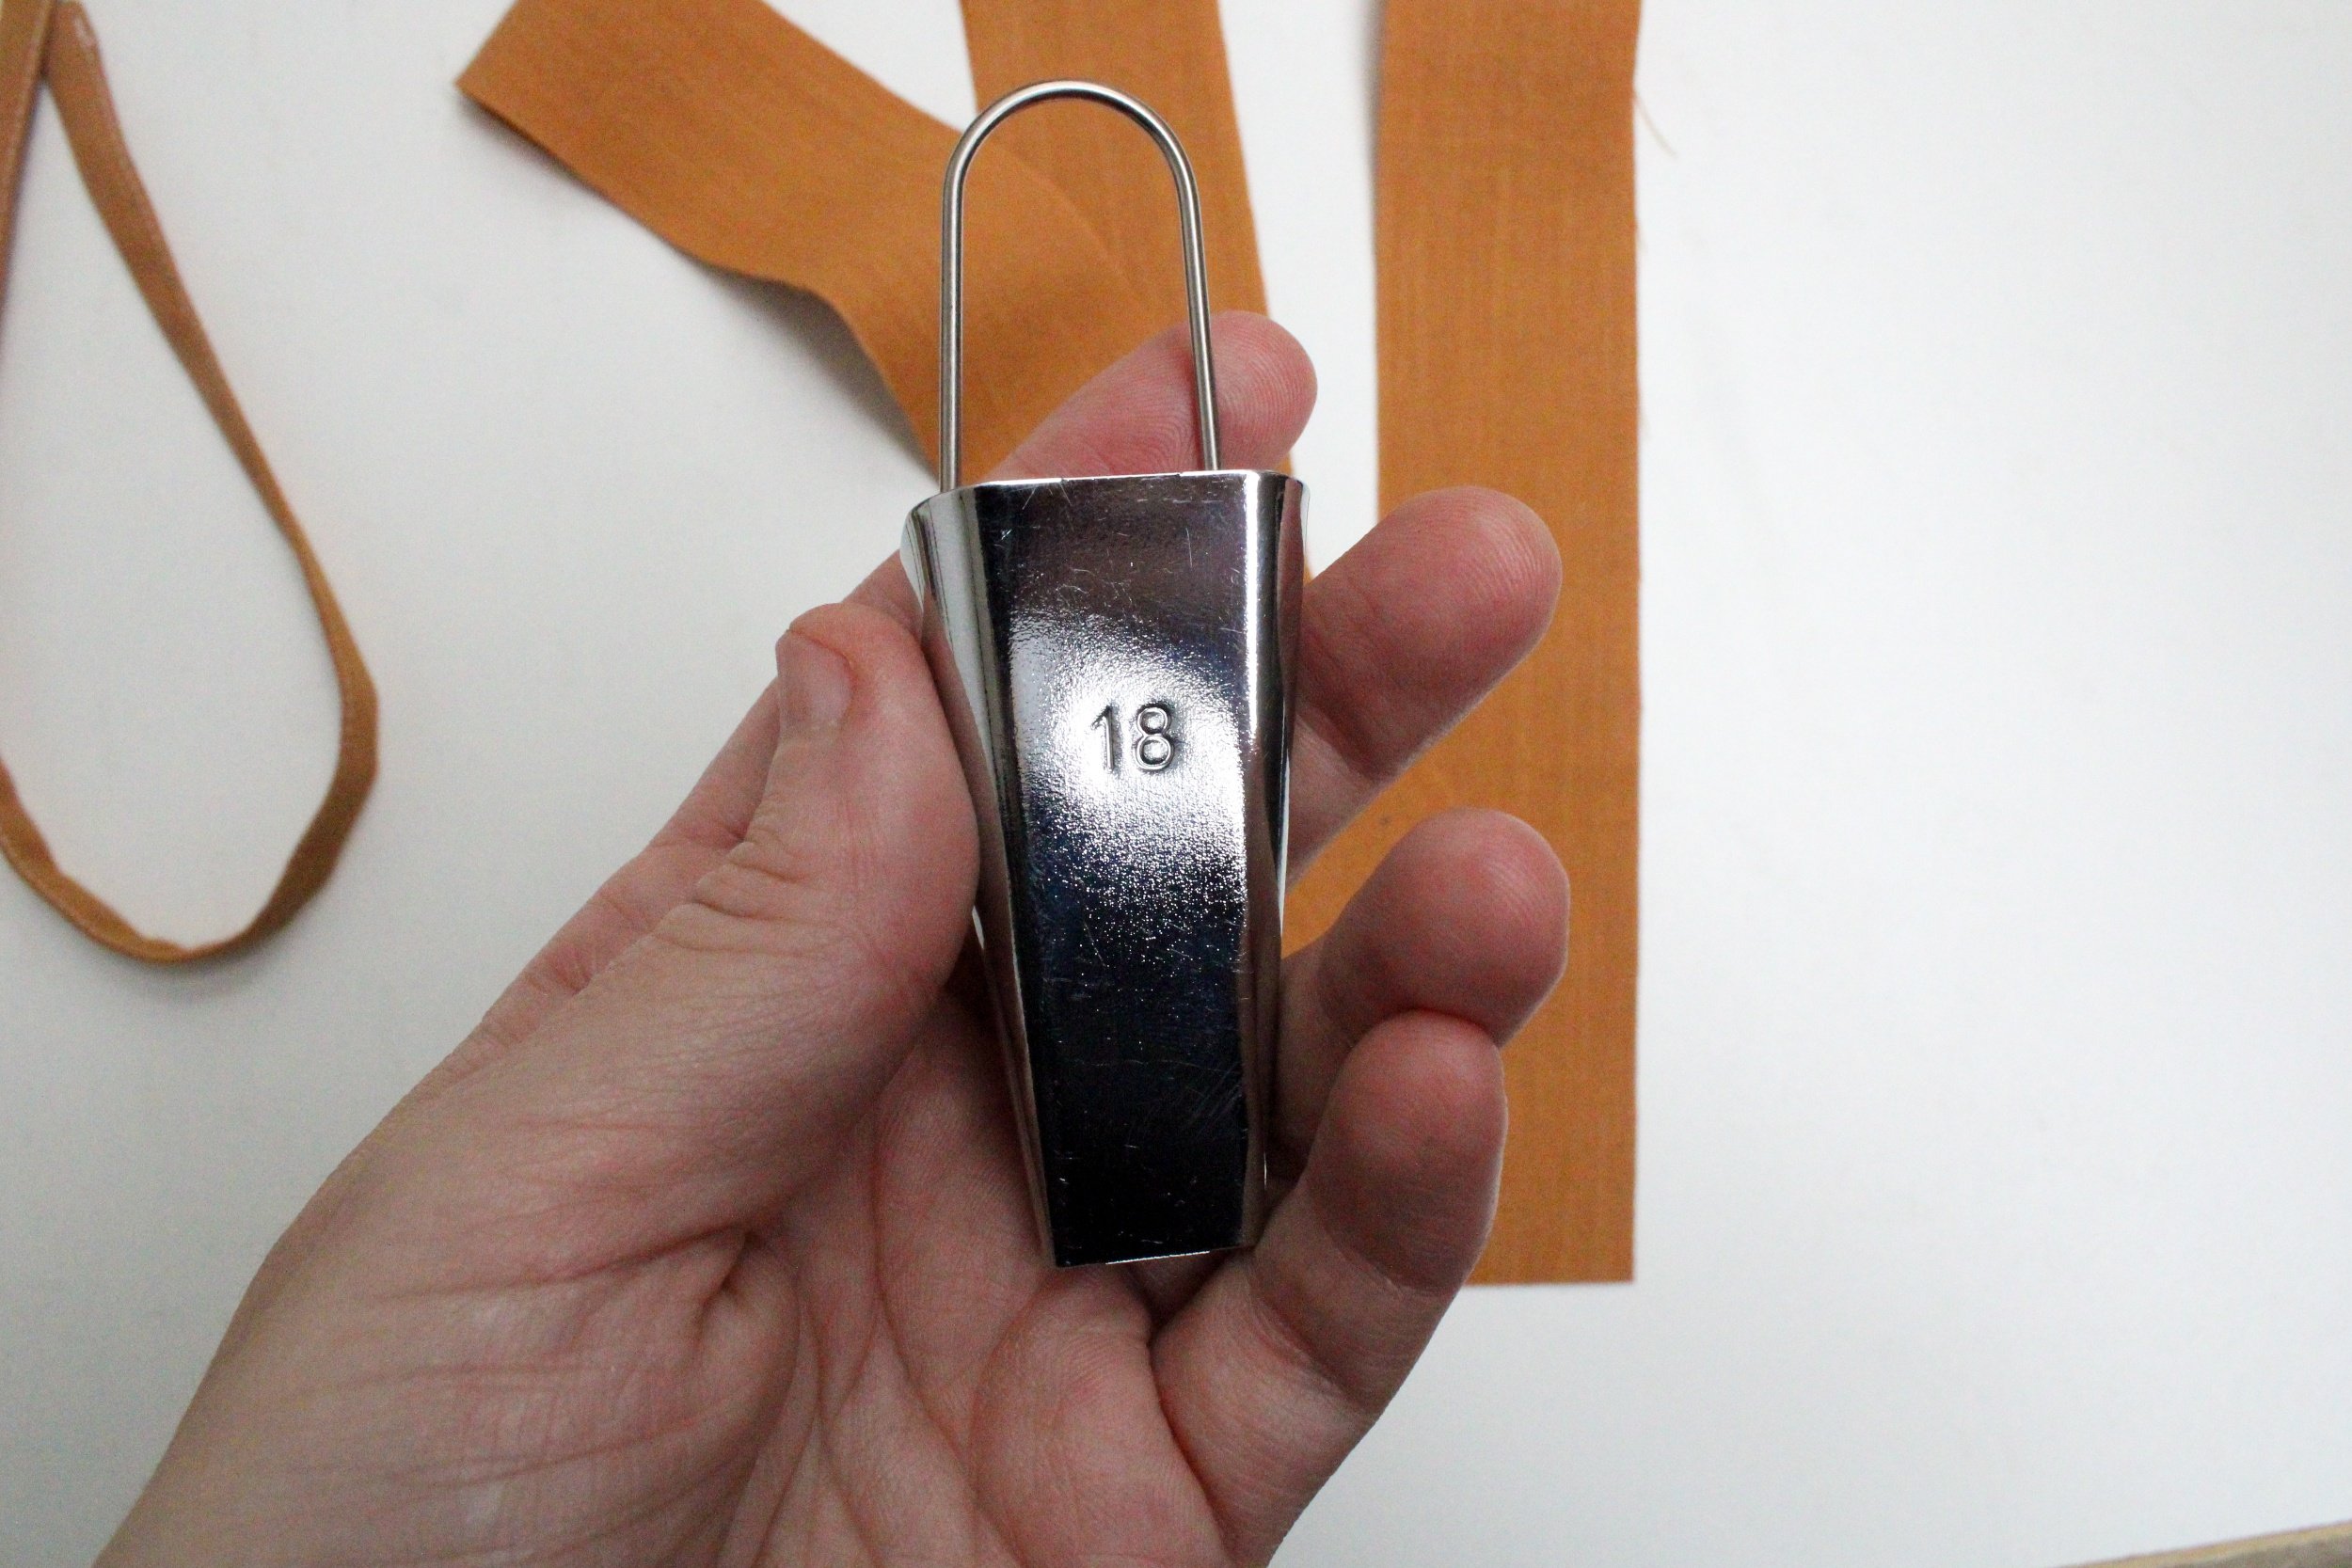
If you’re using a bias tape maker, you’ll need a size 18 (the red one).
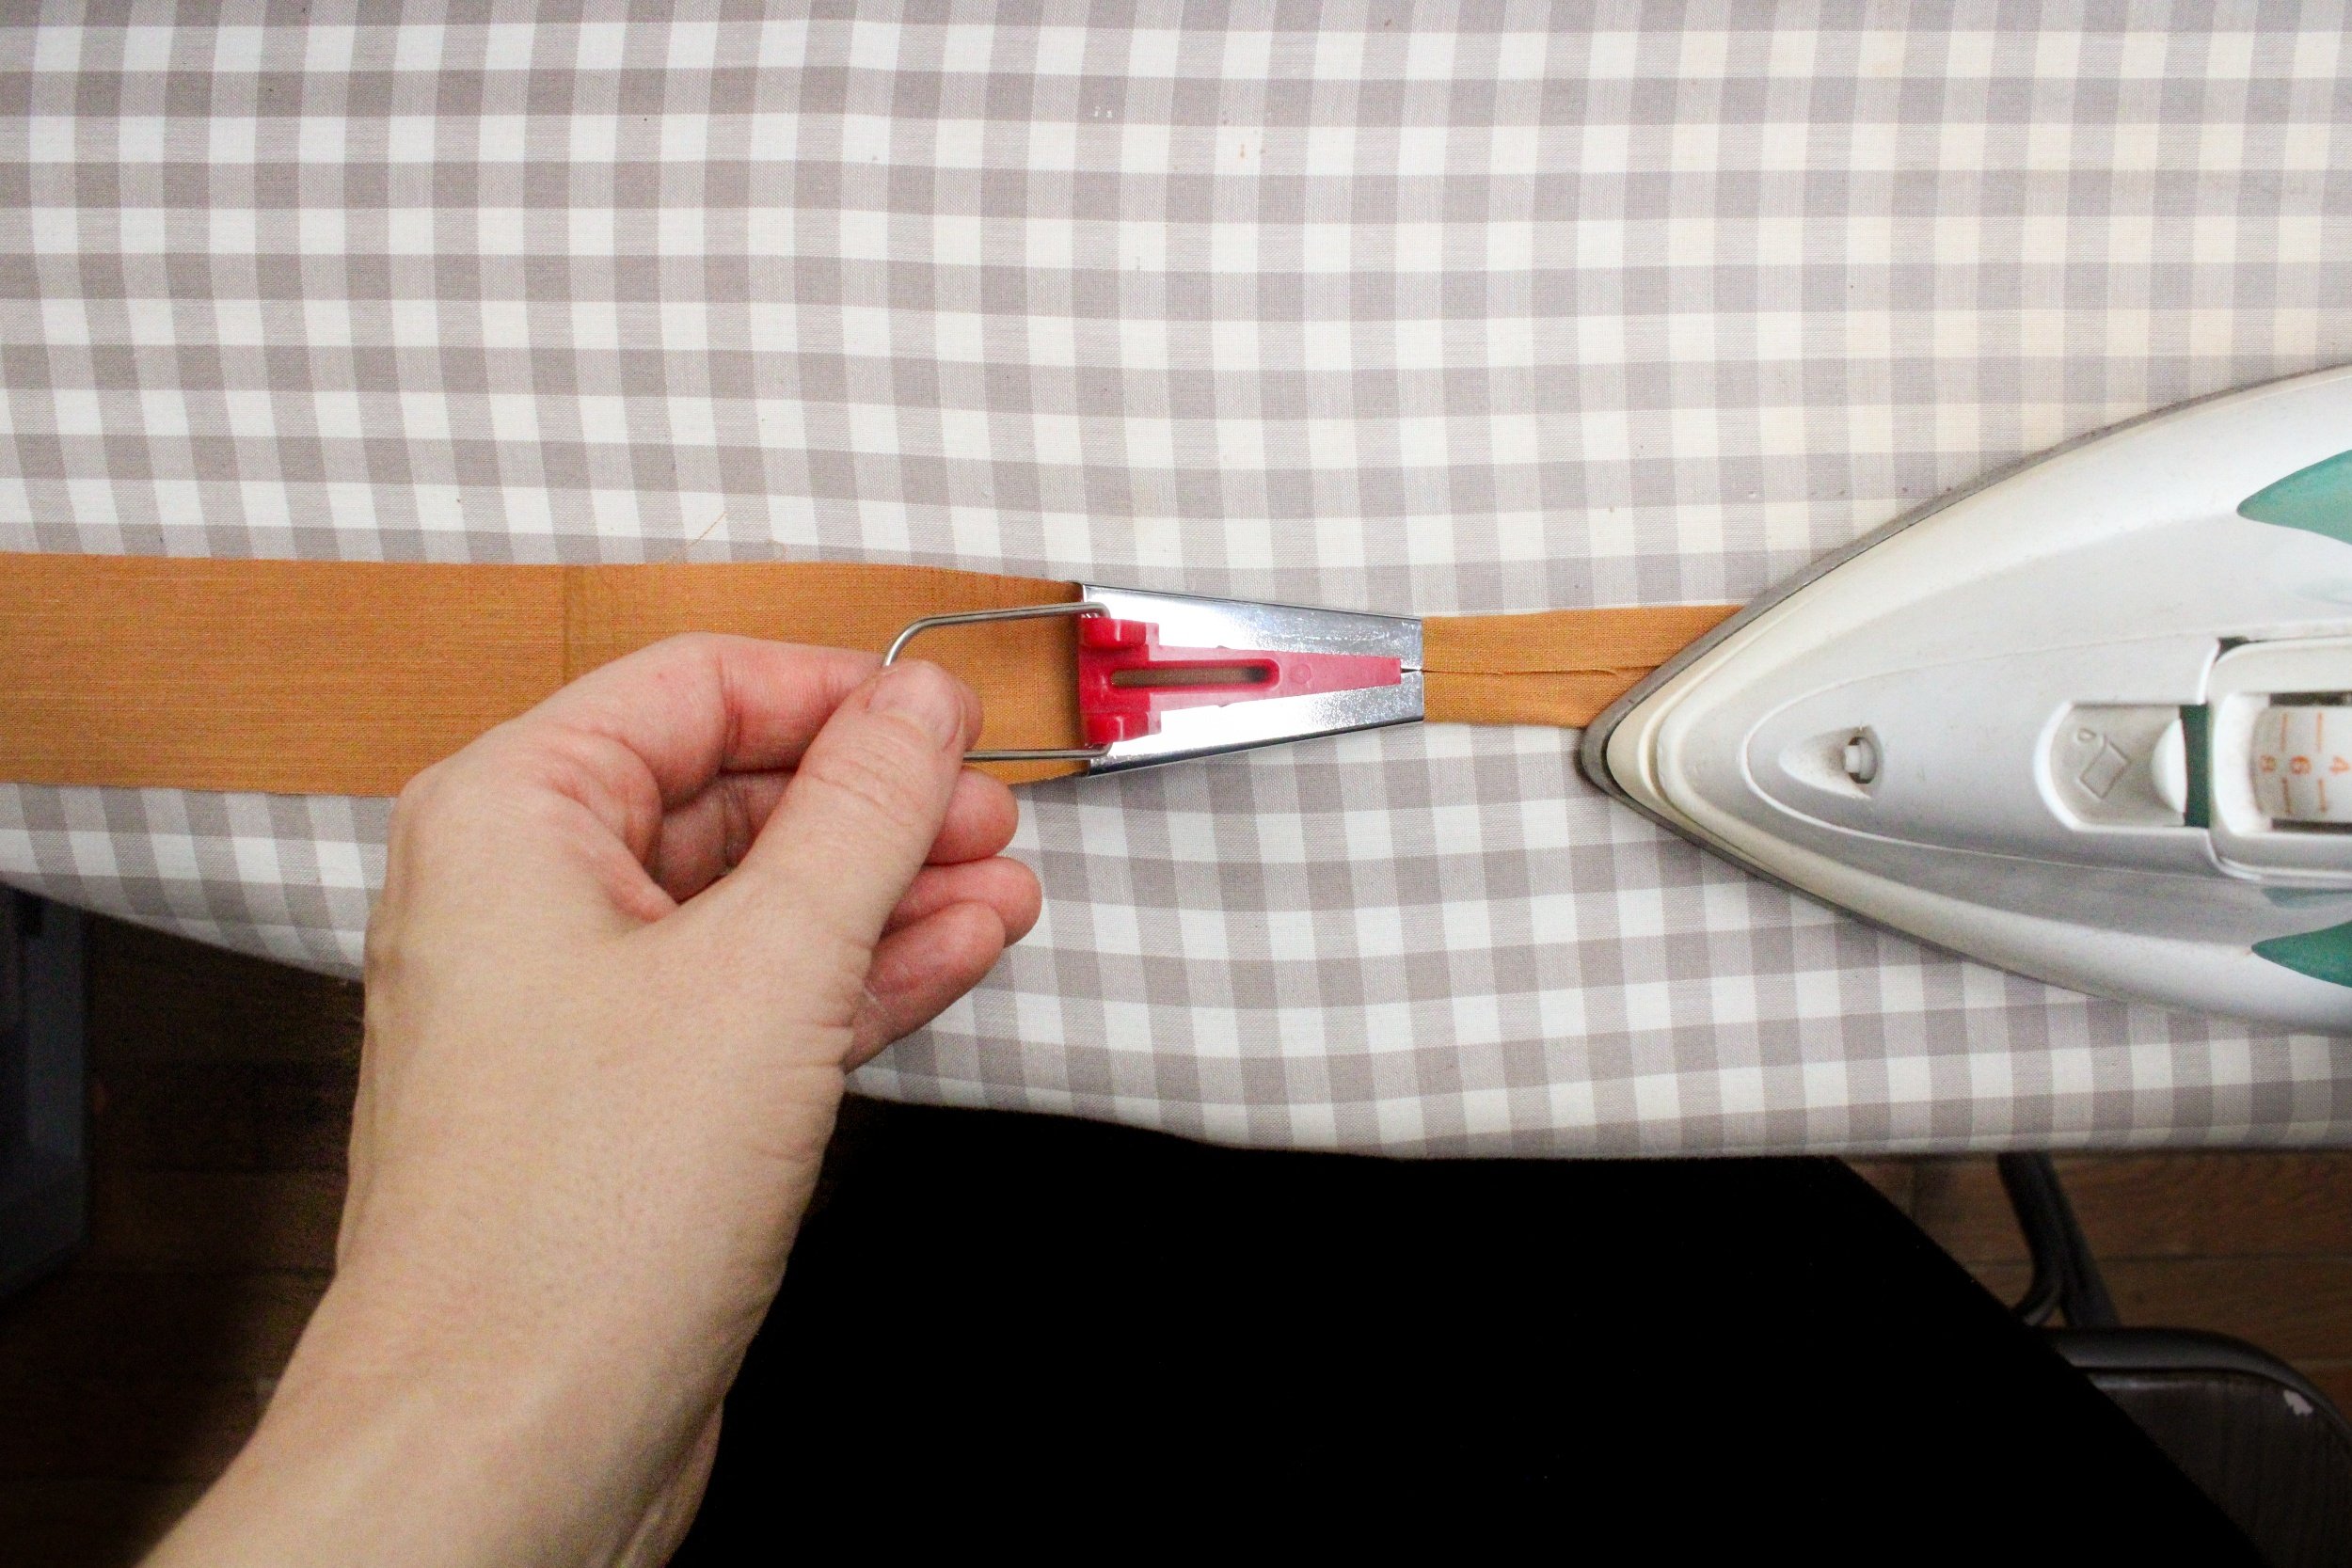
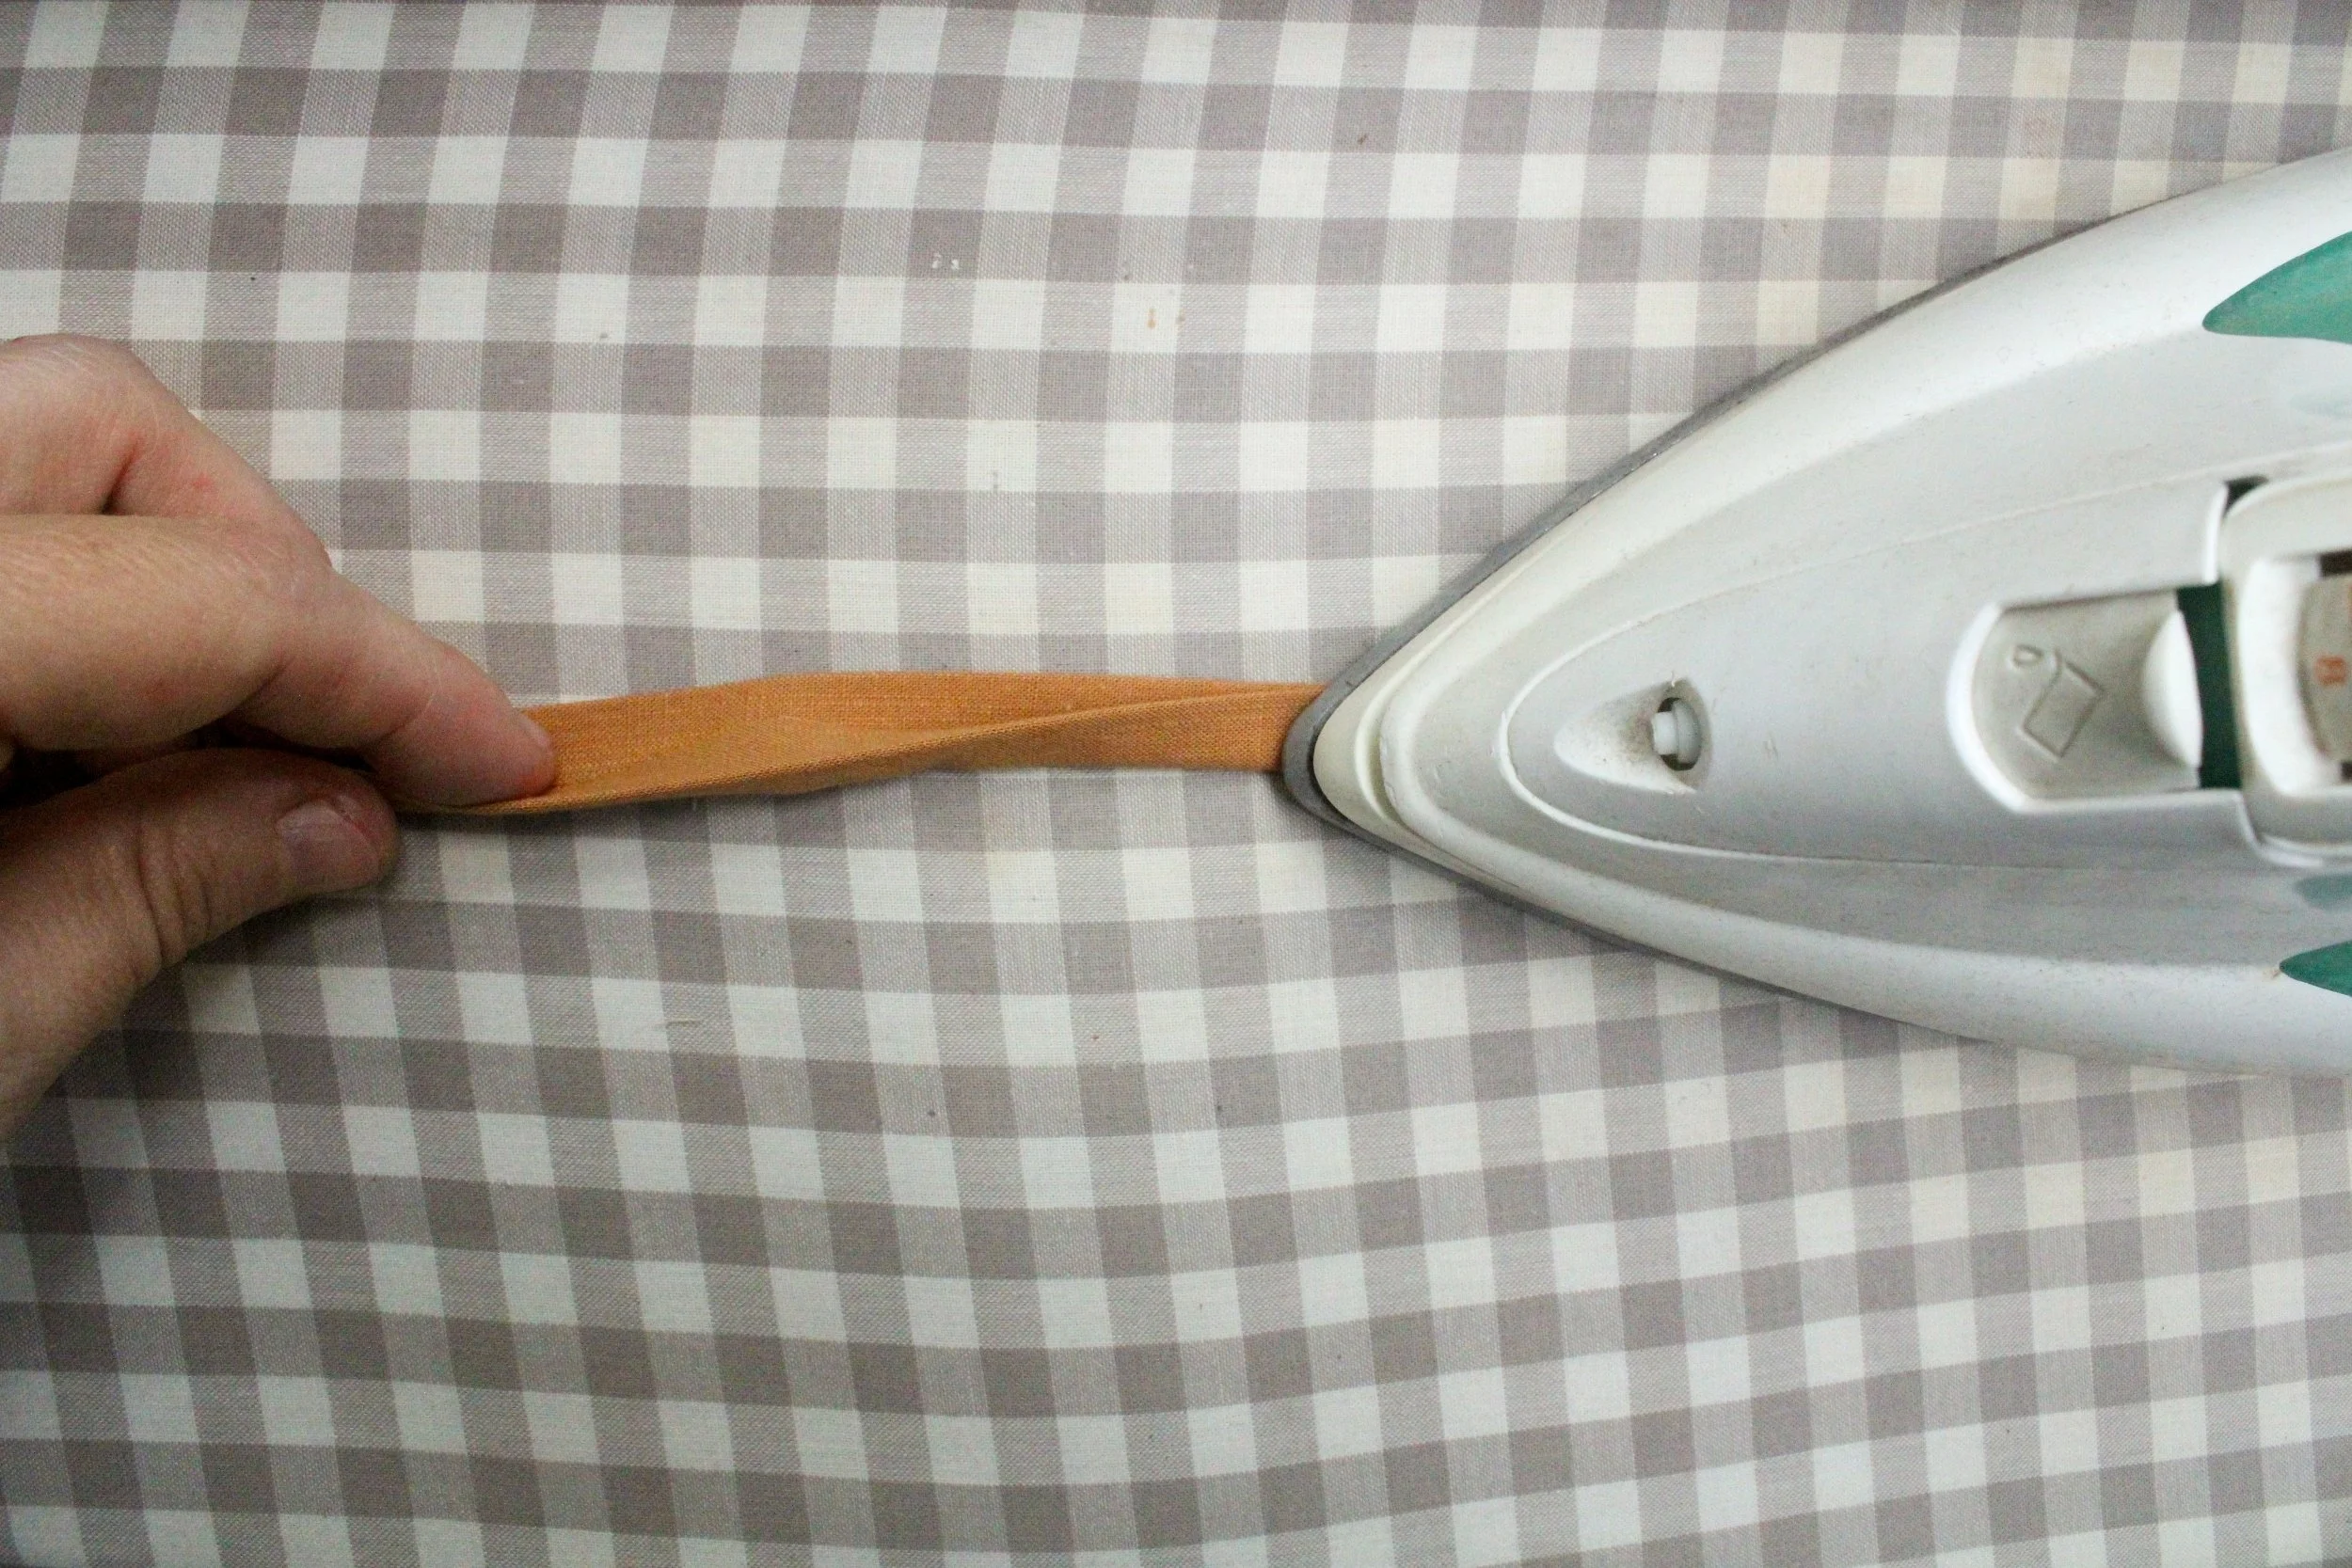
Here’s how it works! Very cool. You just thread the fabric strips through the large opening; I use a very tiny crochet hook to help it through the small opening; and then you just follow it with you iron to press the edges towards the center of the strip.
If you’re not using this tool, just press the raw edges in towards the center of the strip.
Then press that in half again so that the raw edges are contained.
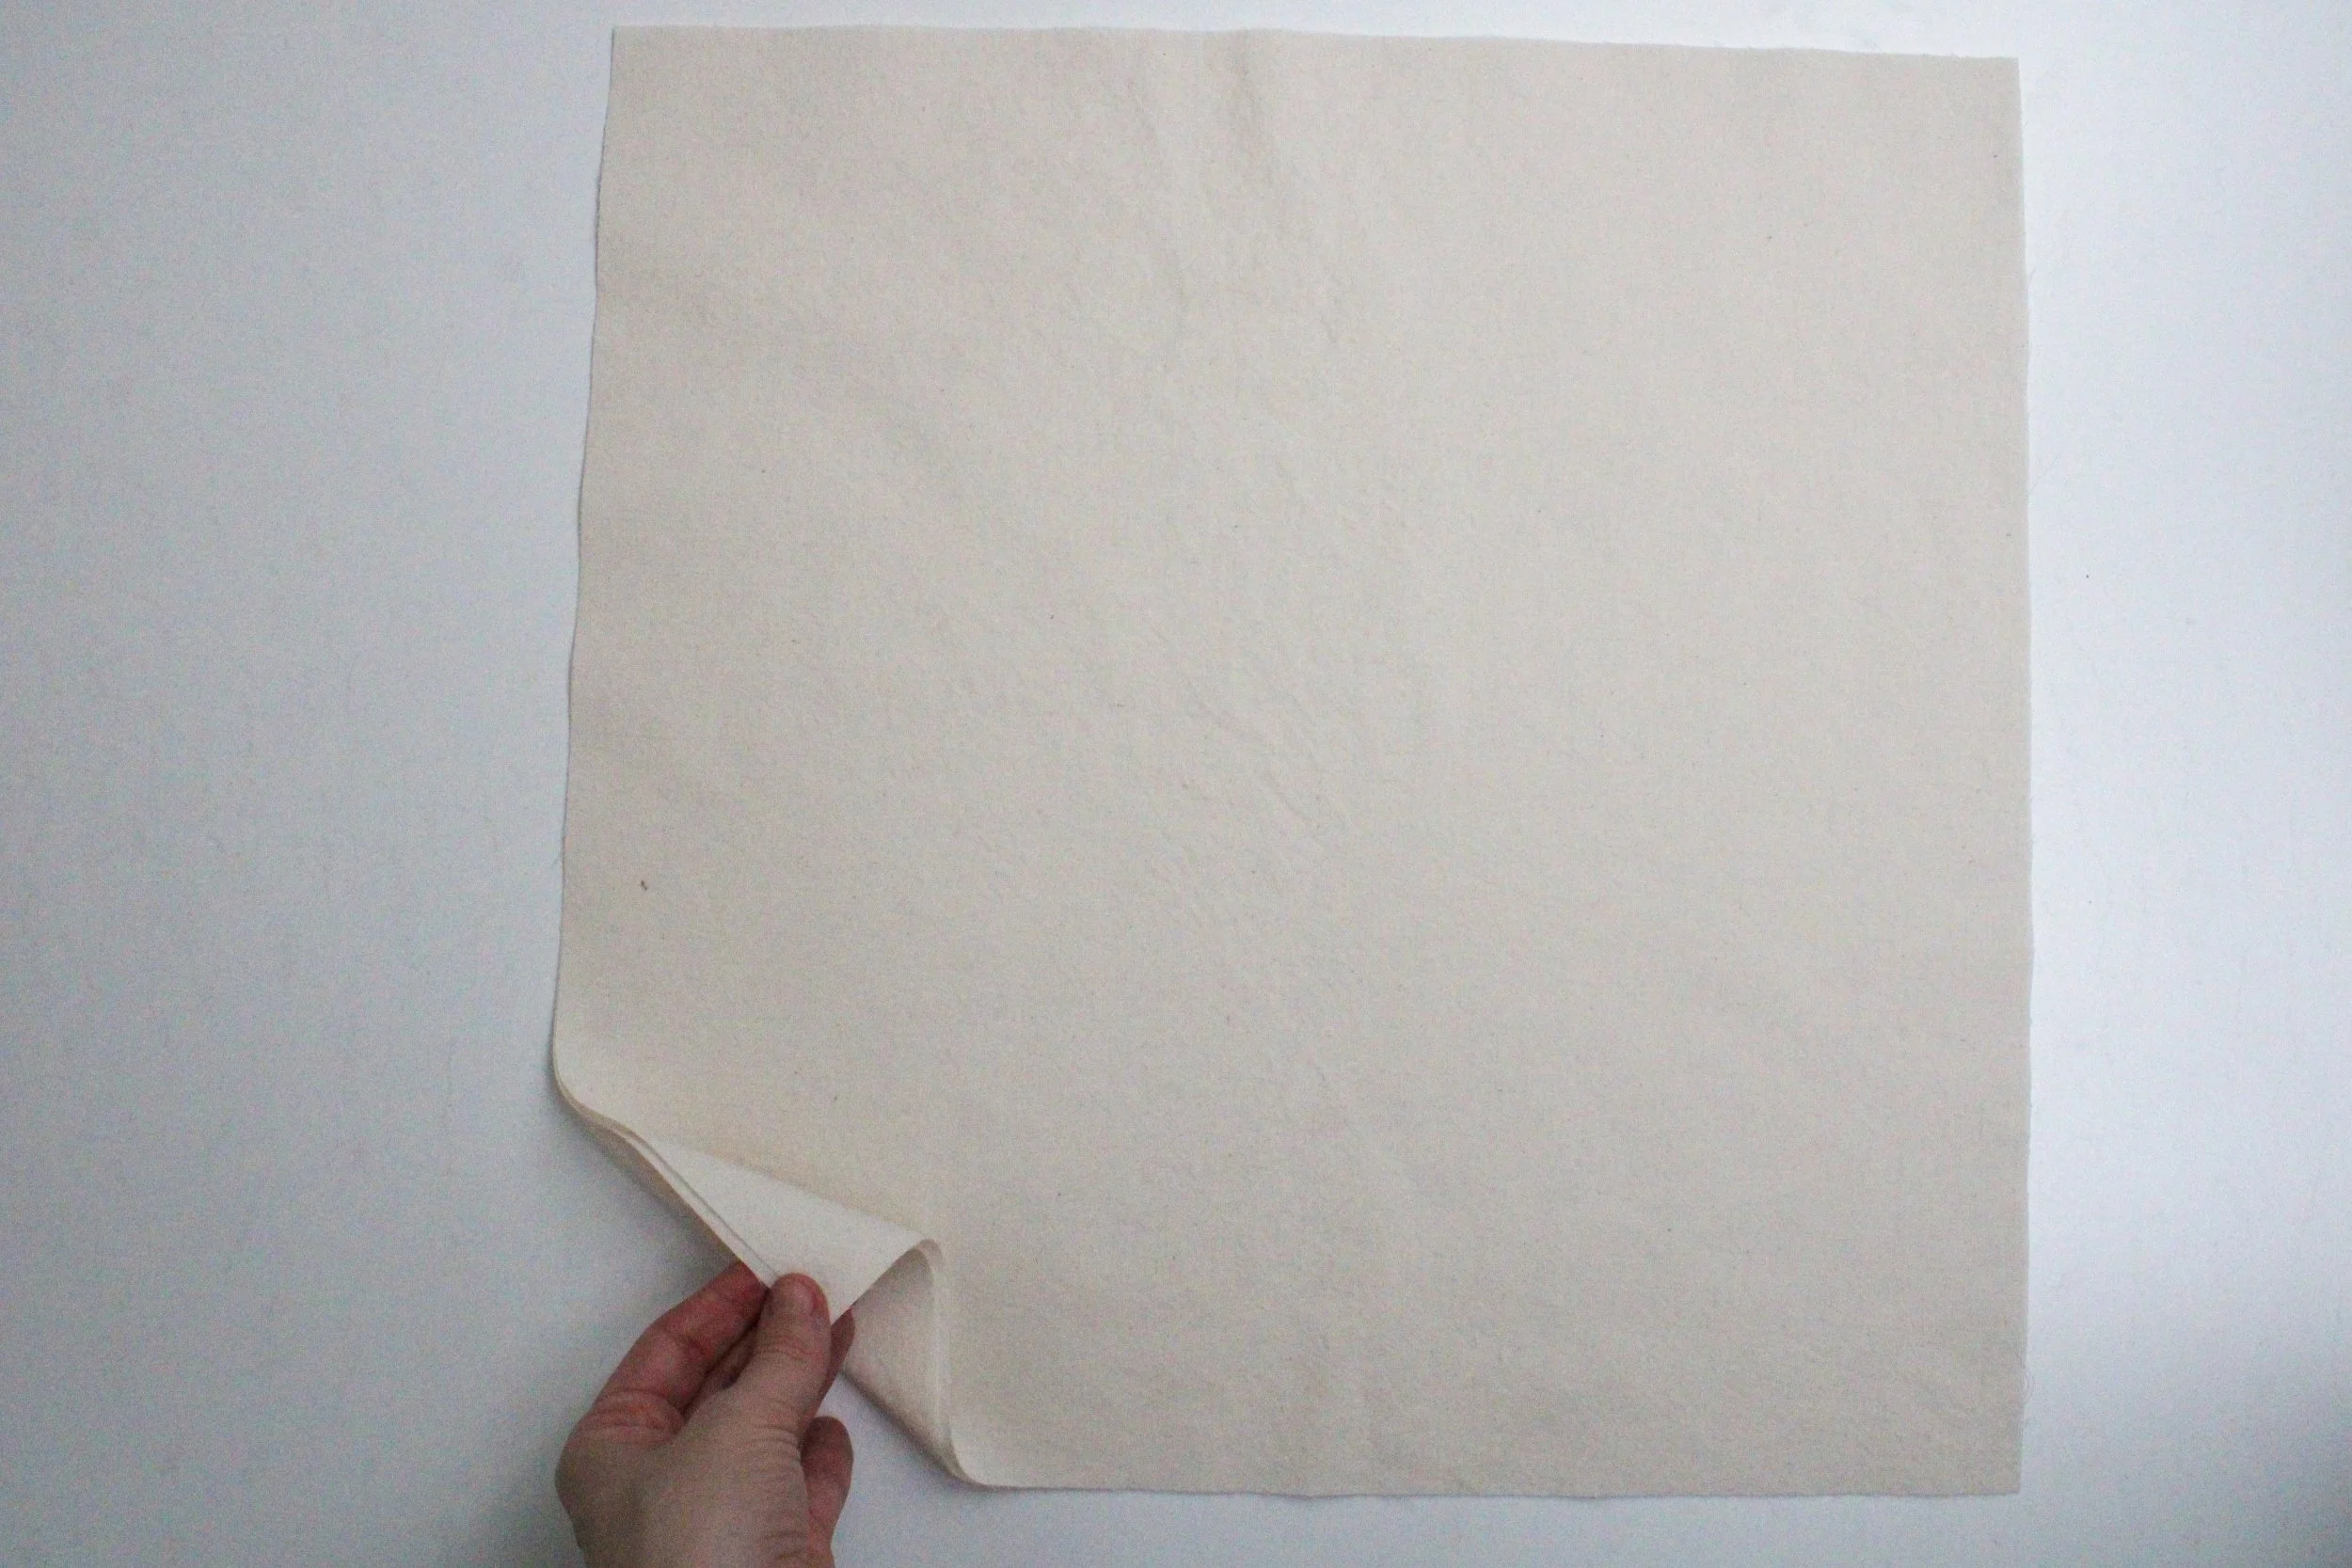
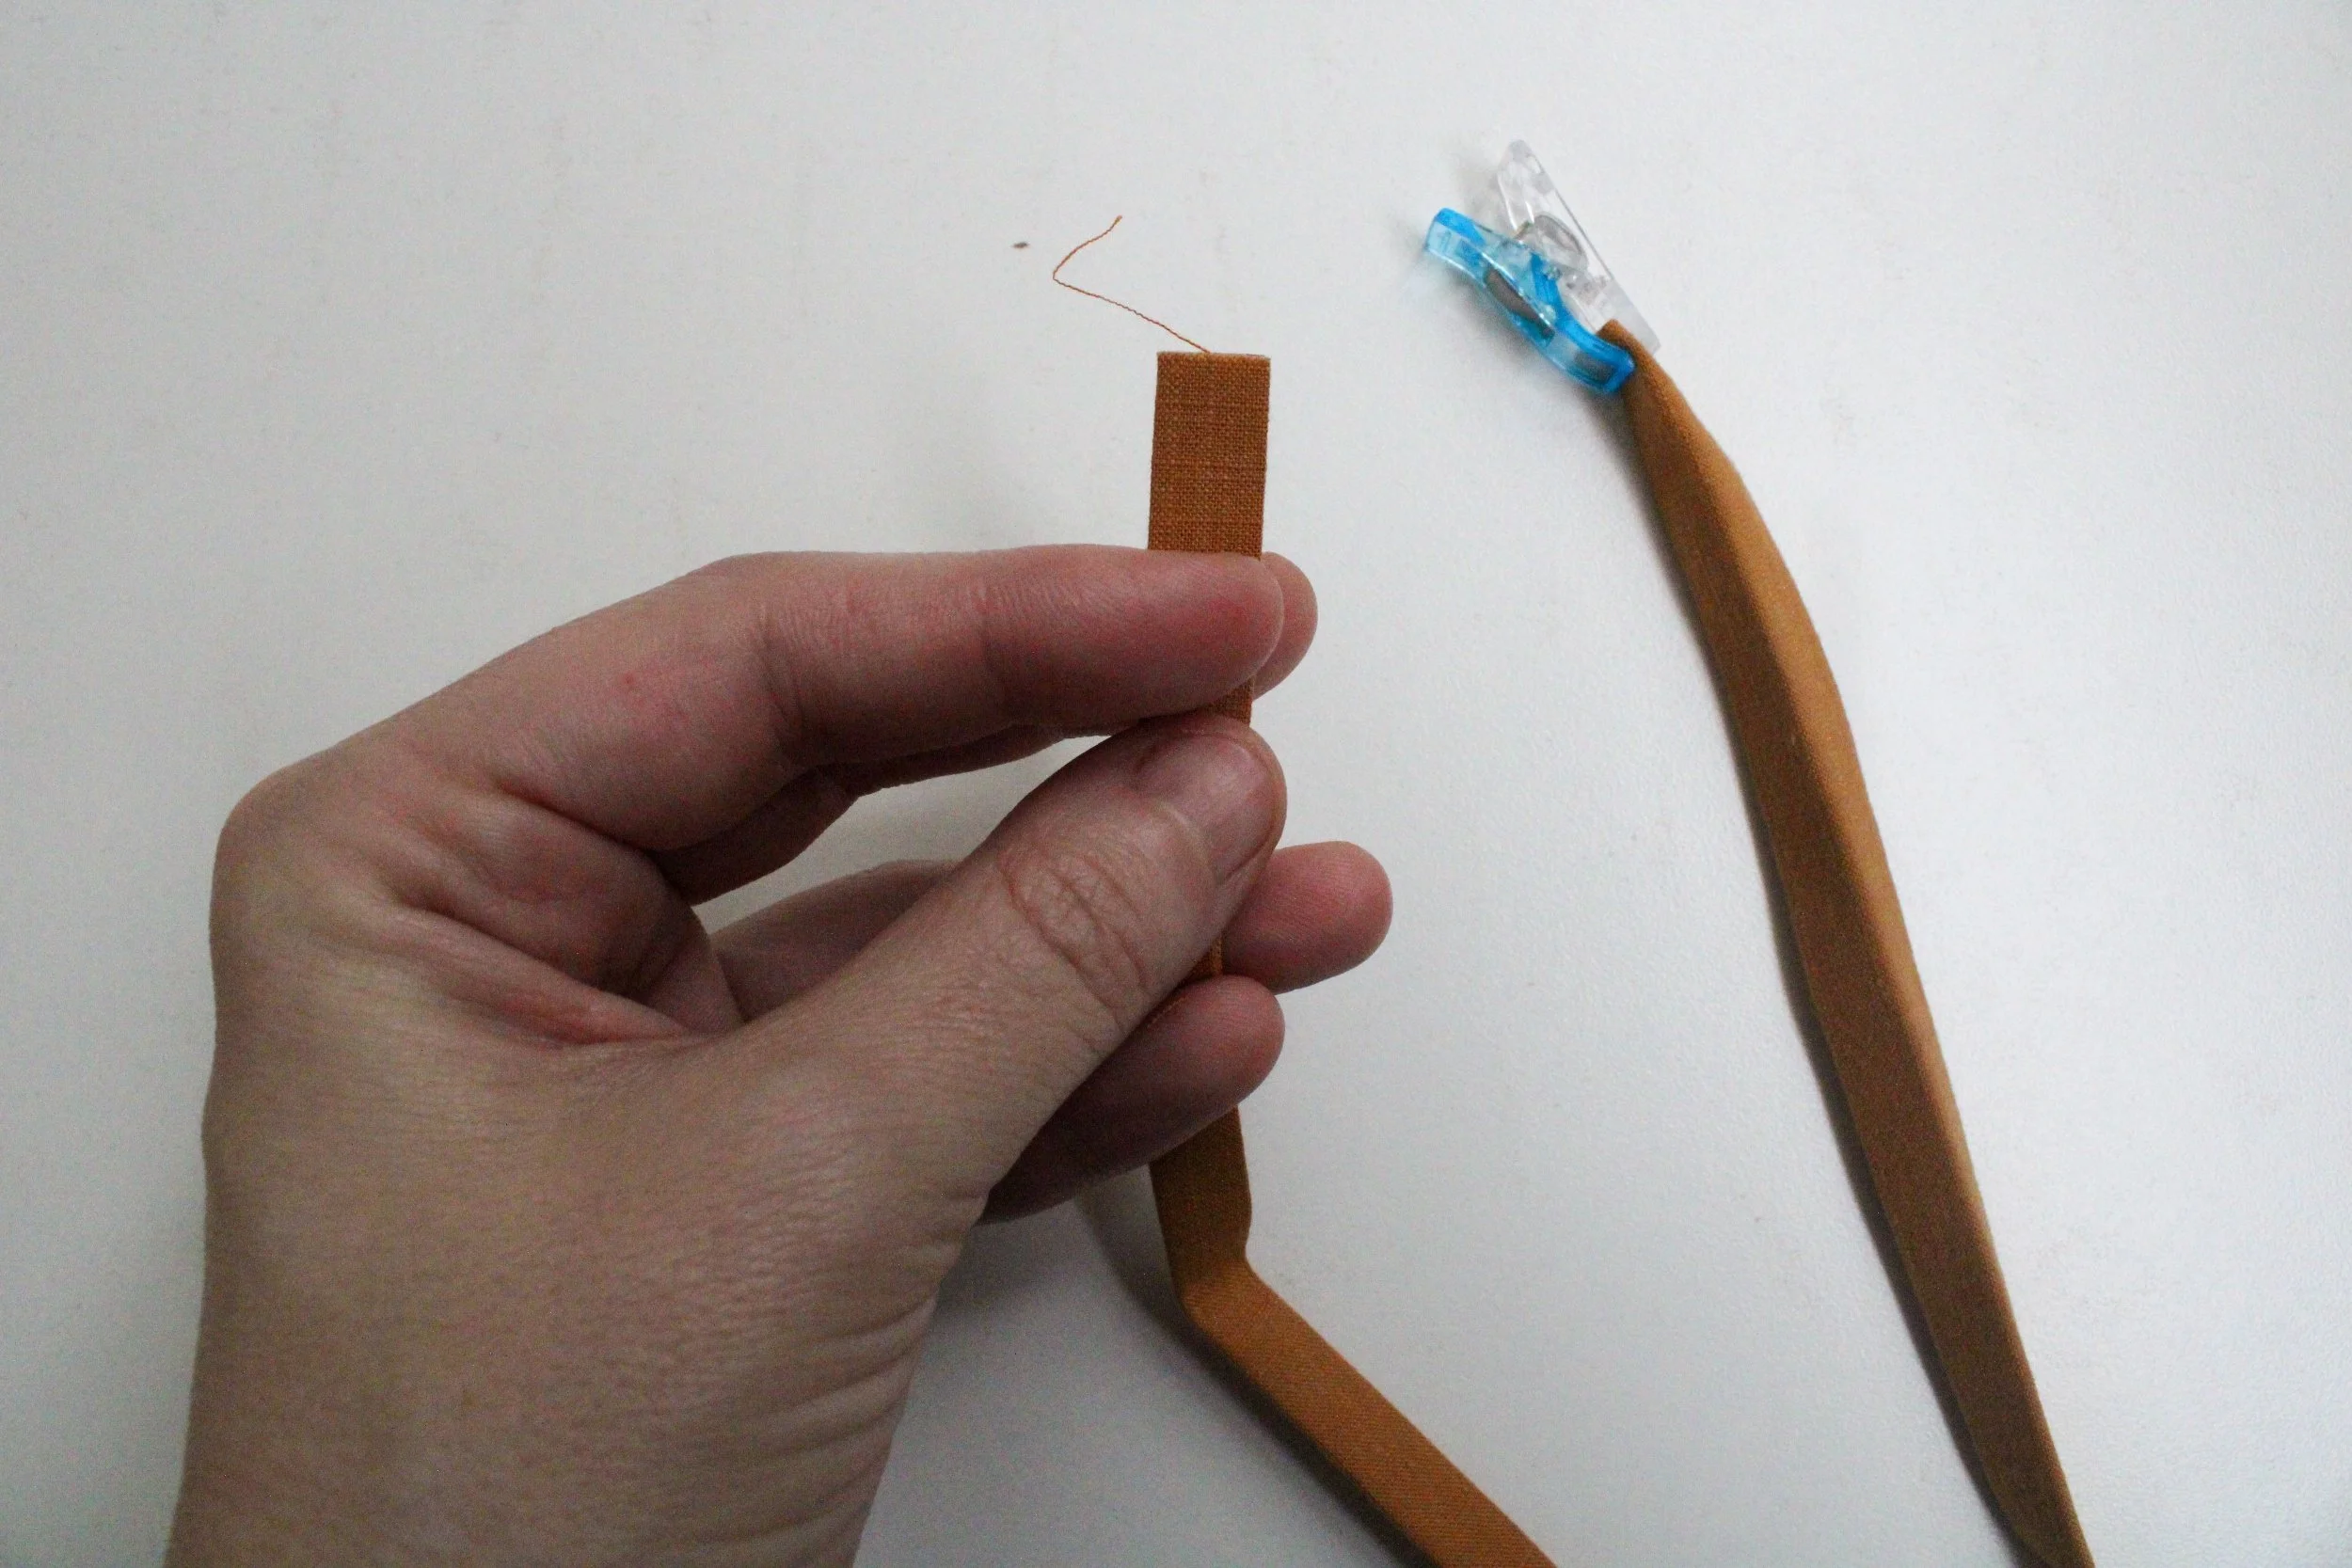
Unfold one end of your tie and trim the corners off, from the raw edge to the first crease.
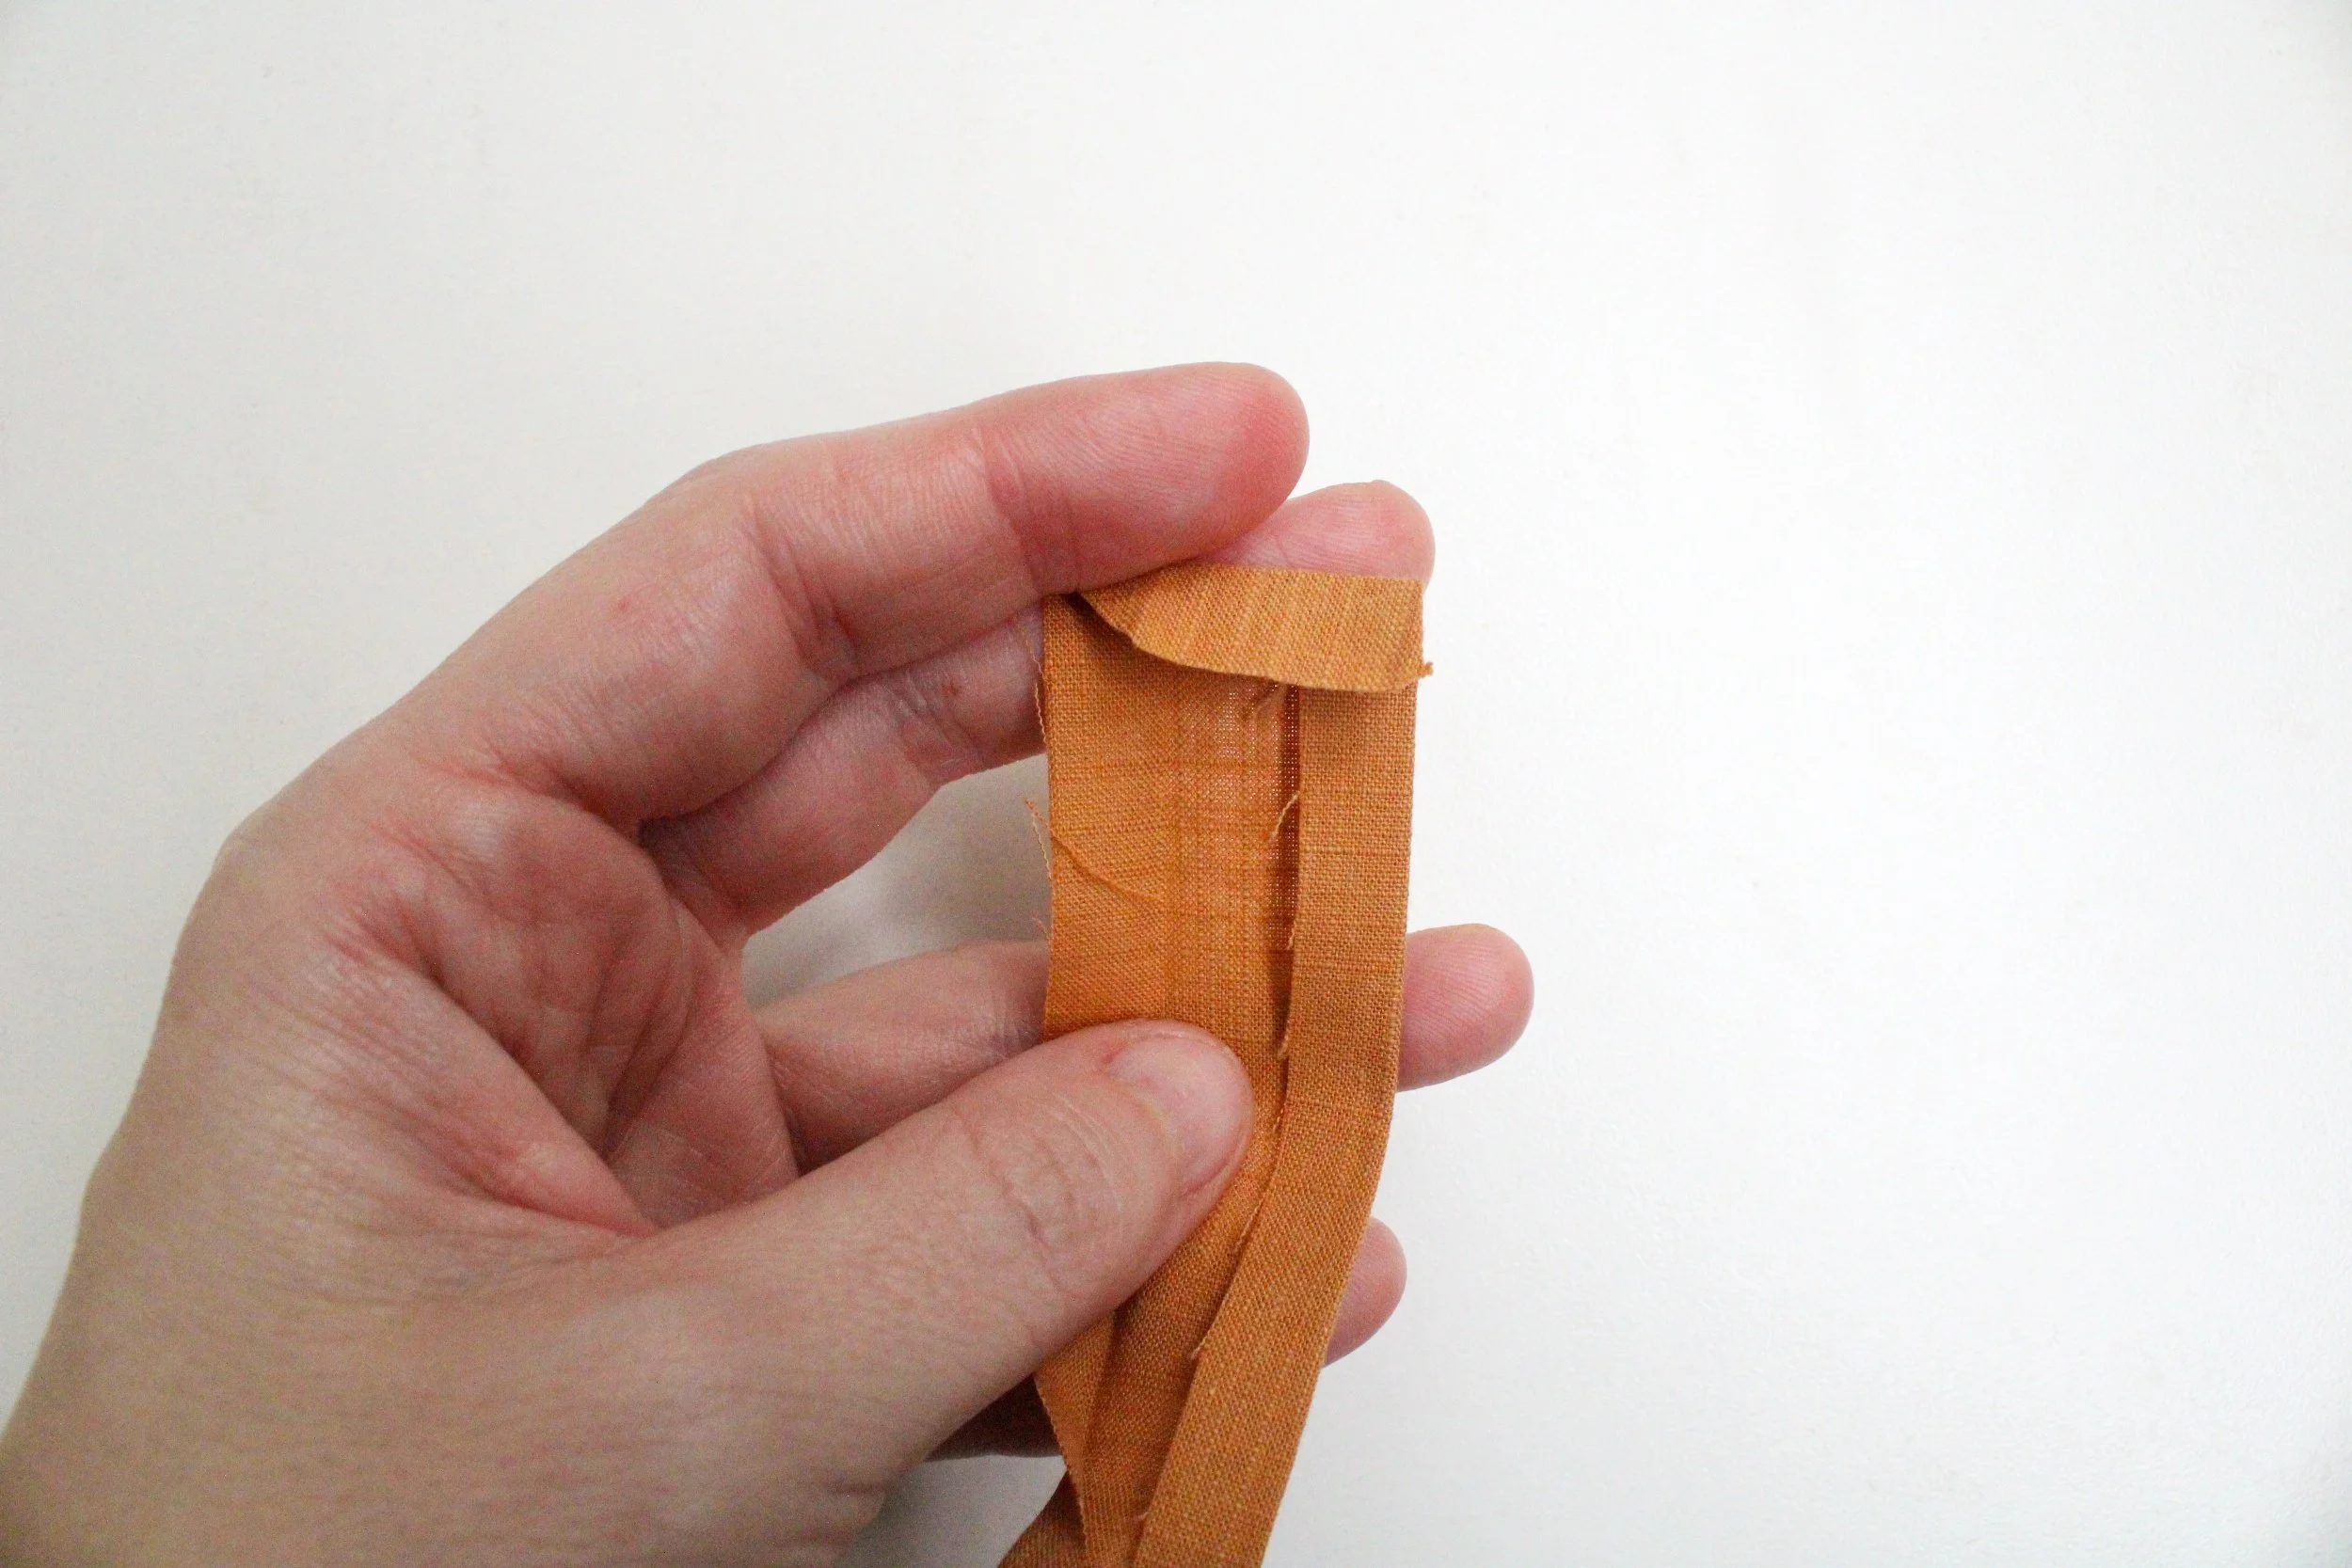
(I should’ve gotten two pics here, but I did not)
First, fold one side back in towards the middle crease; then fold the top edge down.
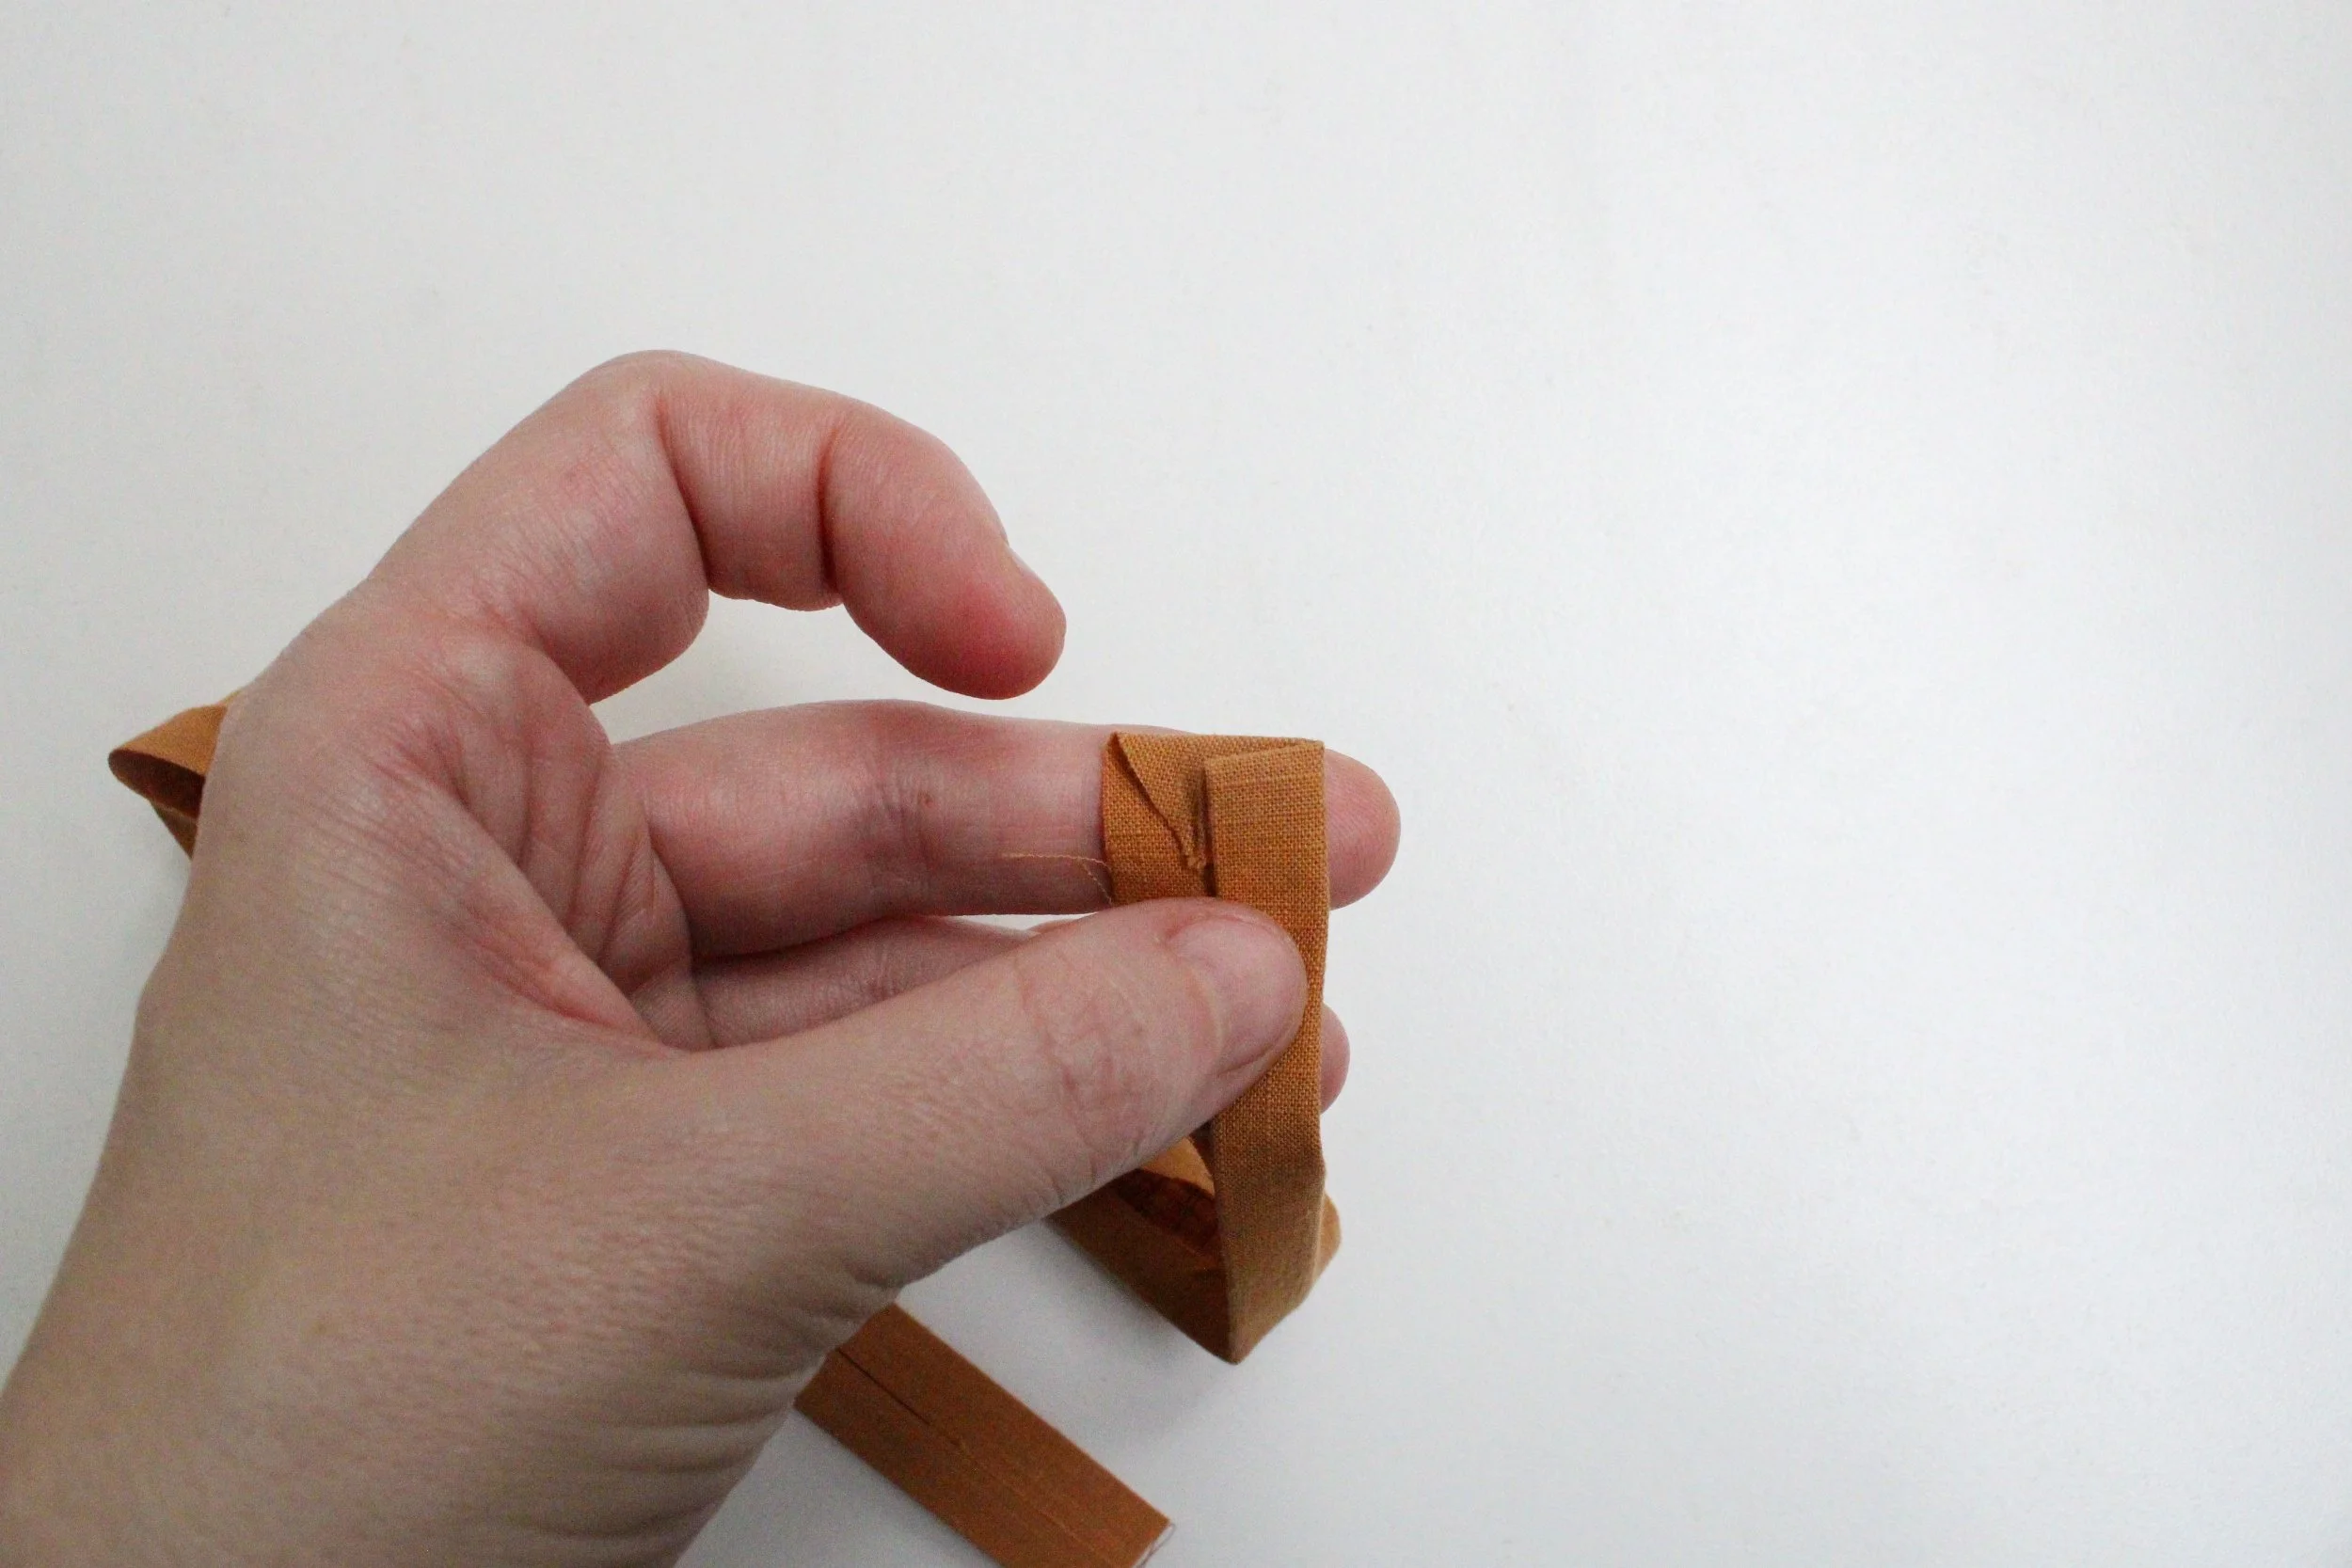
Fold along the middle crease so that there’s only one raw edge sticking out.
Then tuck the raw edge into the folded one.

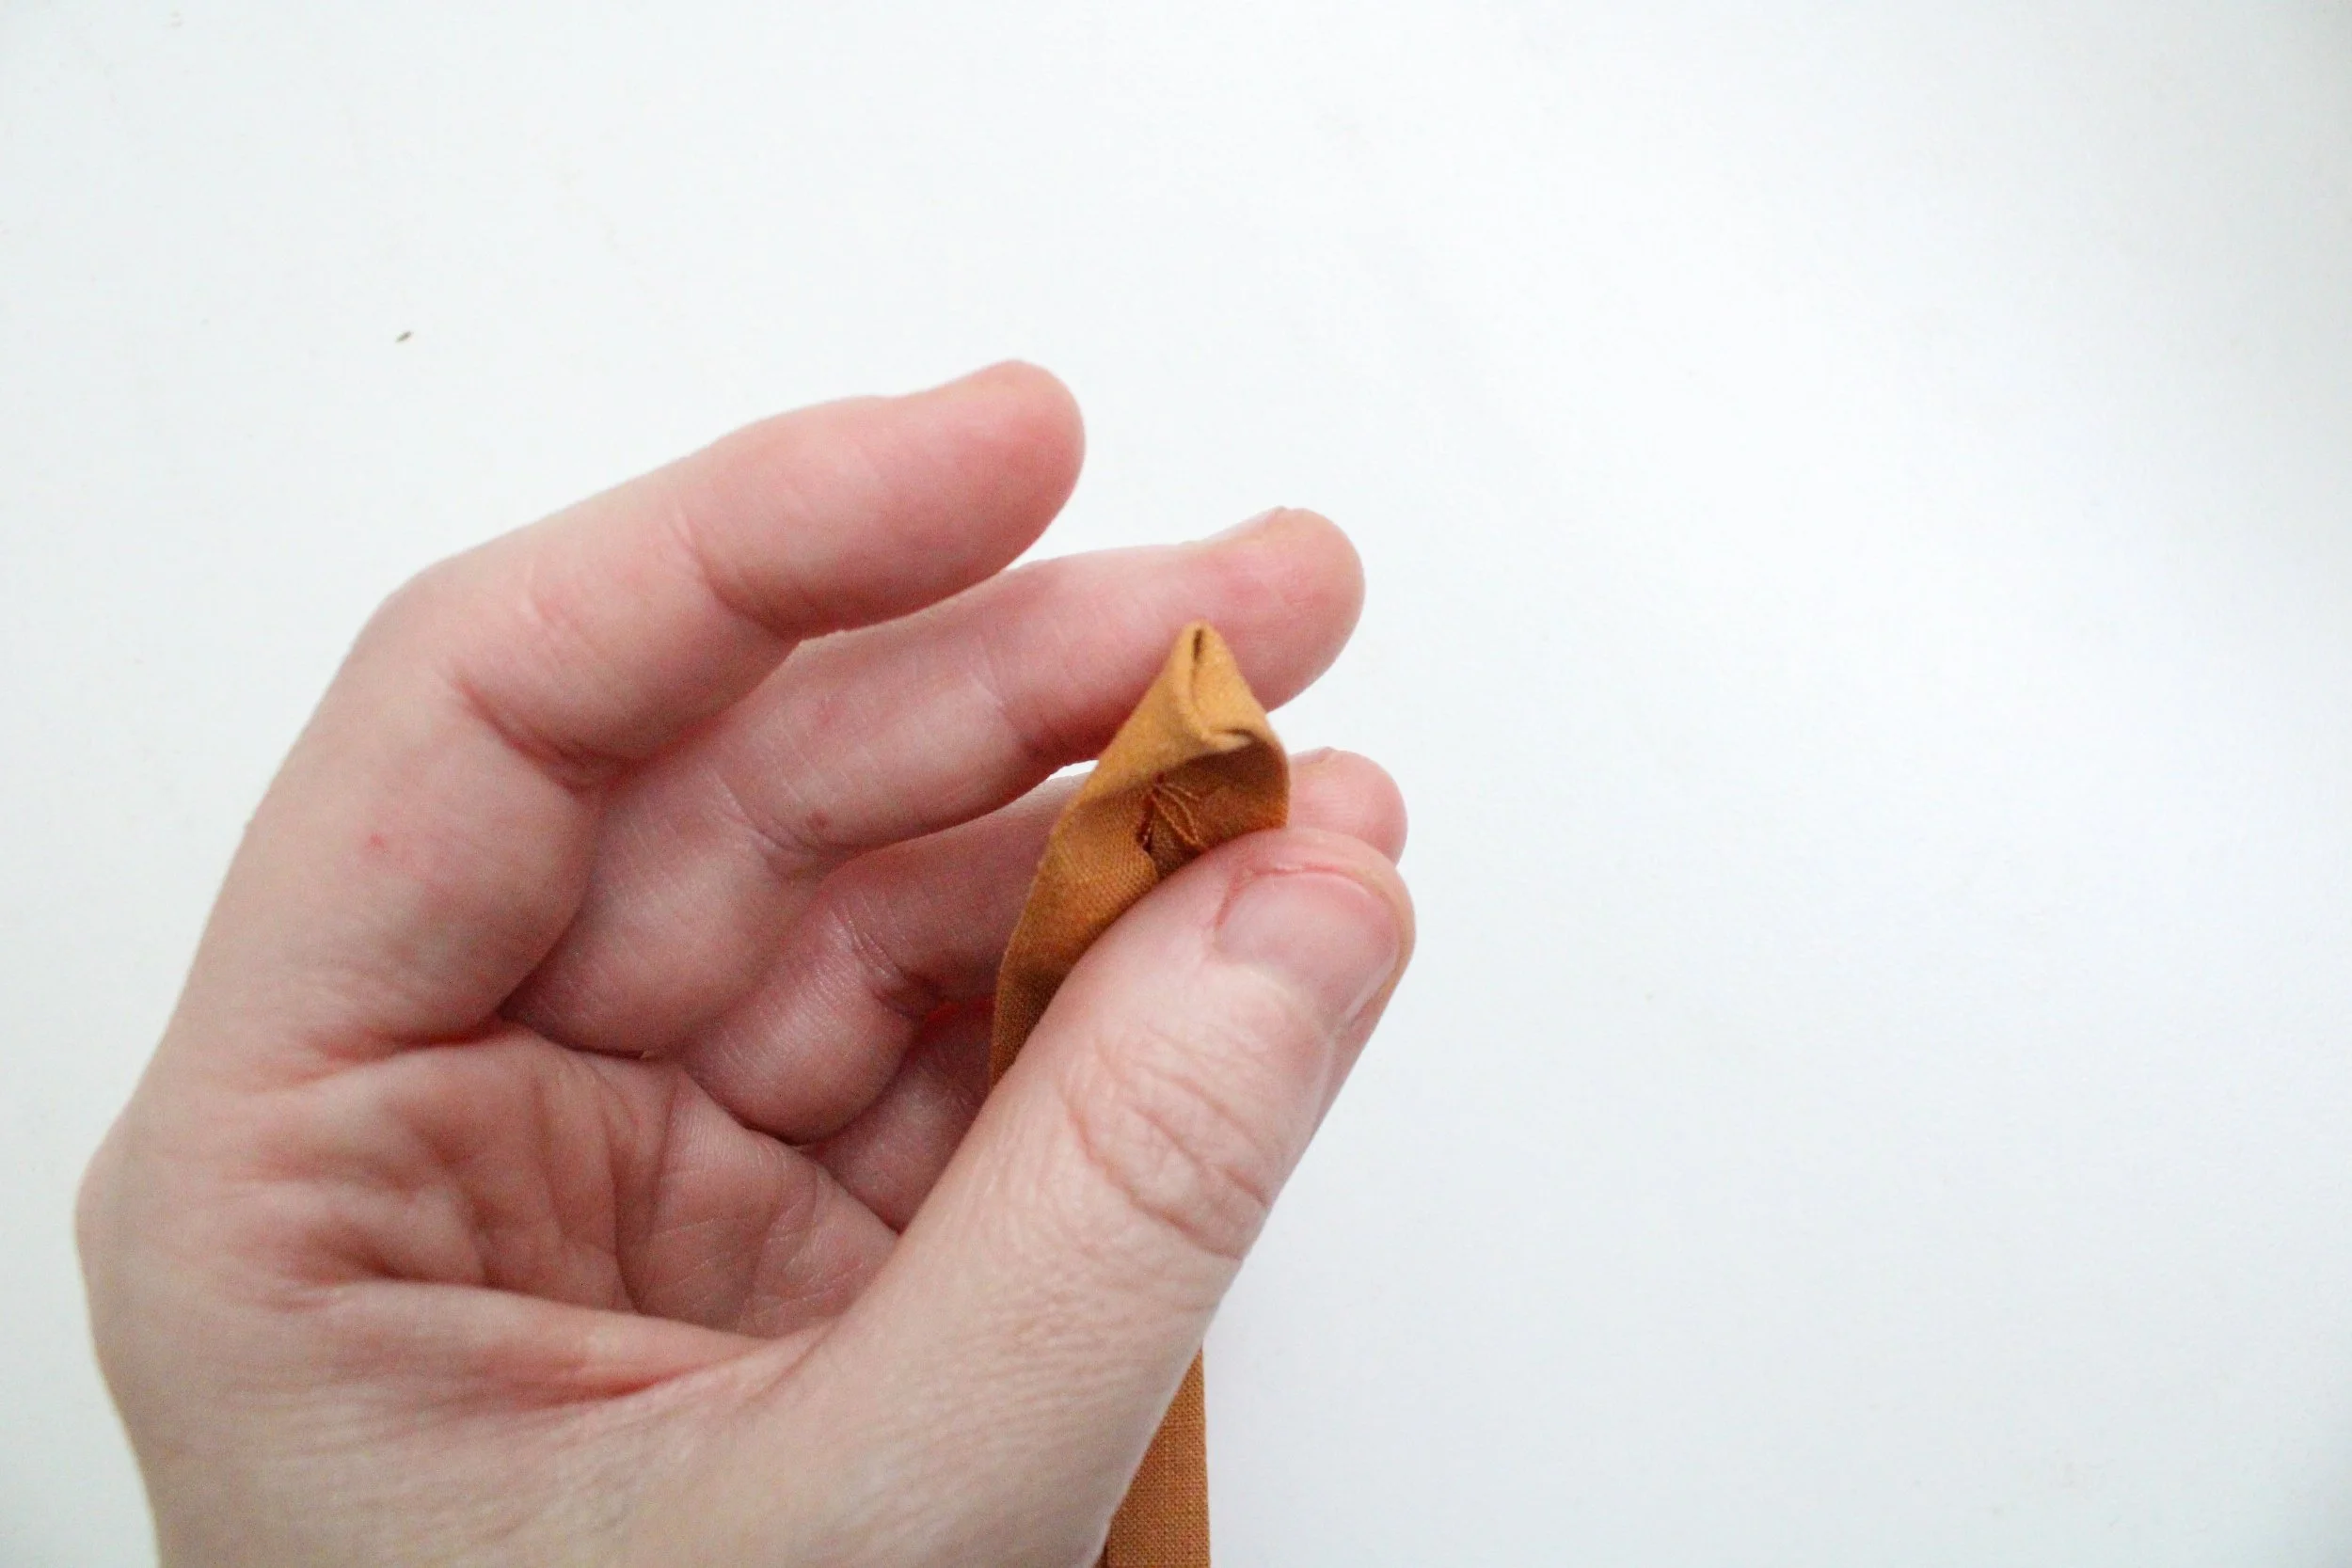
Here’s what it looks like now.
If that’s too much, you can always just finish one end of the ties your own way! No biggie.
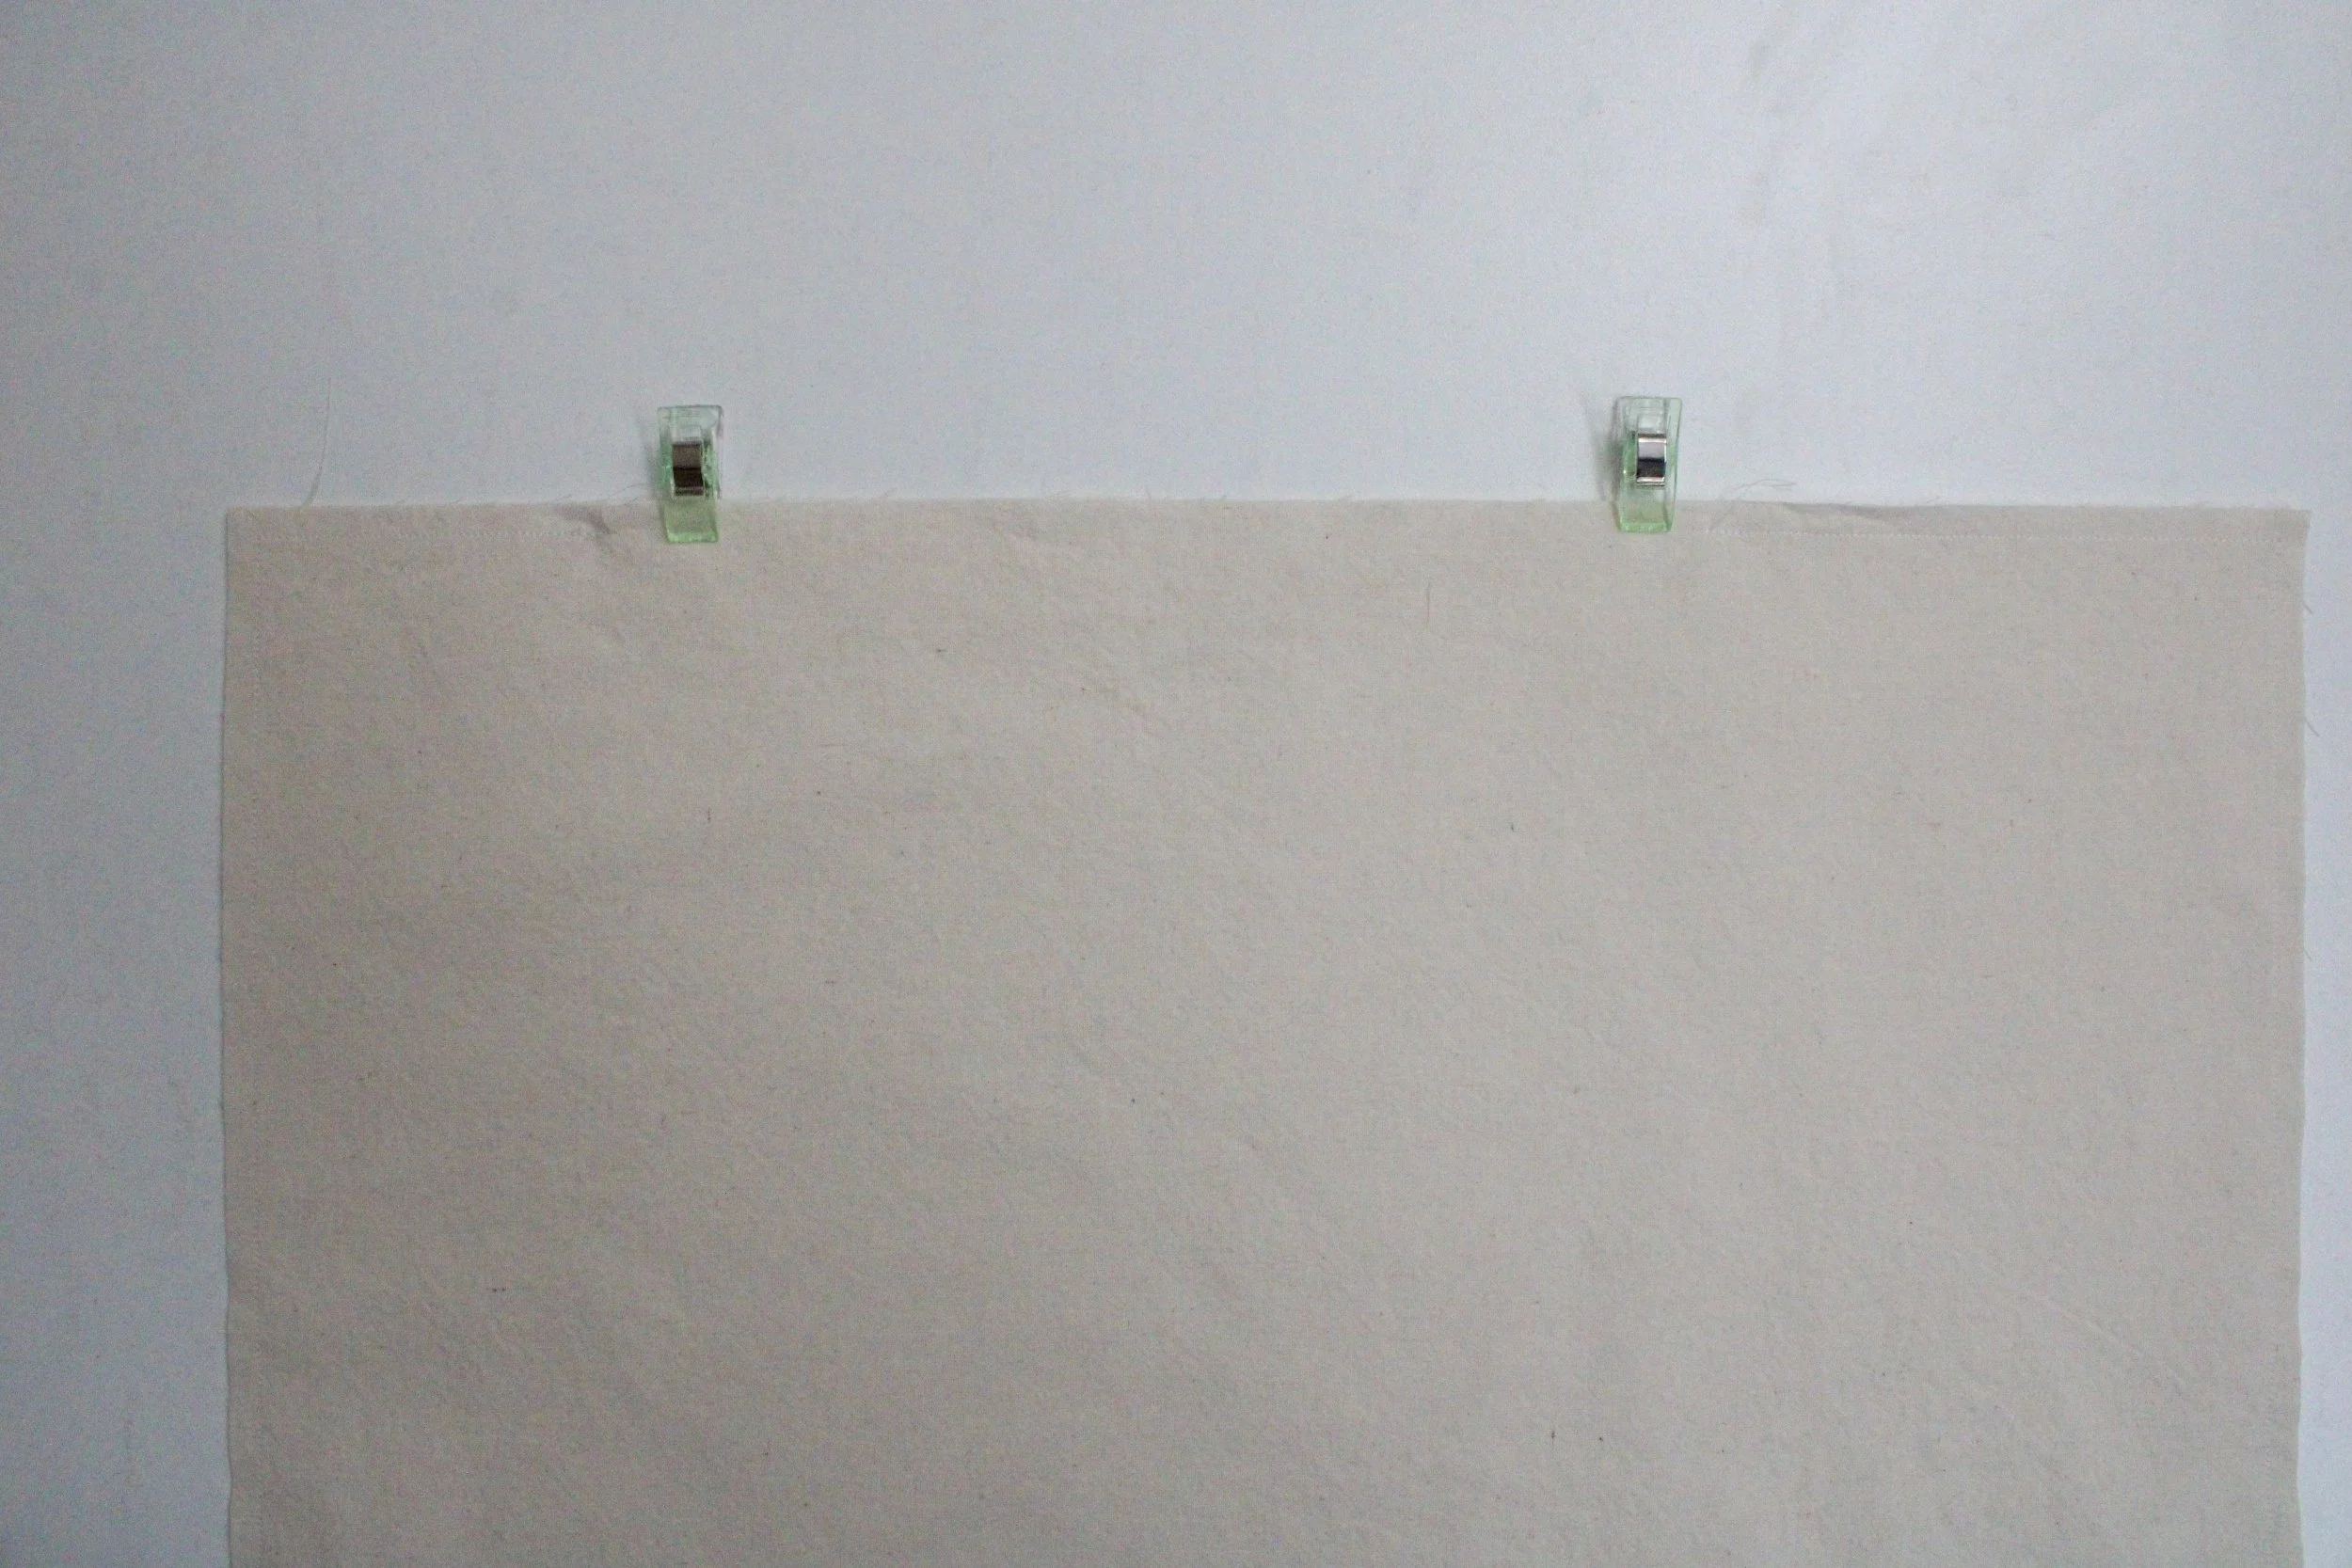
Clip that folded end of the tie in place.
When you topstitch along the edge, make sure you start from the raw end and finish topstitching at the folded end. It’s much easier for most machines to do it that way.
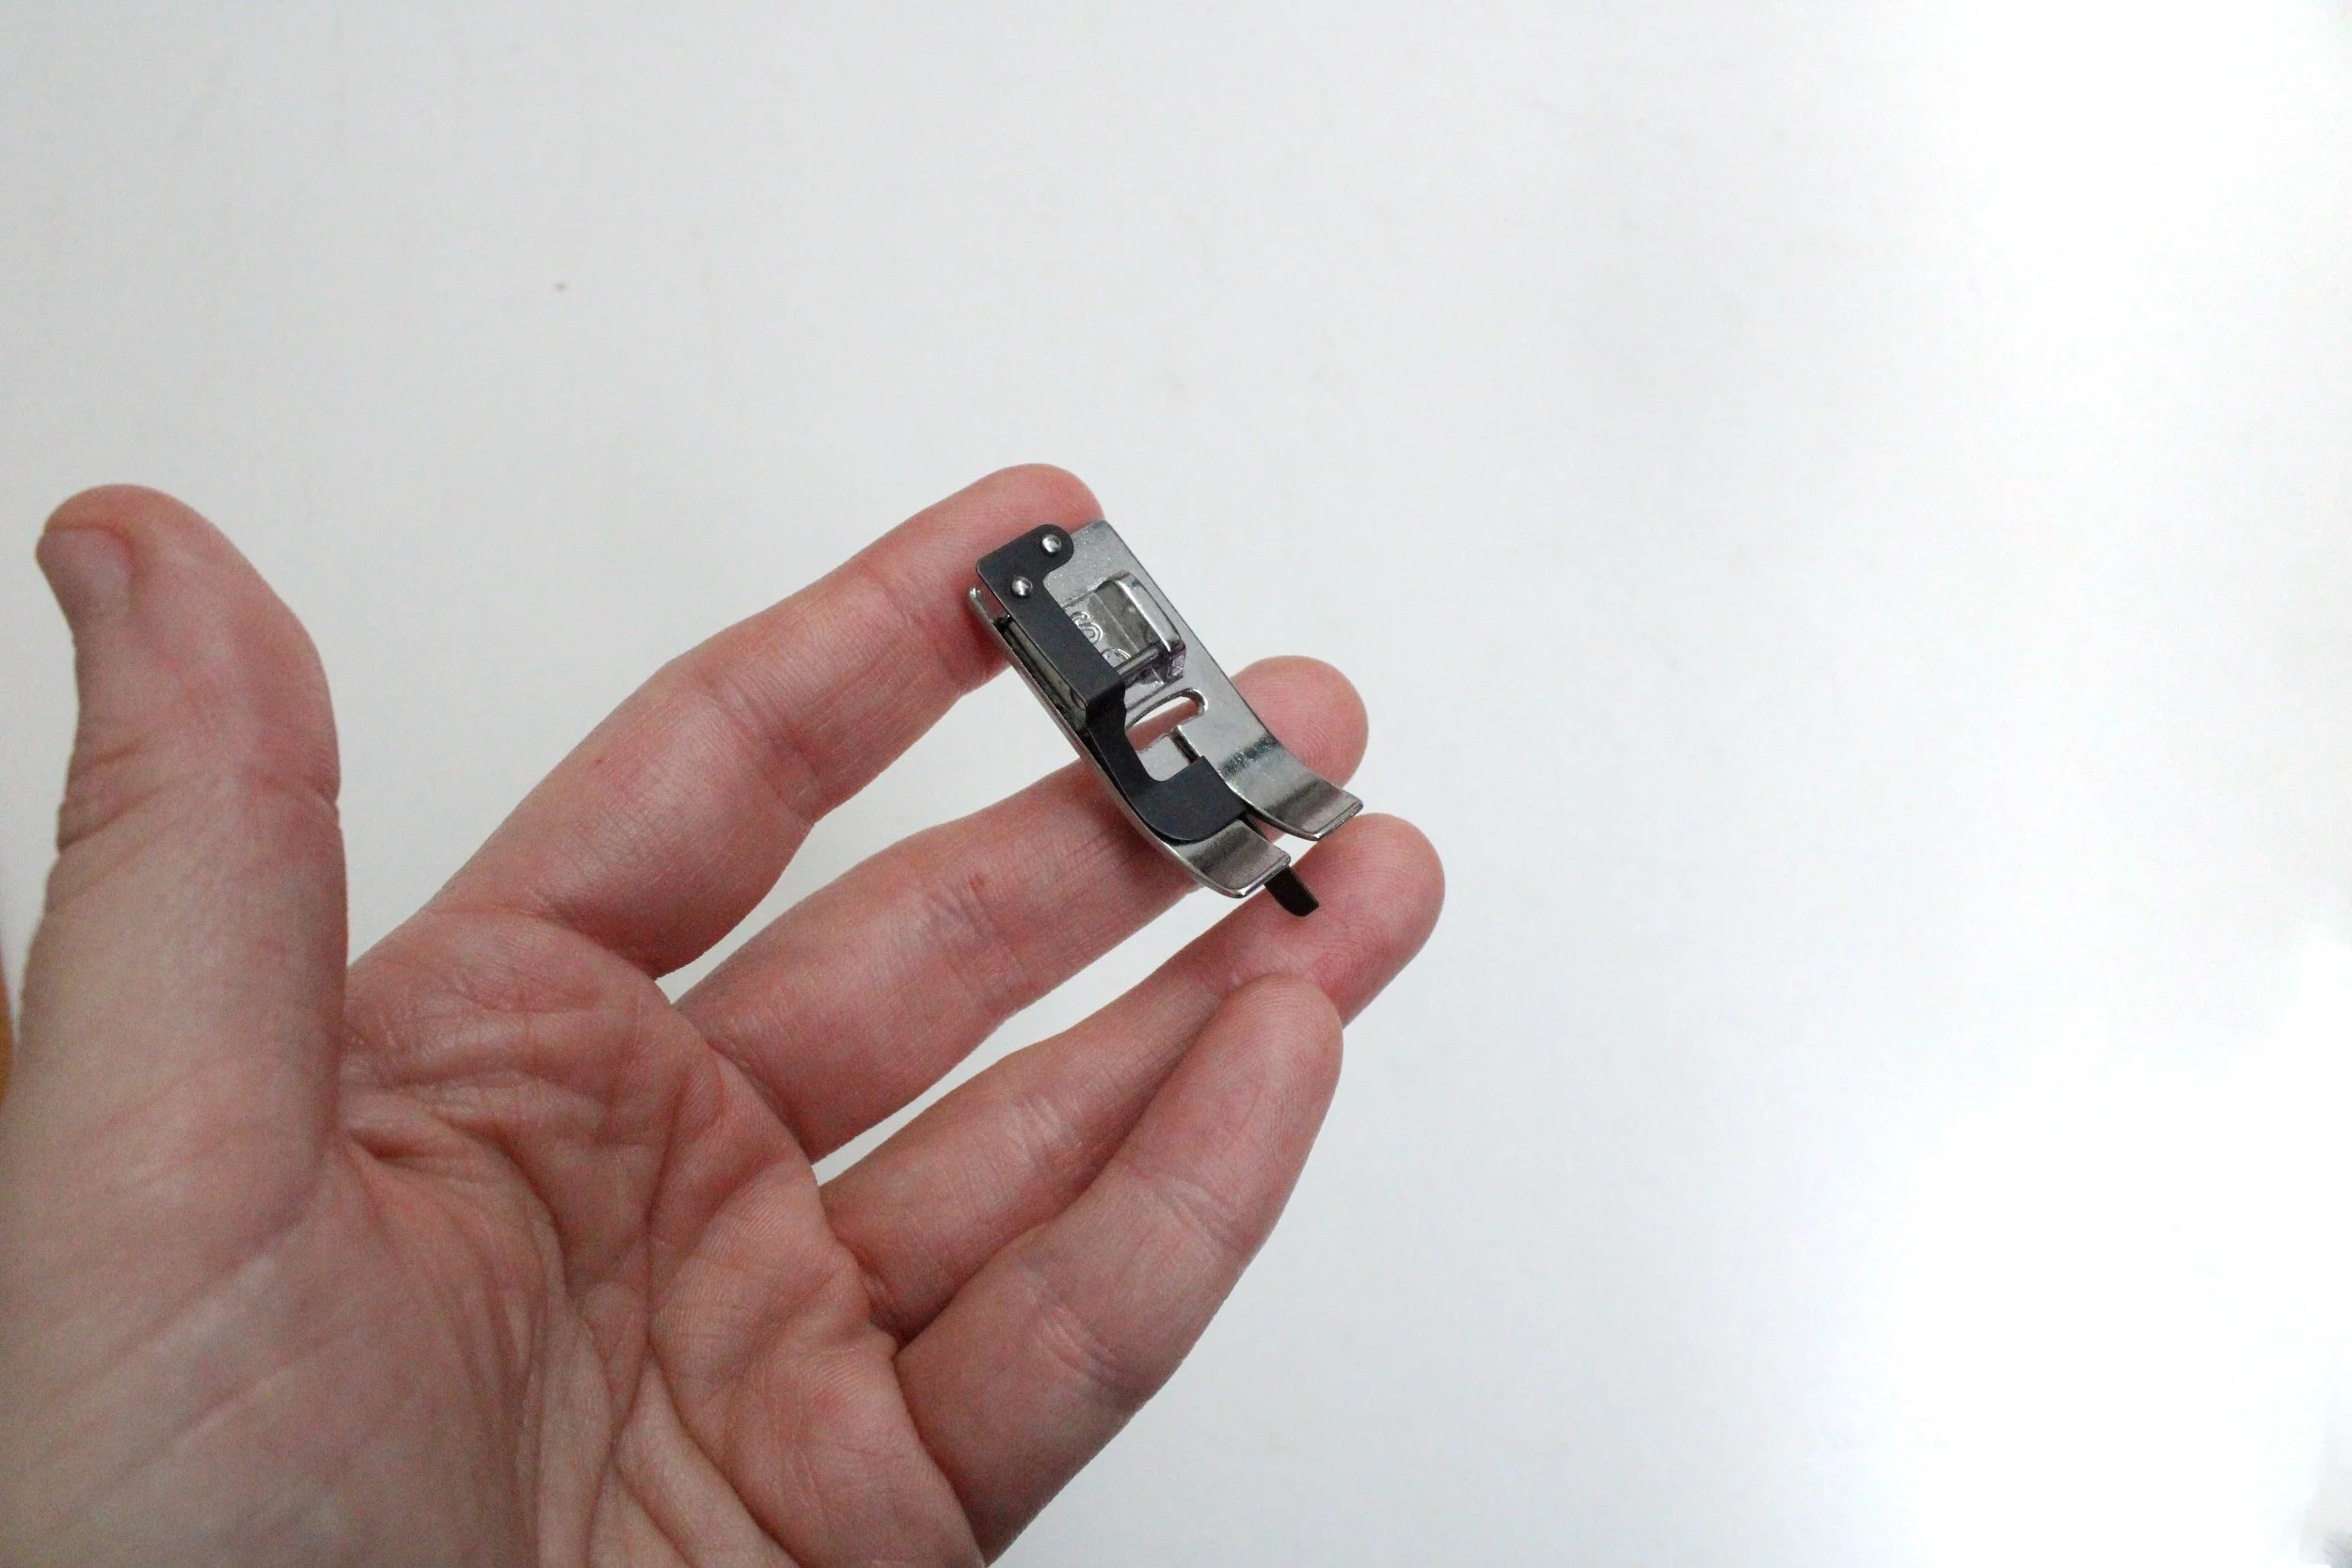
I like to use a topstitching/edgestitching foot for this task. Totally optional, but it makes it easier and faster!
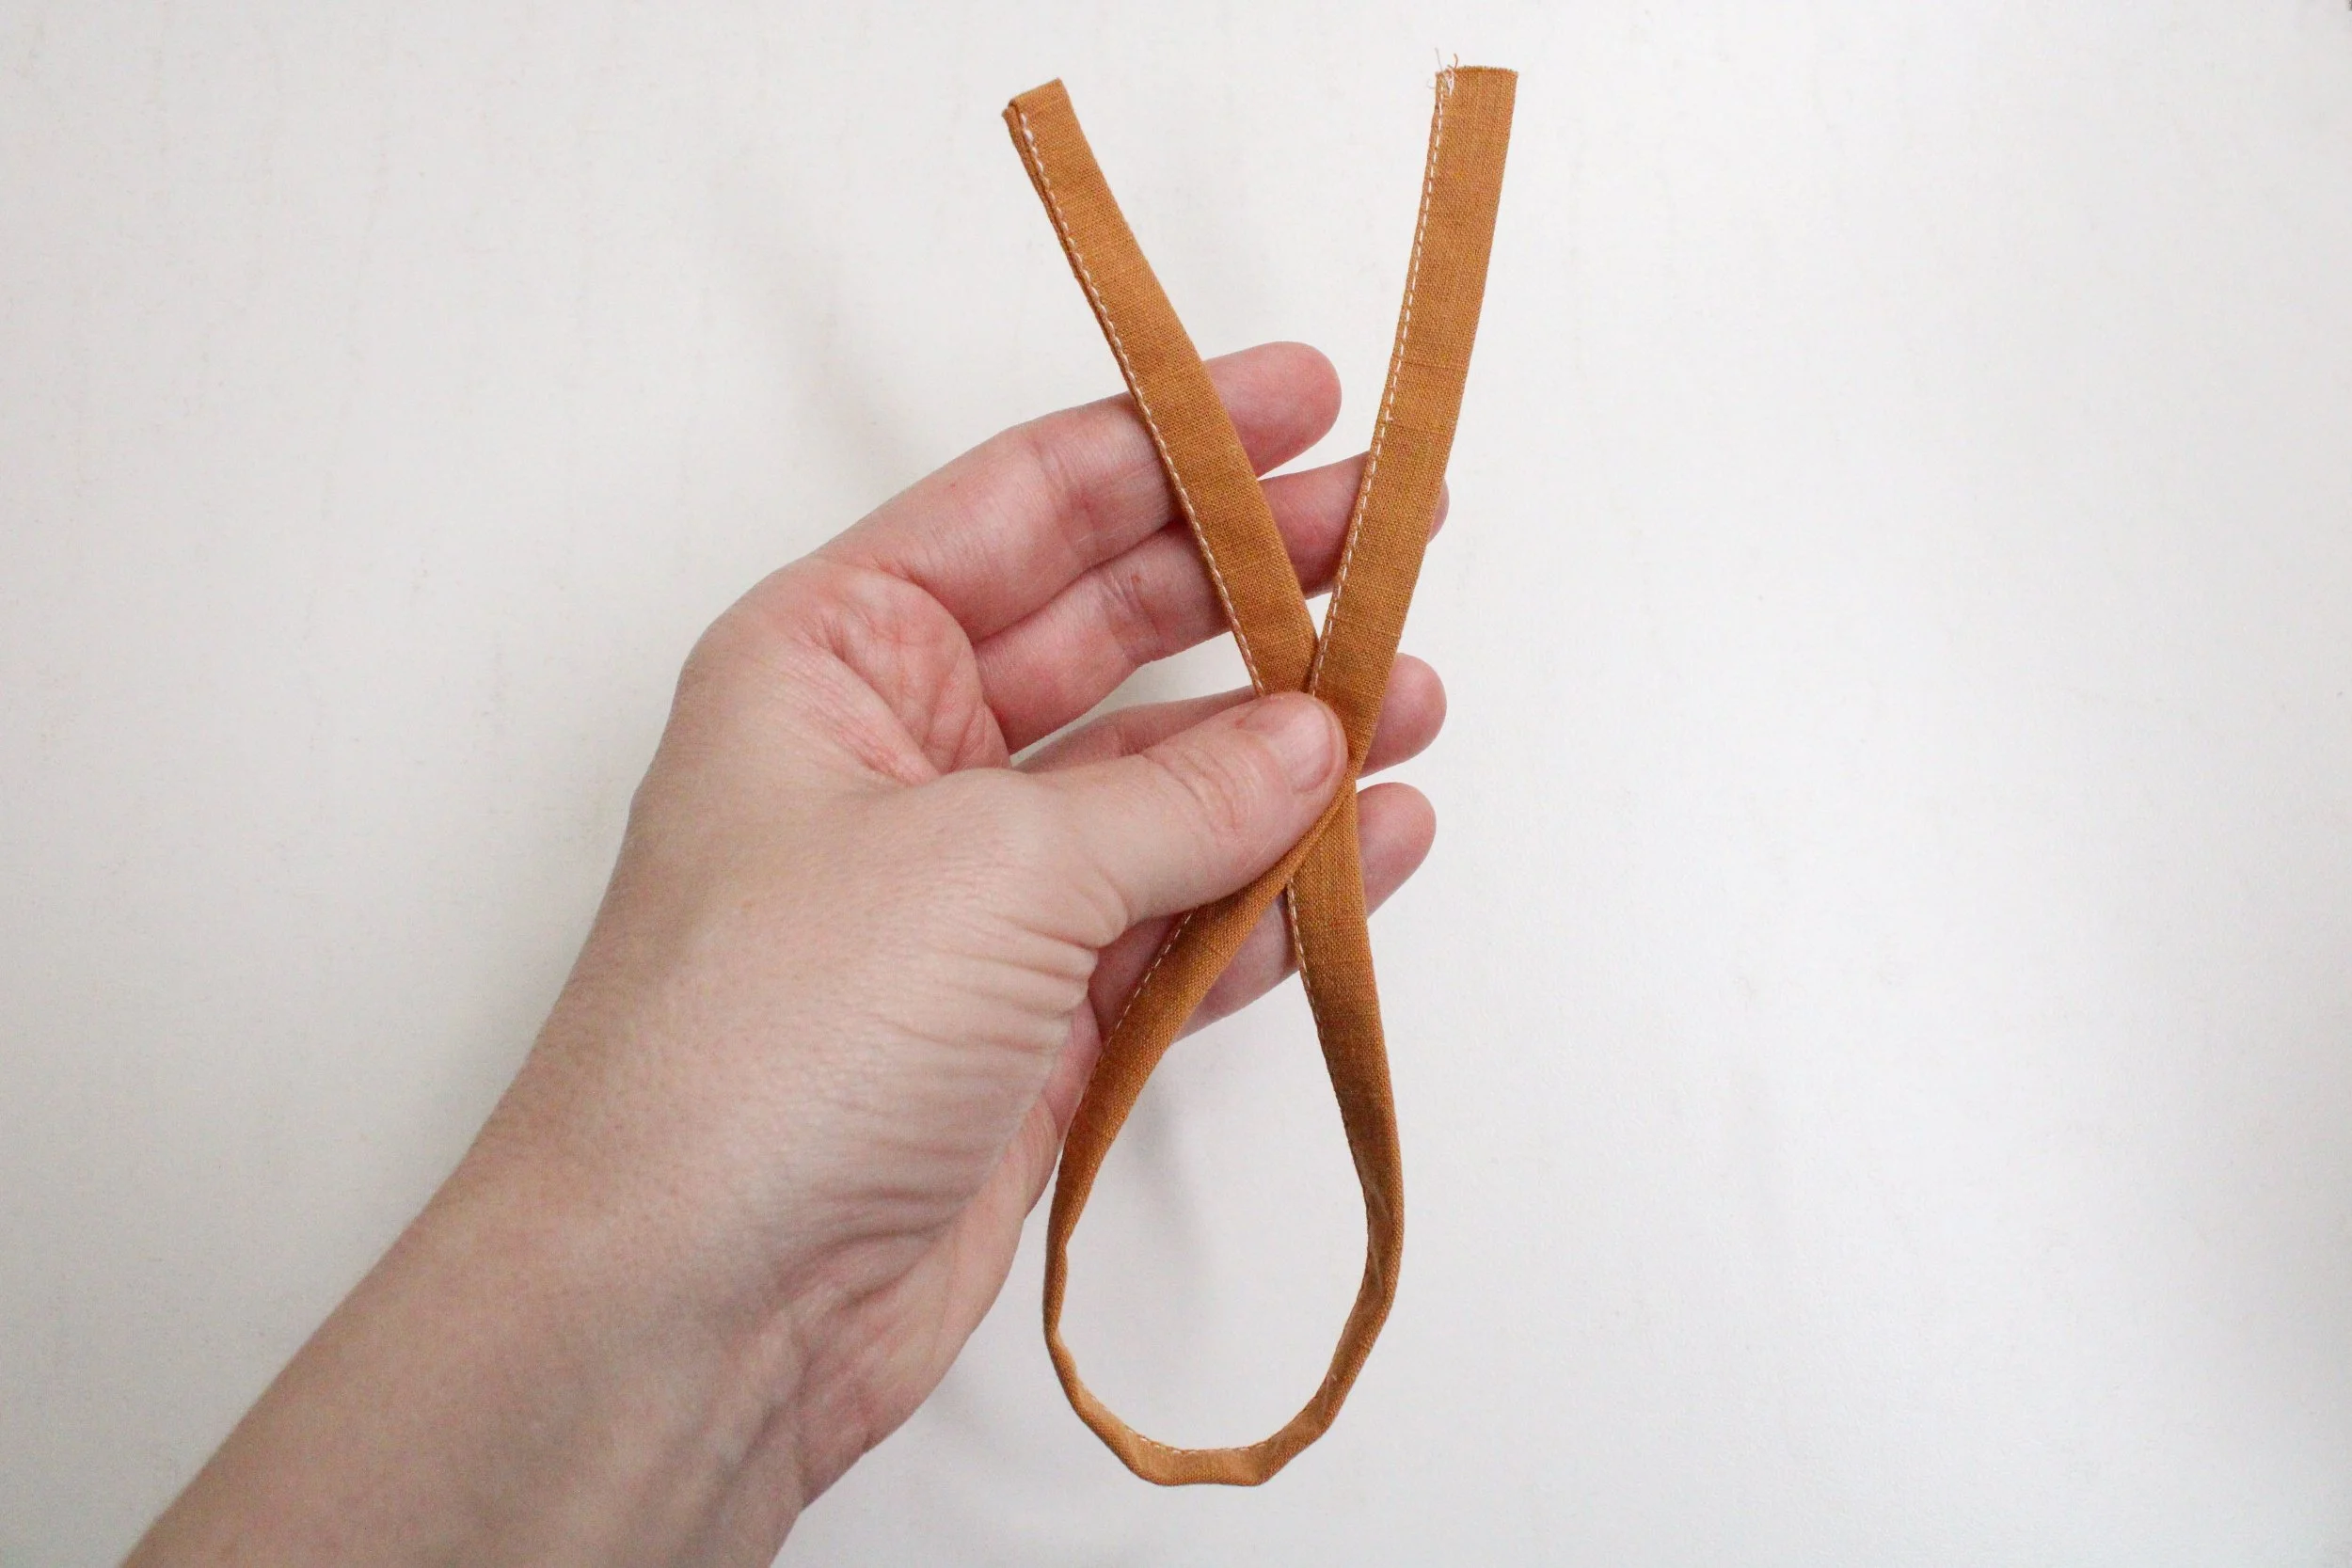
Make (4) of these little guys.
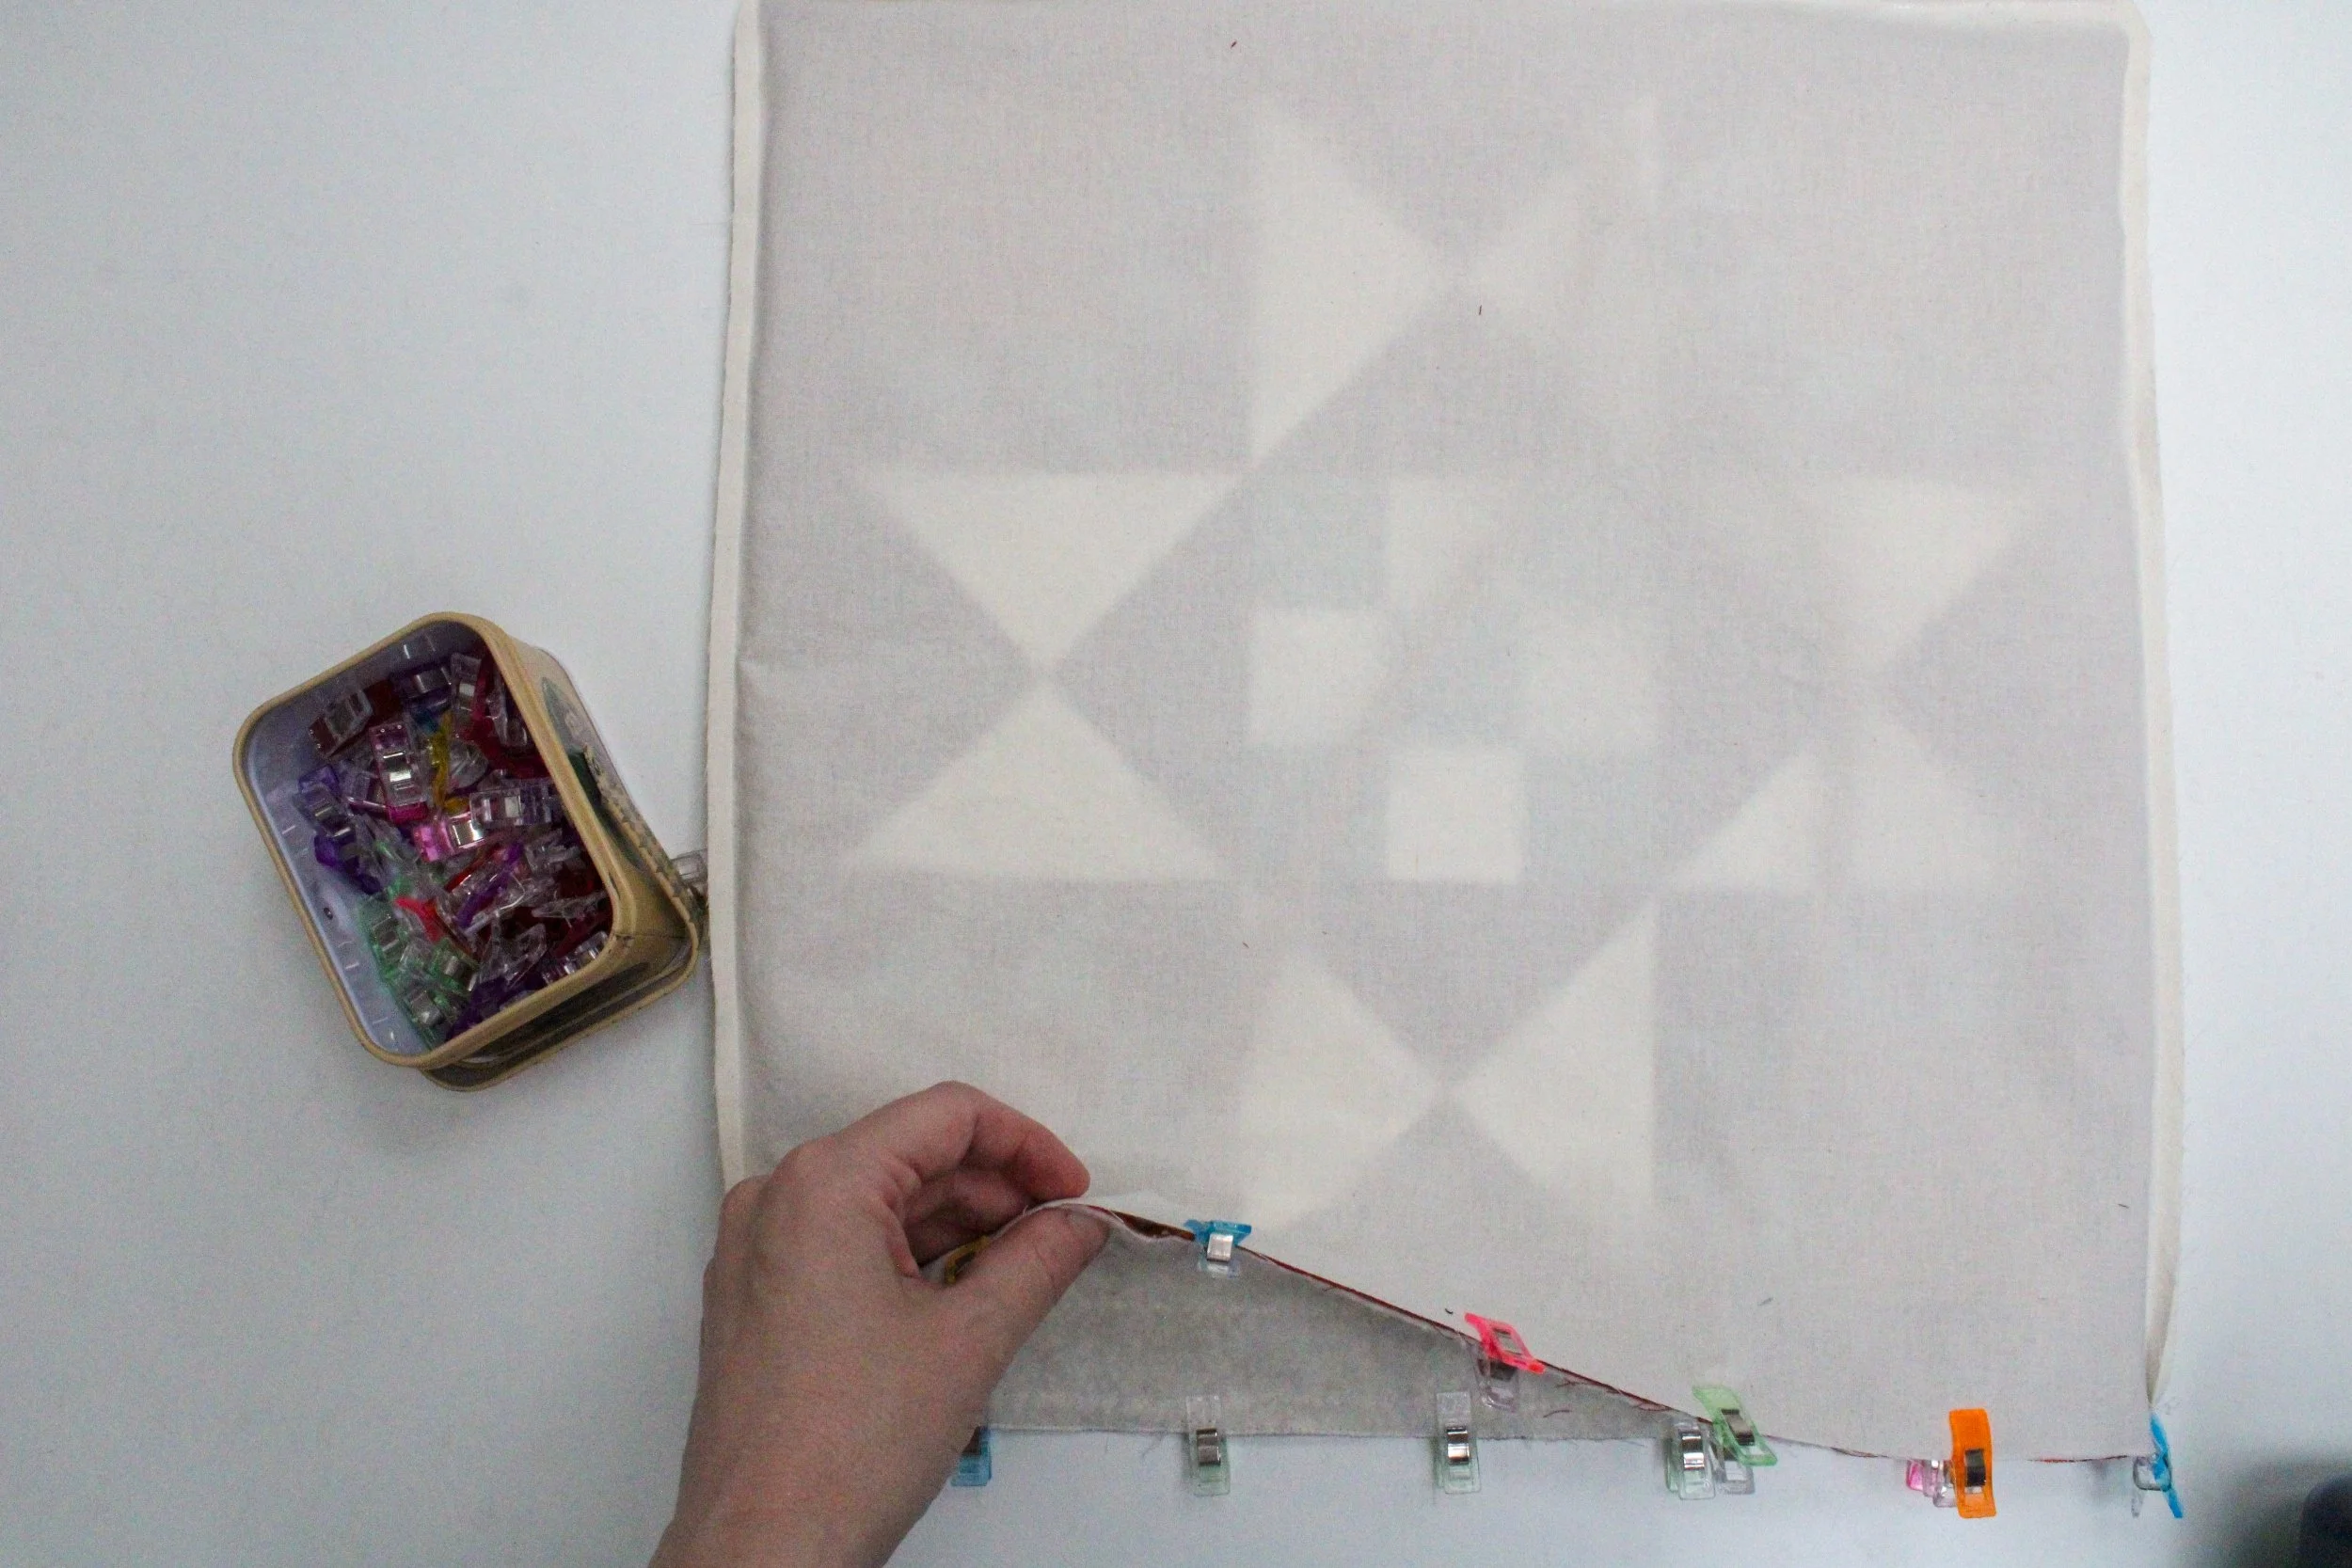
Step four: Finishing the exterior pillowcase

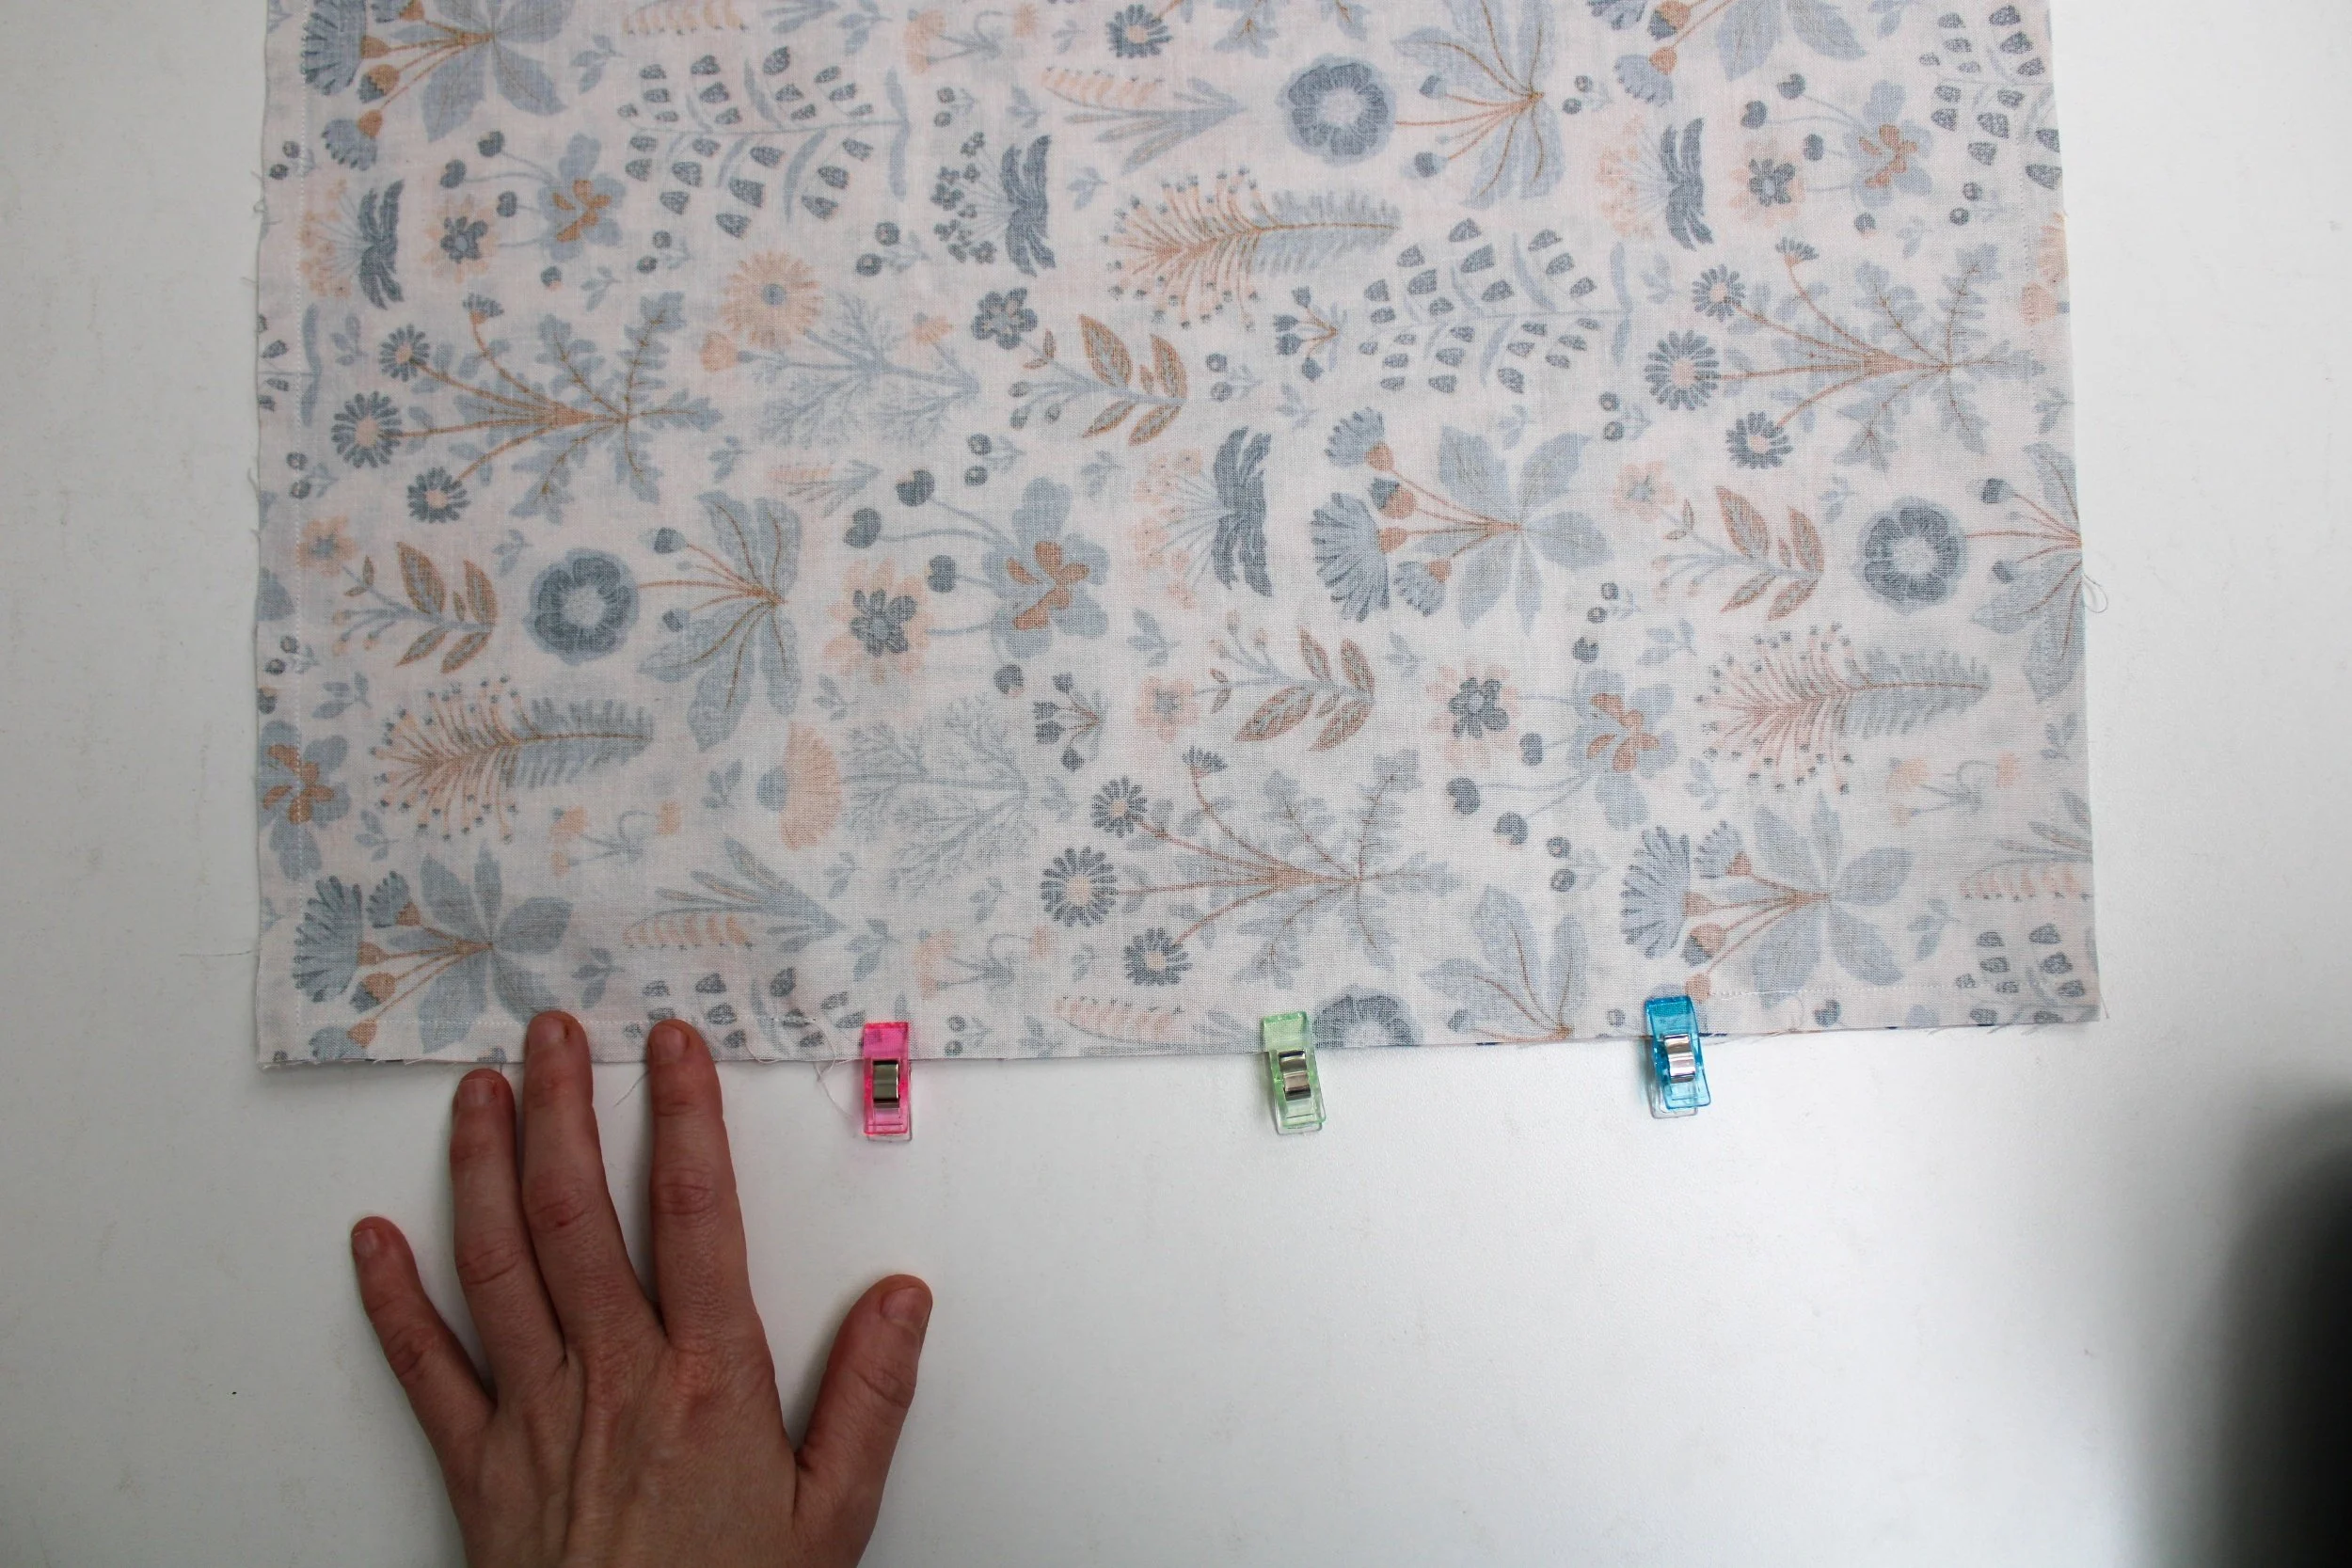
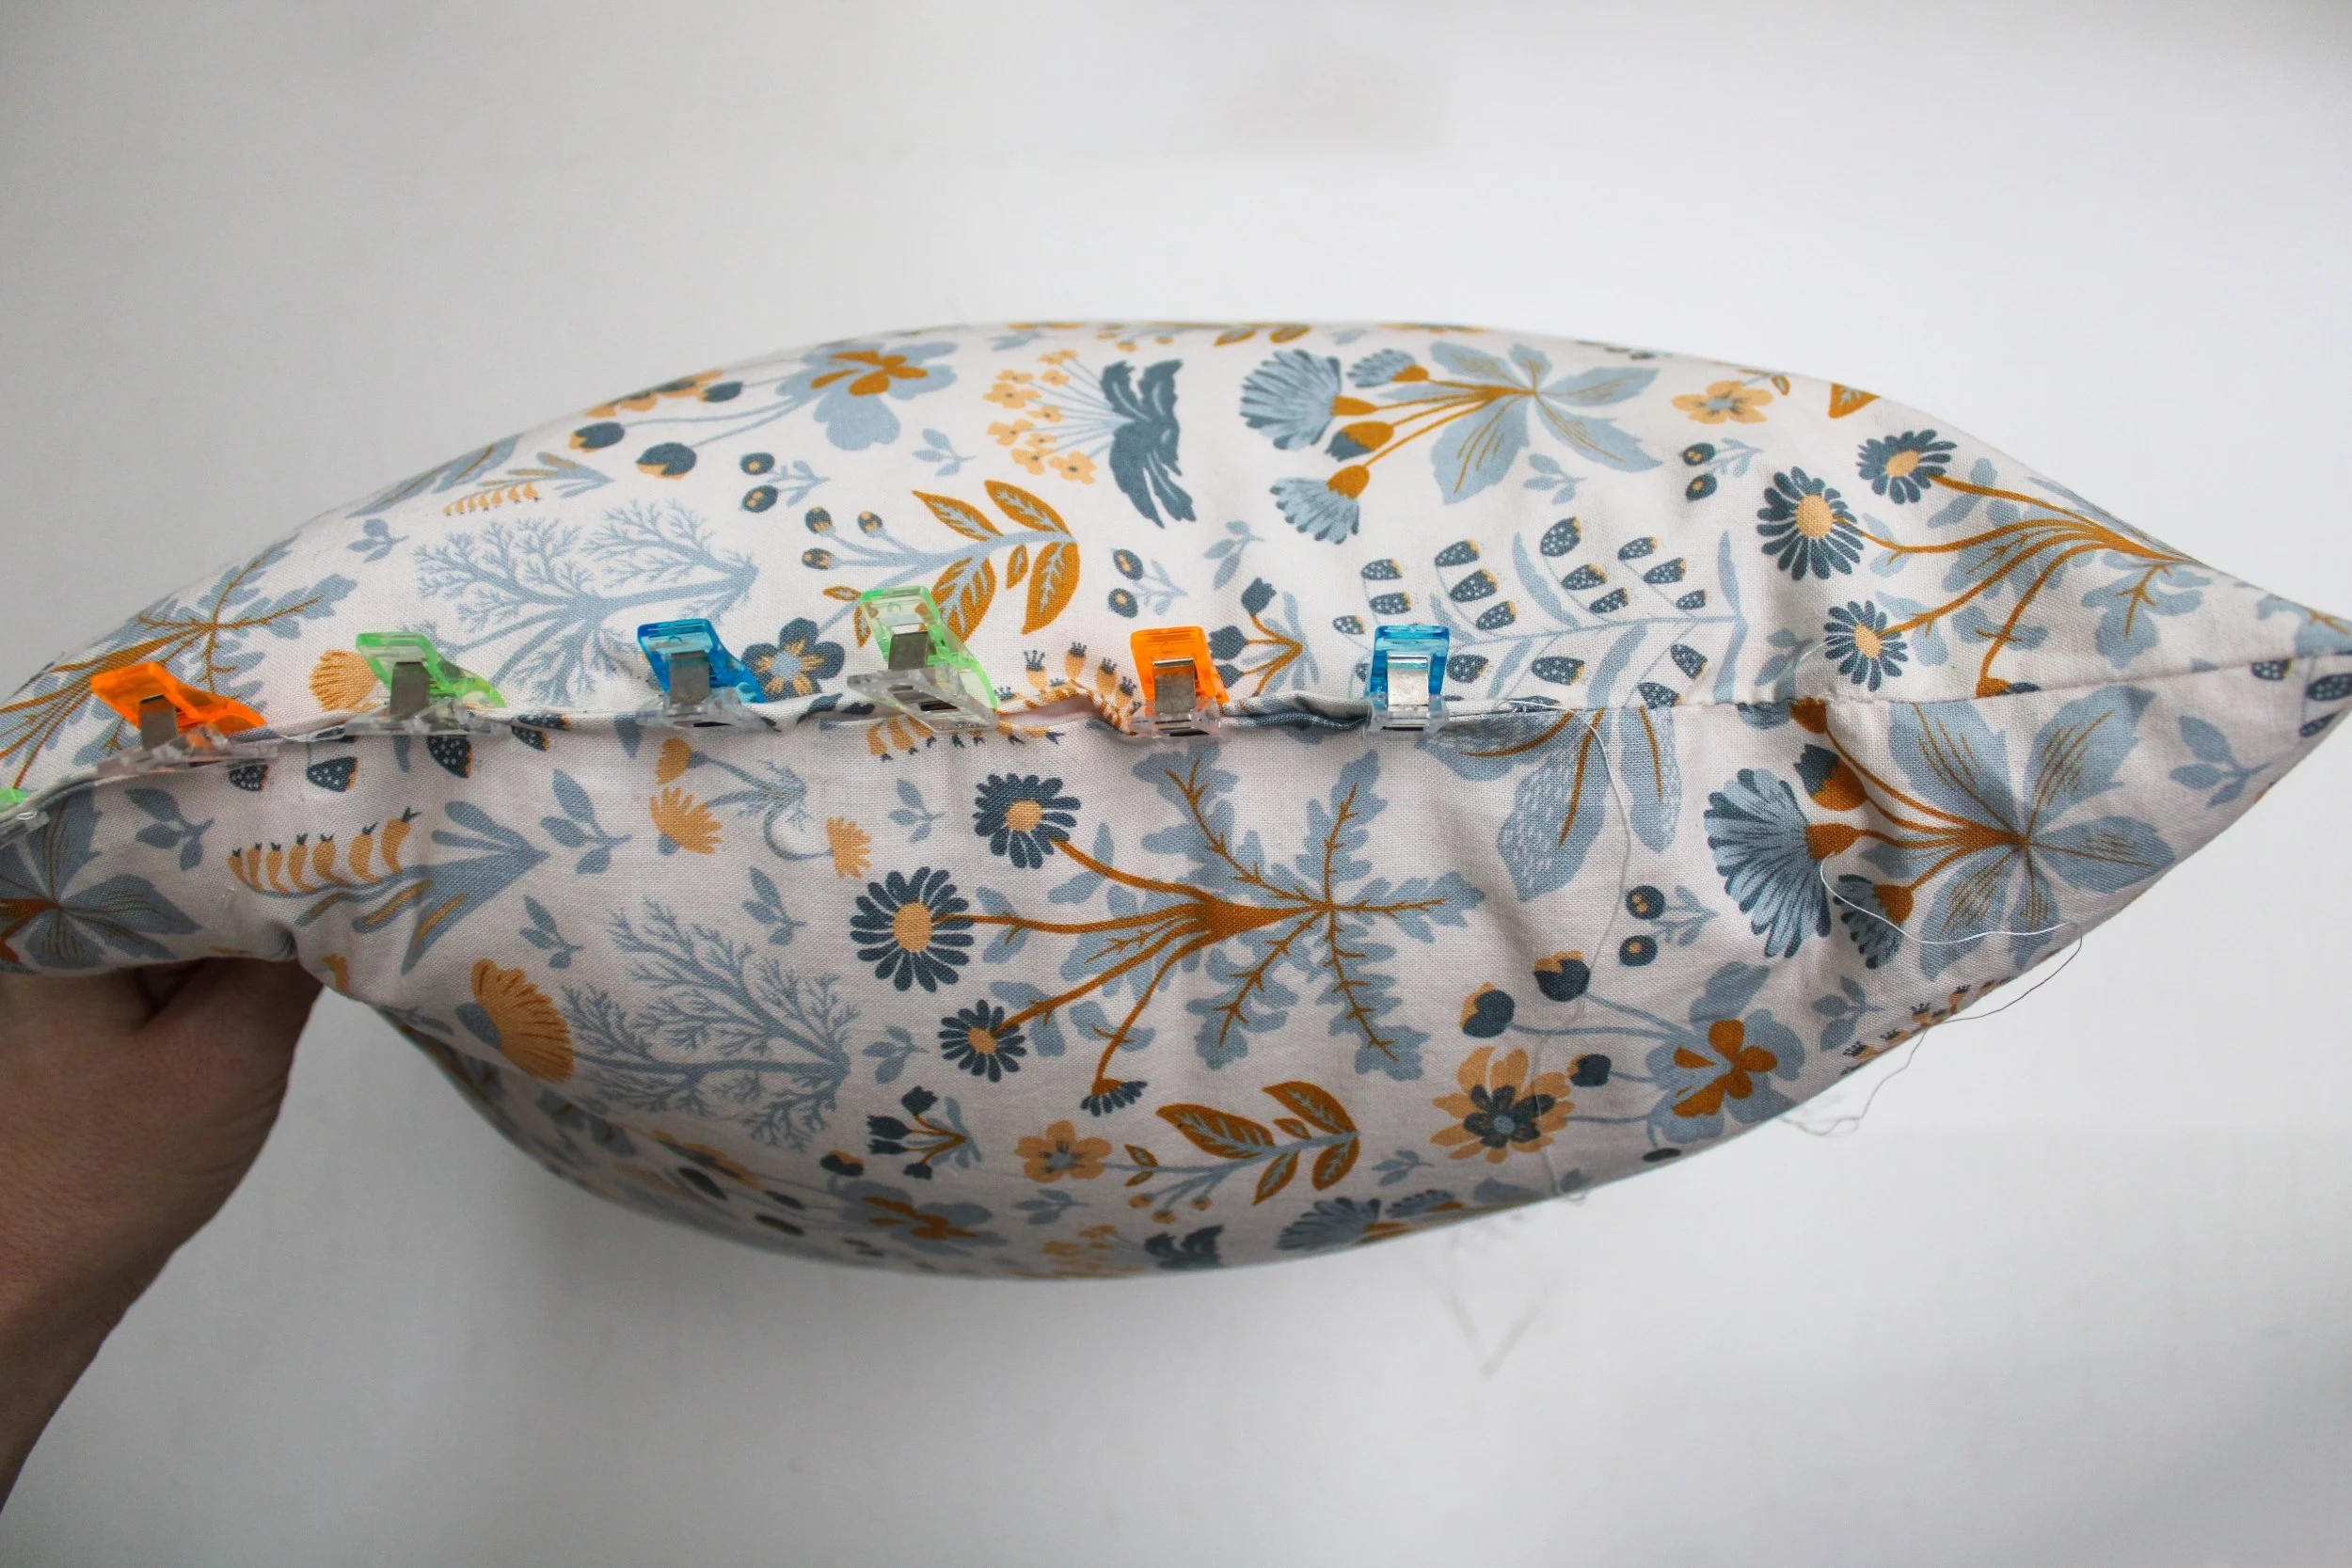
Mark along the open edge of the exterior pillowcase — 5.25” away from the ends for the 16” pillow, or 6” away for the 18” pillow. Make (2) marks on the backside and (2) on the front for a total of (4) marks; these are where you’ll attach the ties.
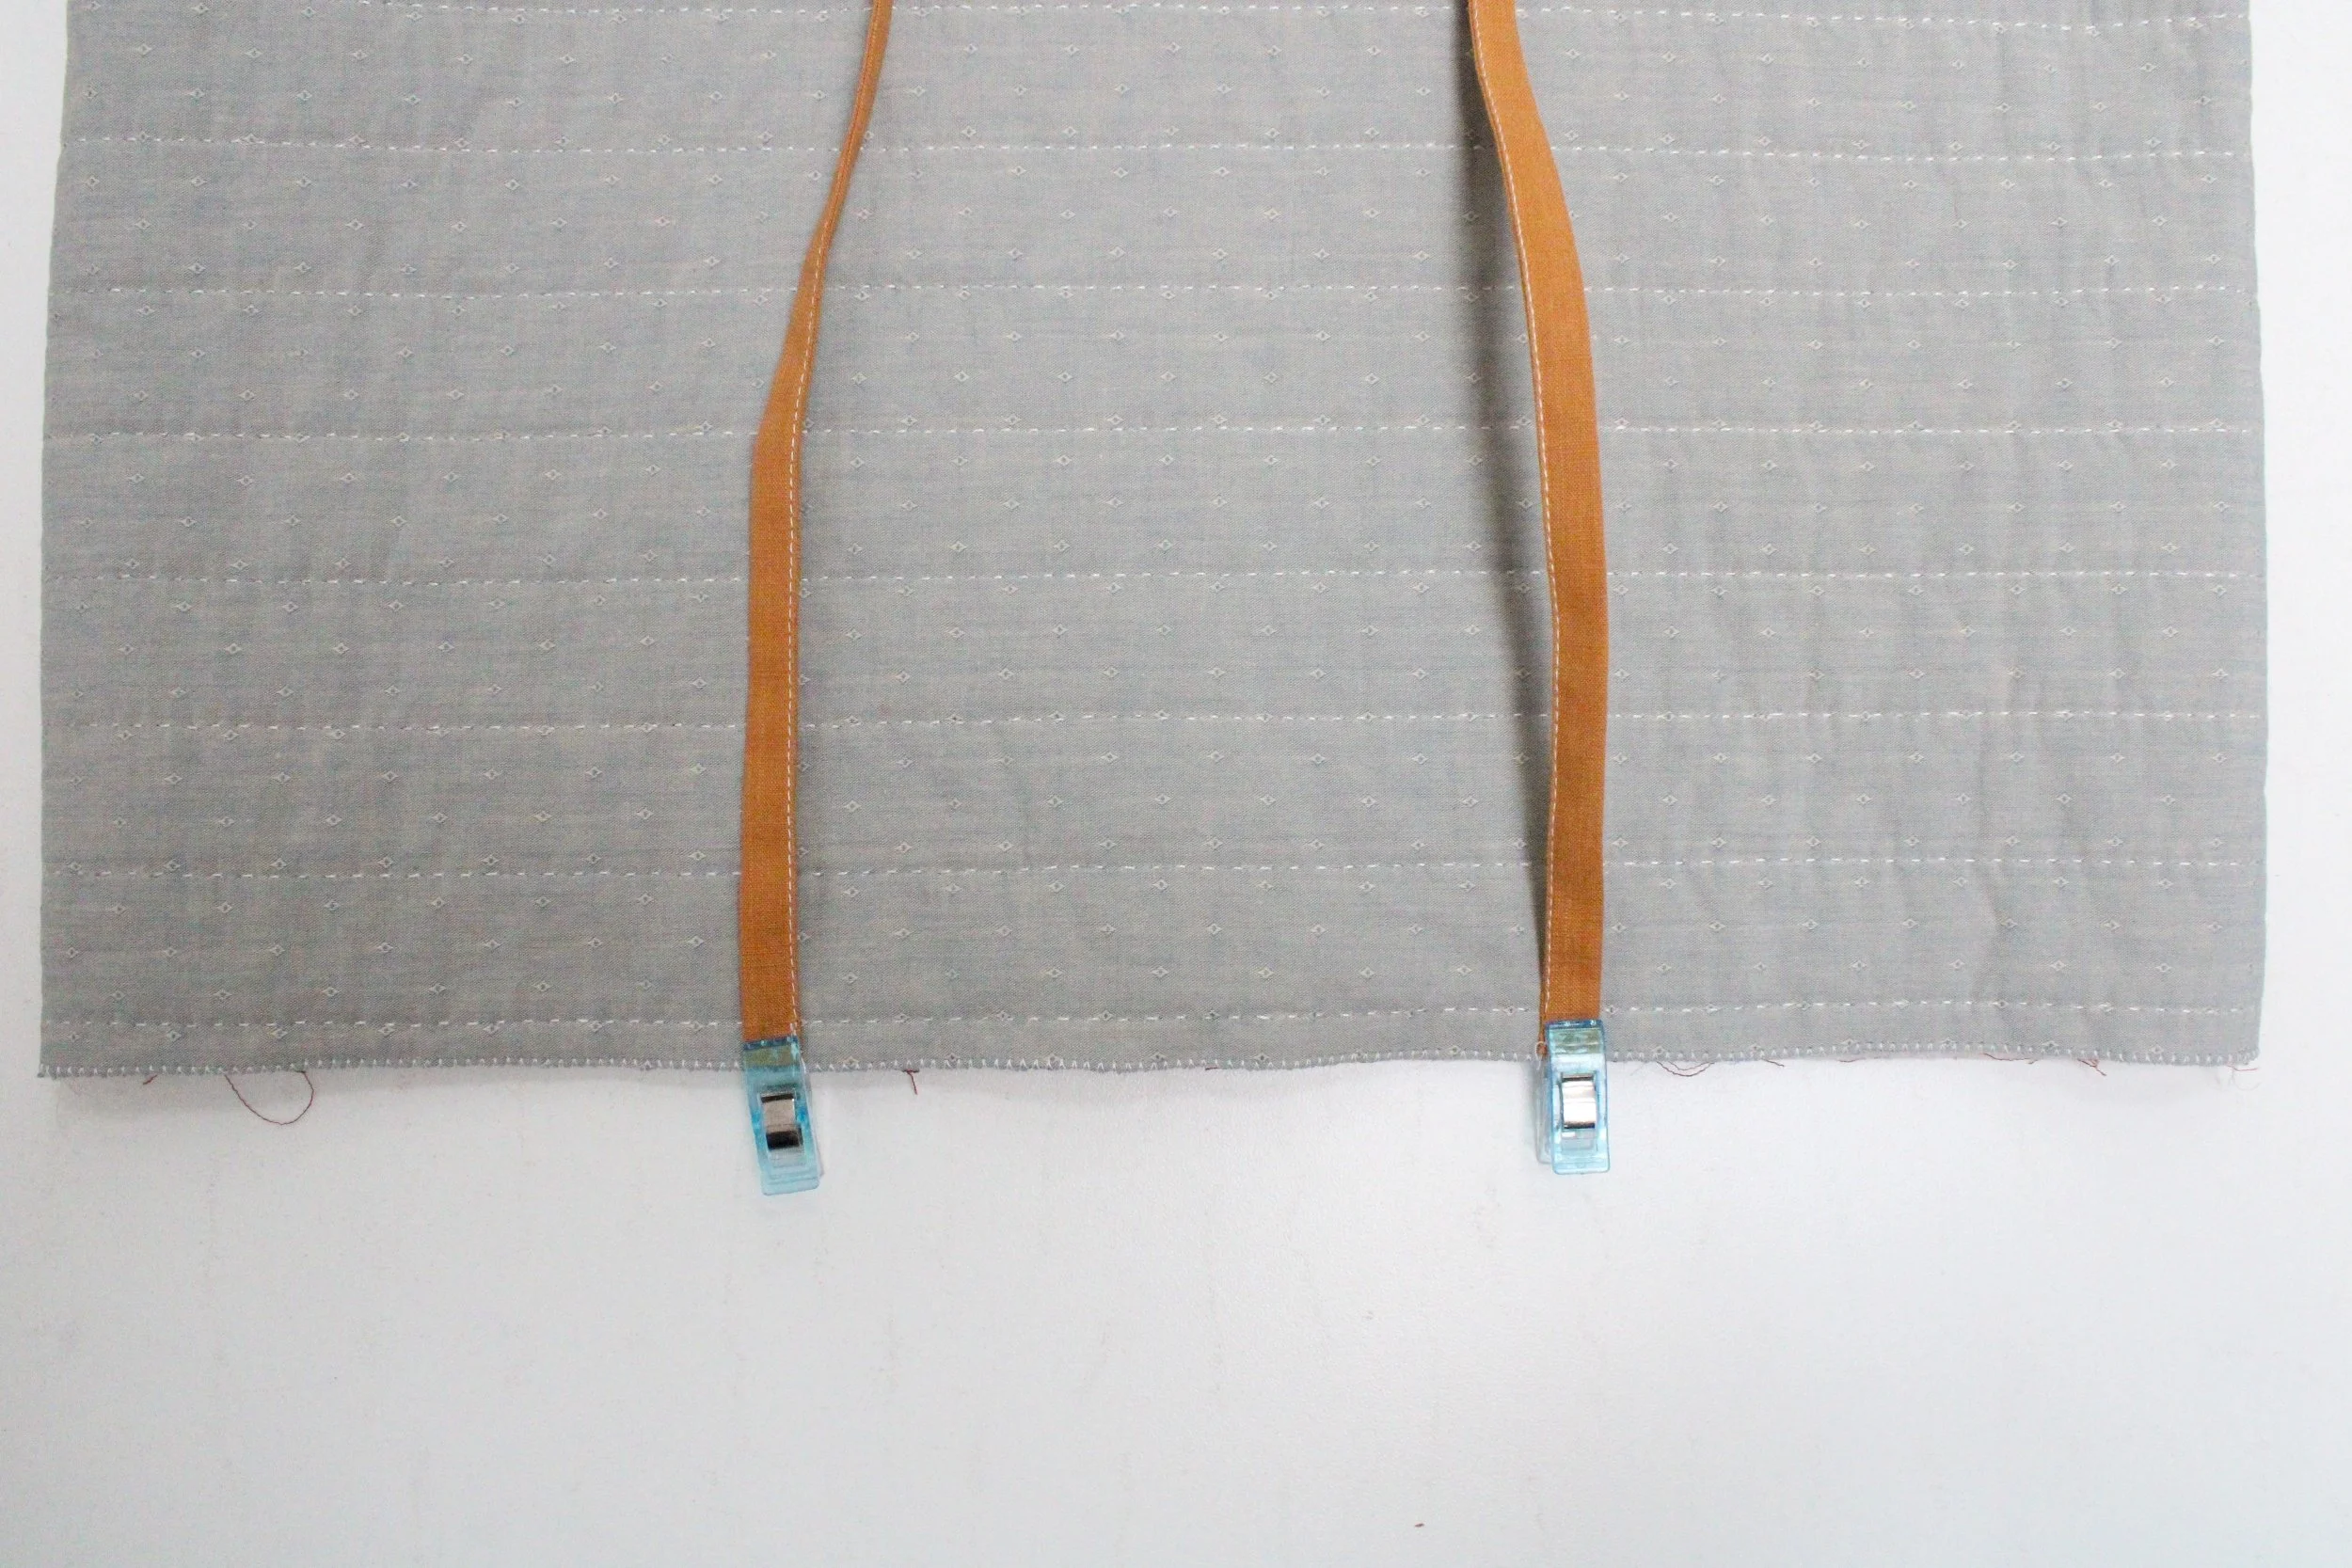
Pin or clip the ties on the marks, lining up the raw edges…
…and baste them in place.
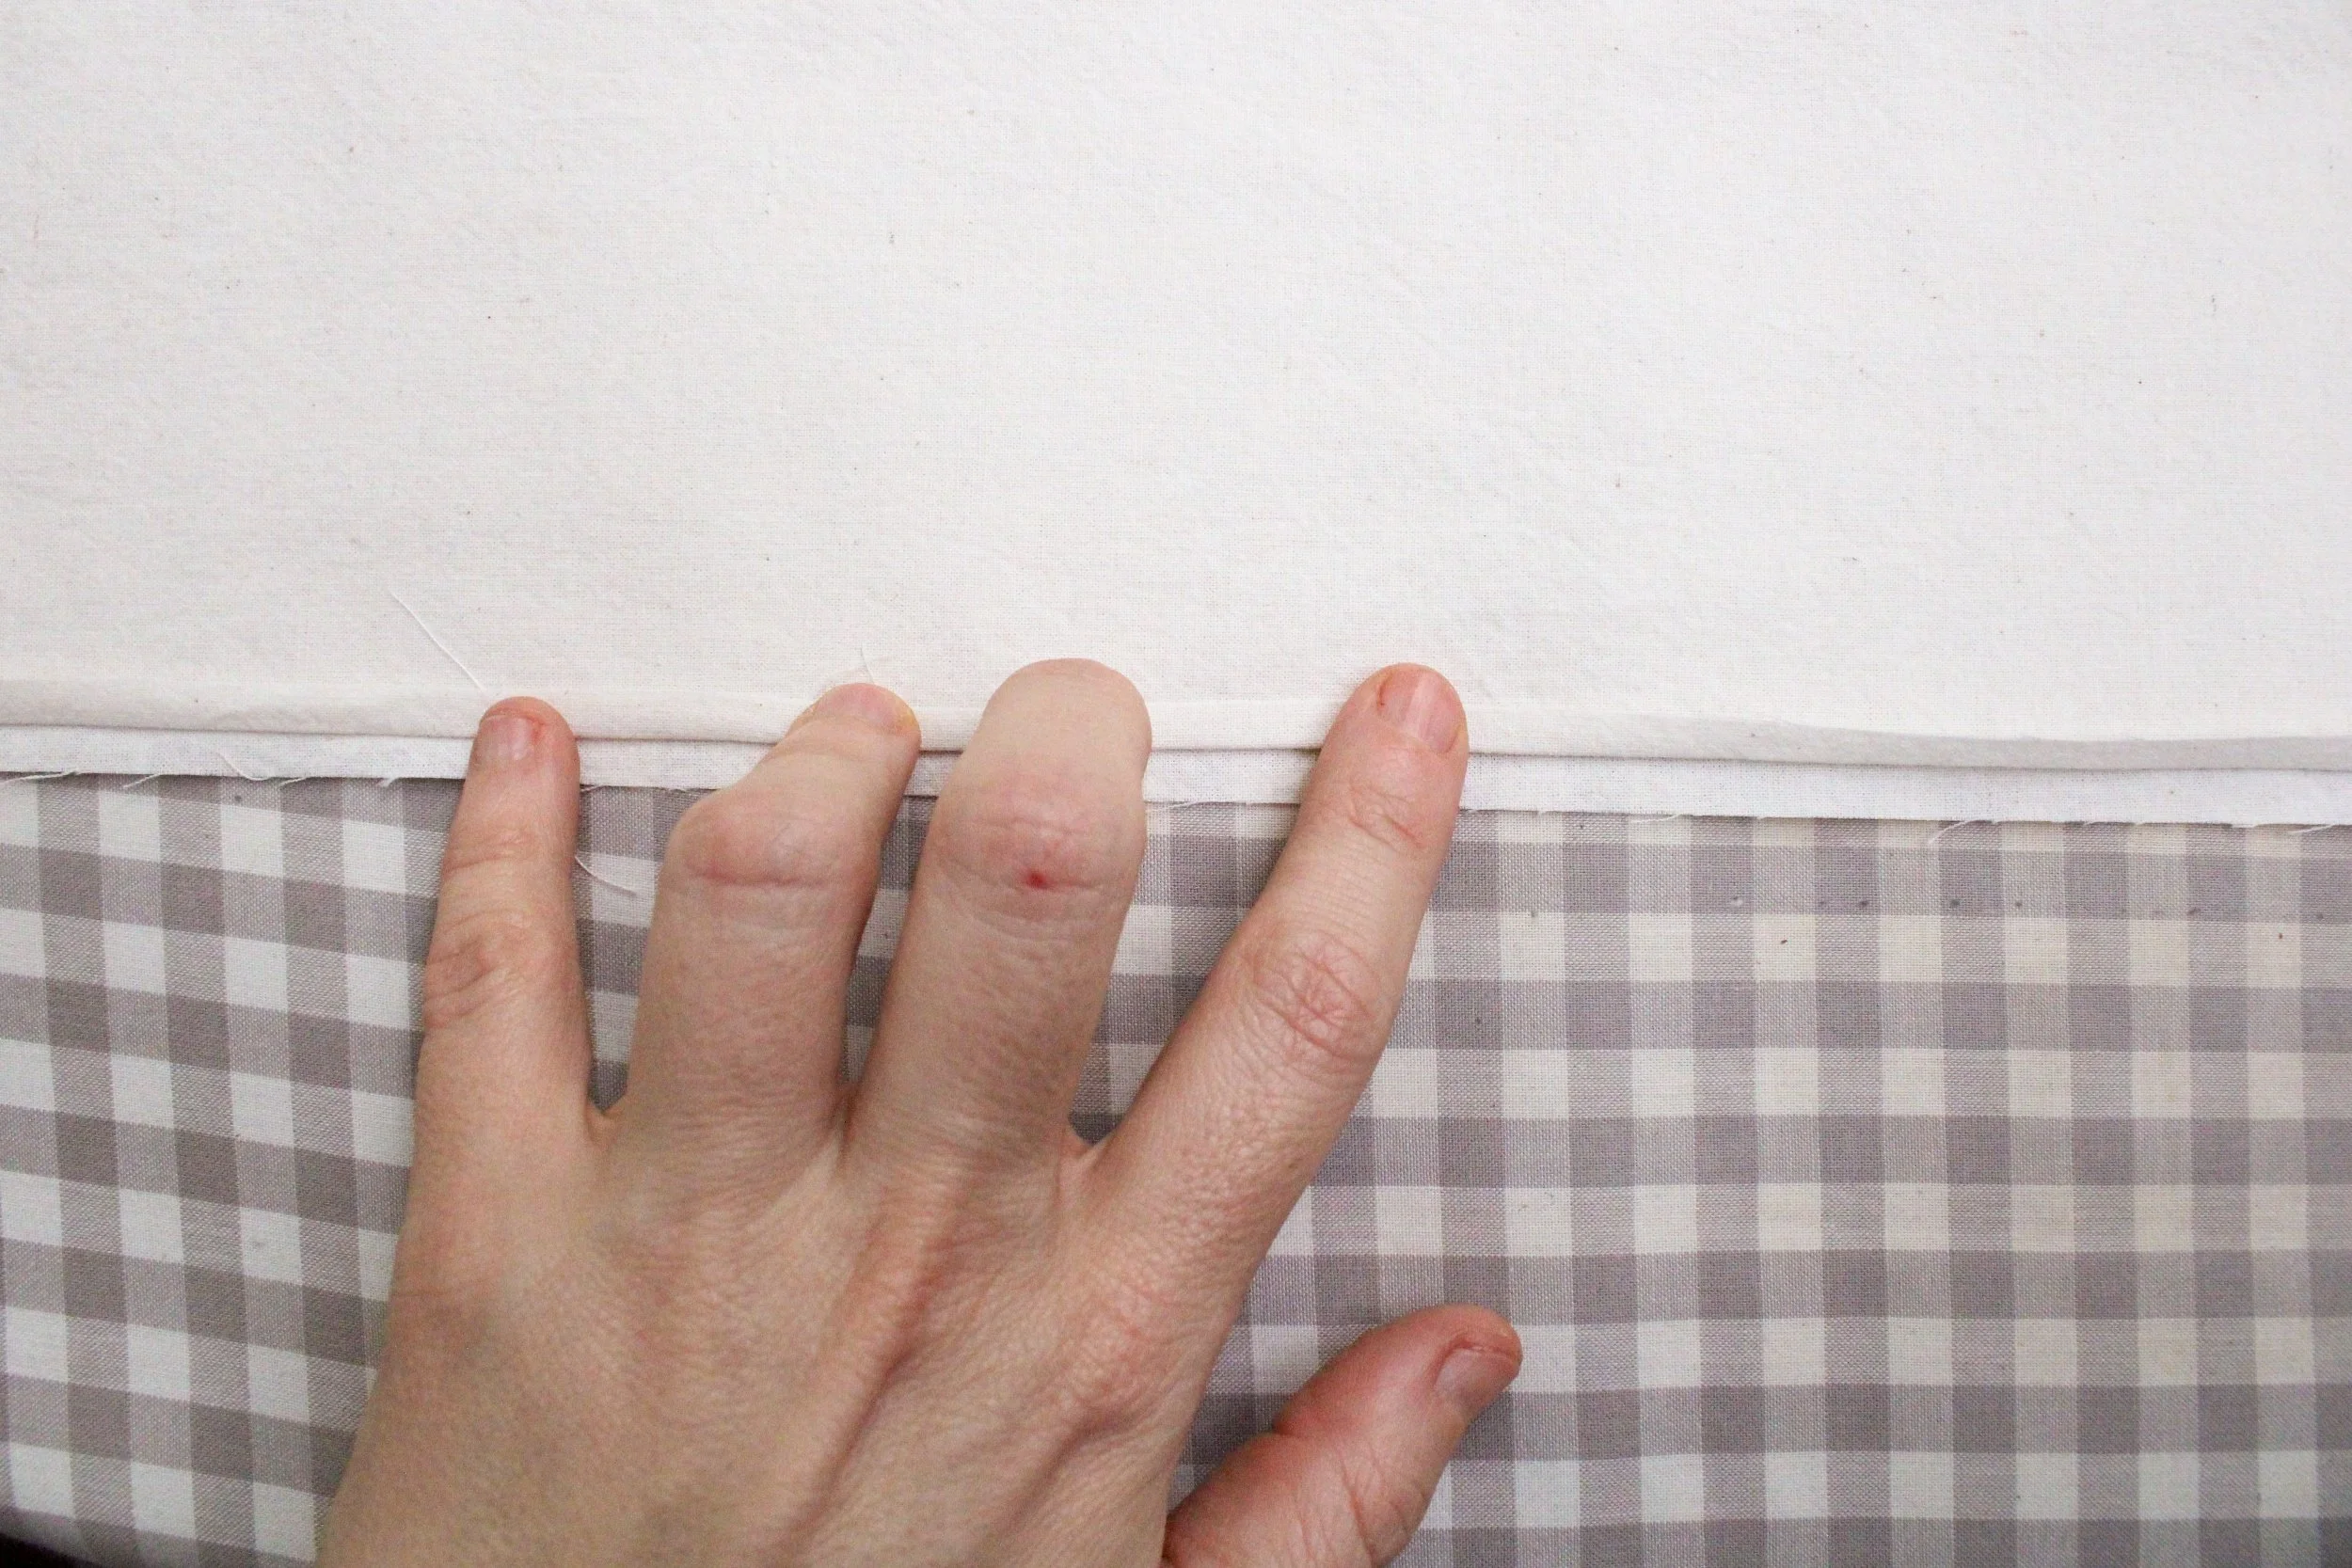
With the exterior quilted panels right side out and the lining inside out, tuck the exterior into the lining, making sure the ties are well away from the raw edges you’re about to sew. Make sure the side seams of both are lined up.
(The lining and quilted panels are right sides together here.)
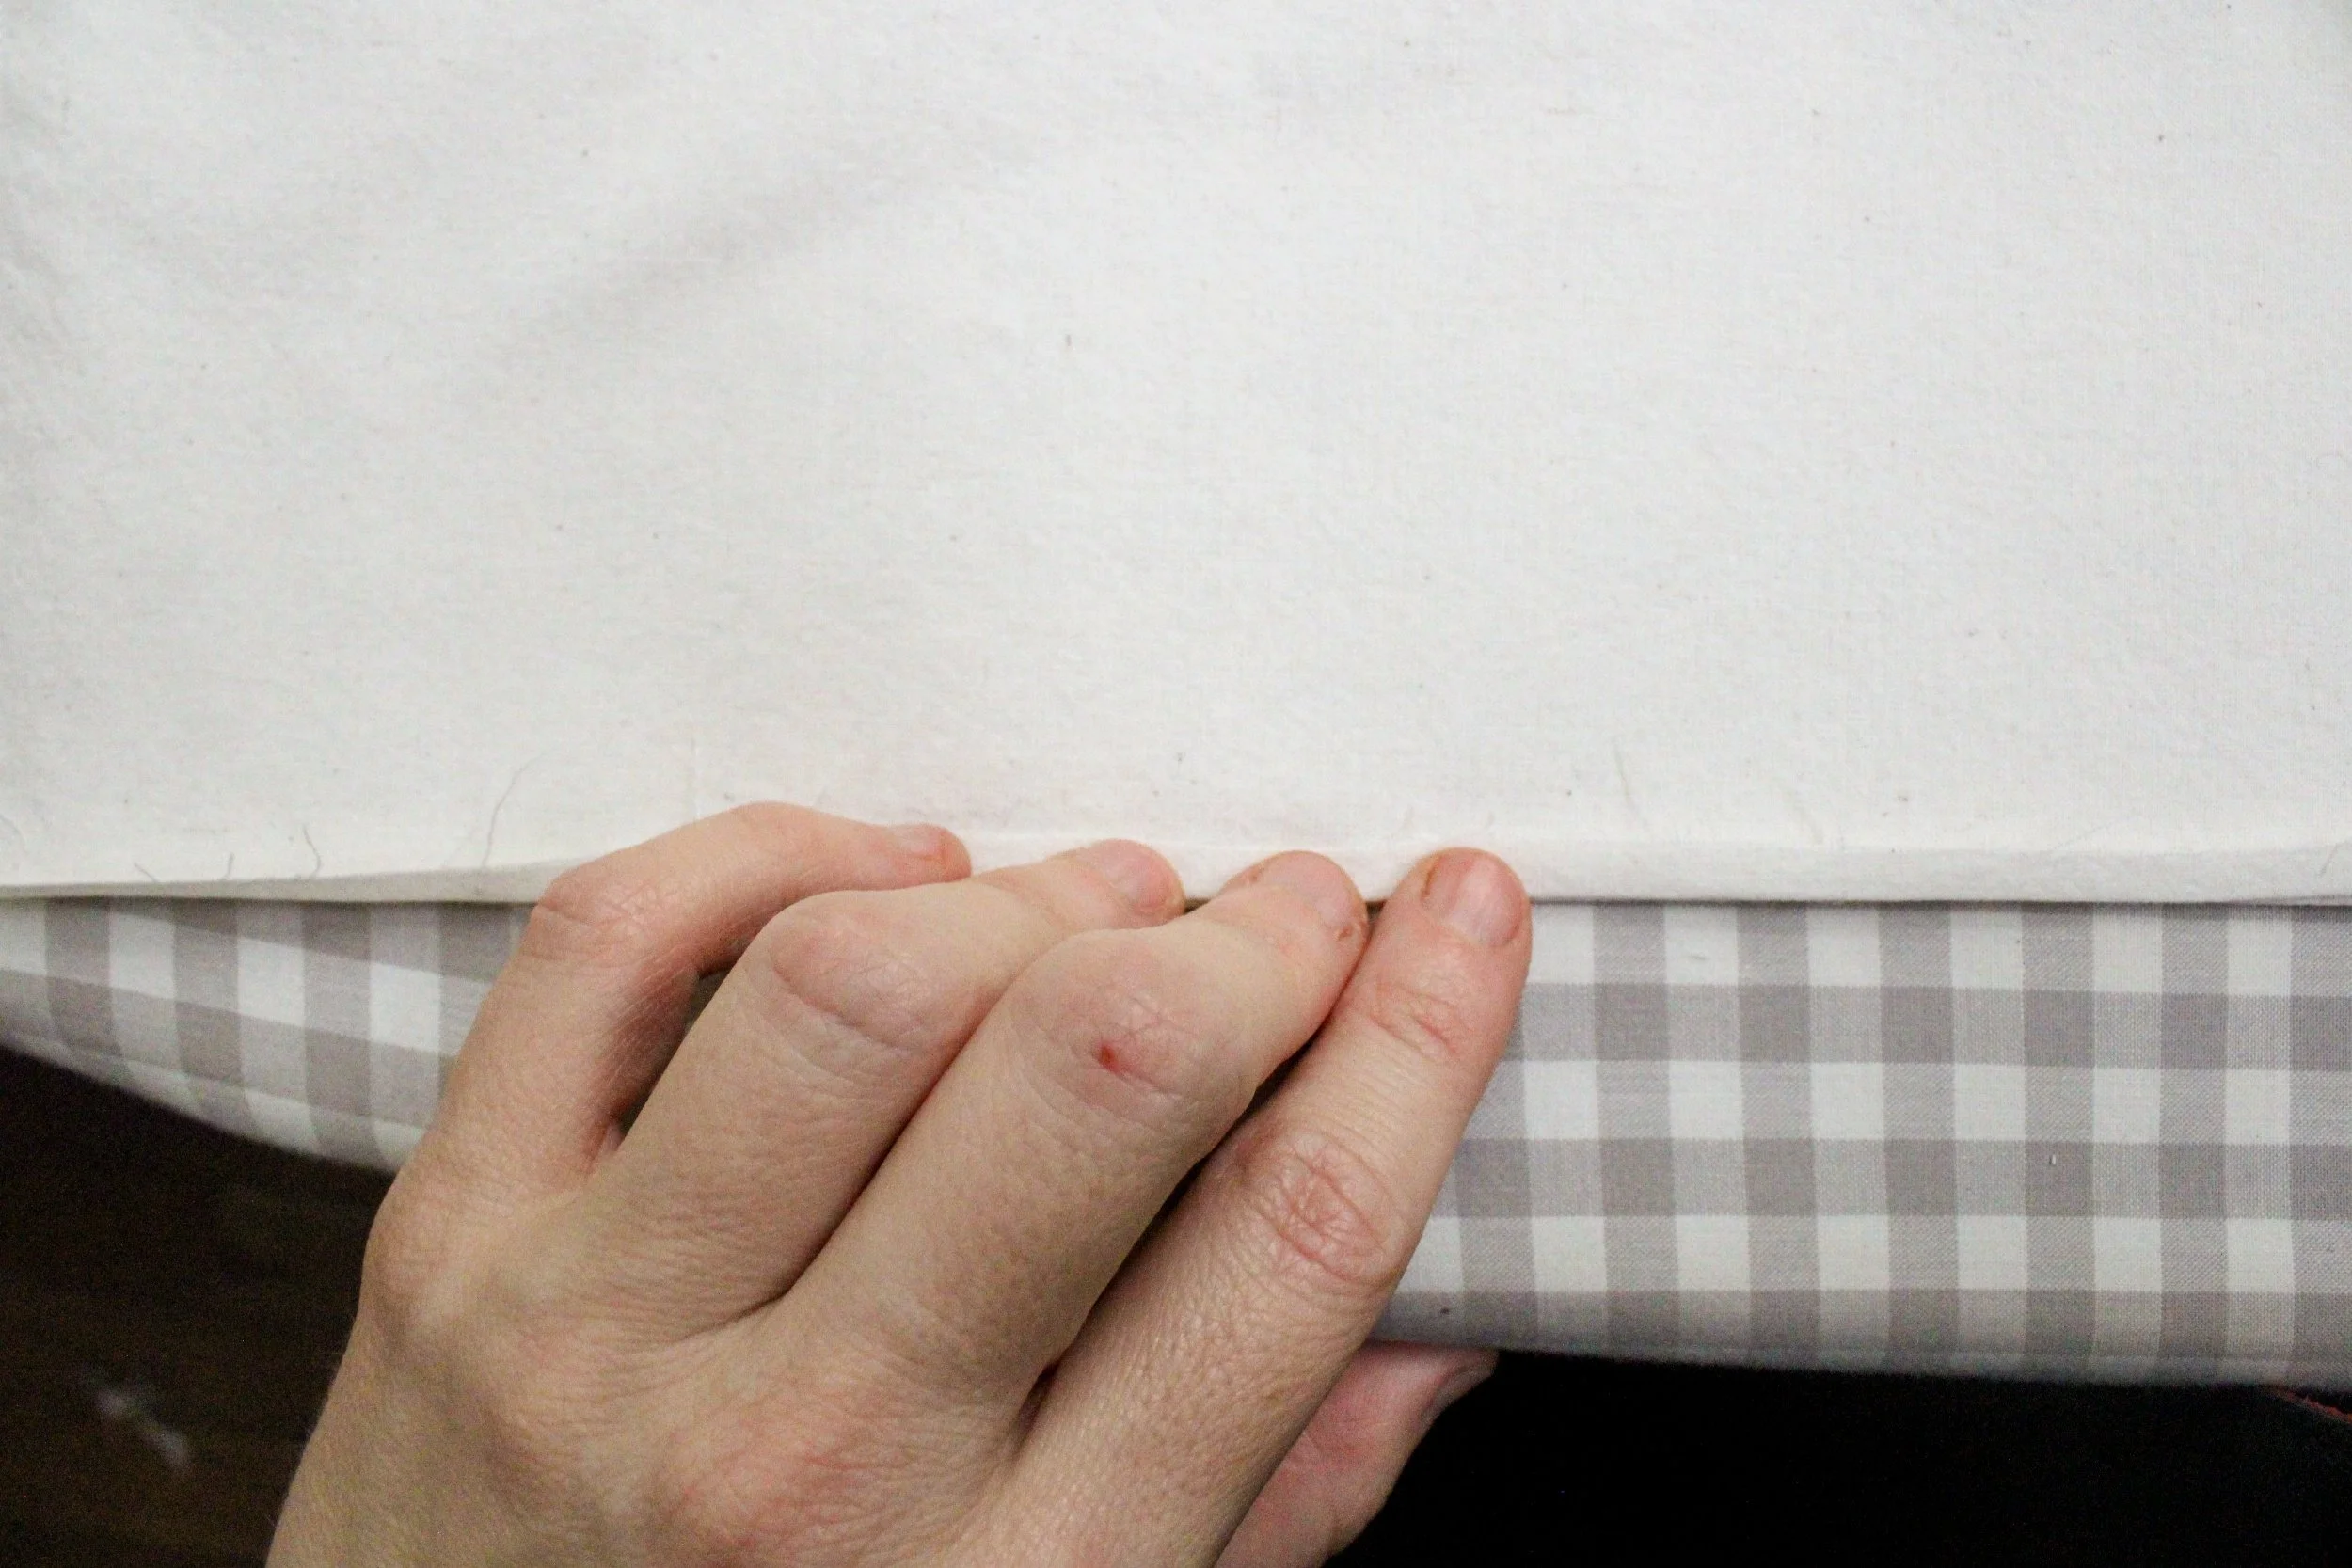
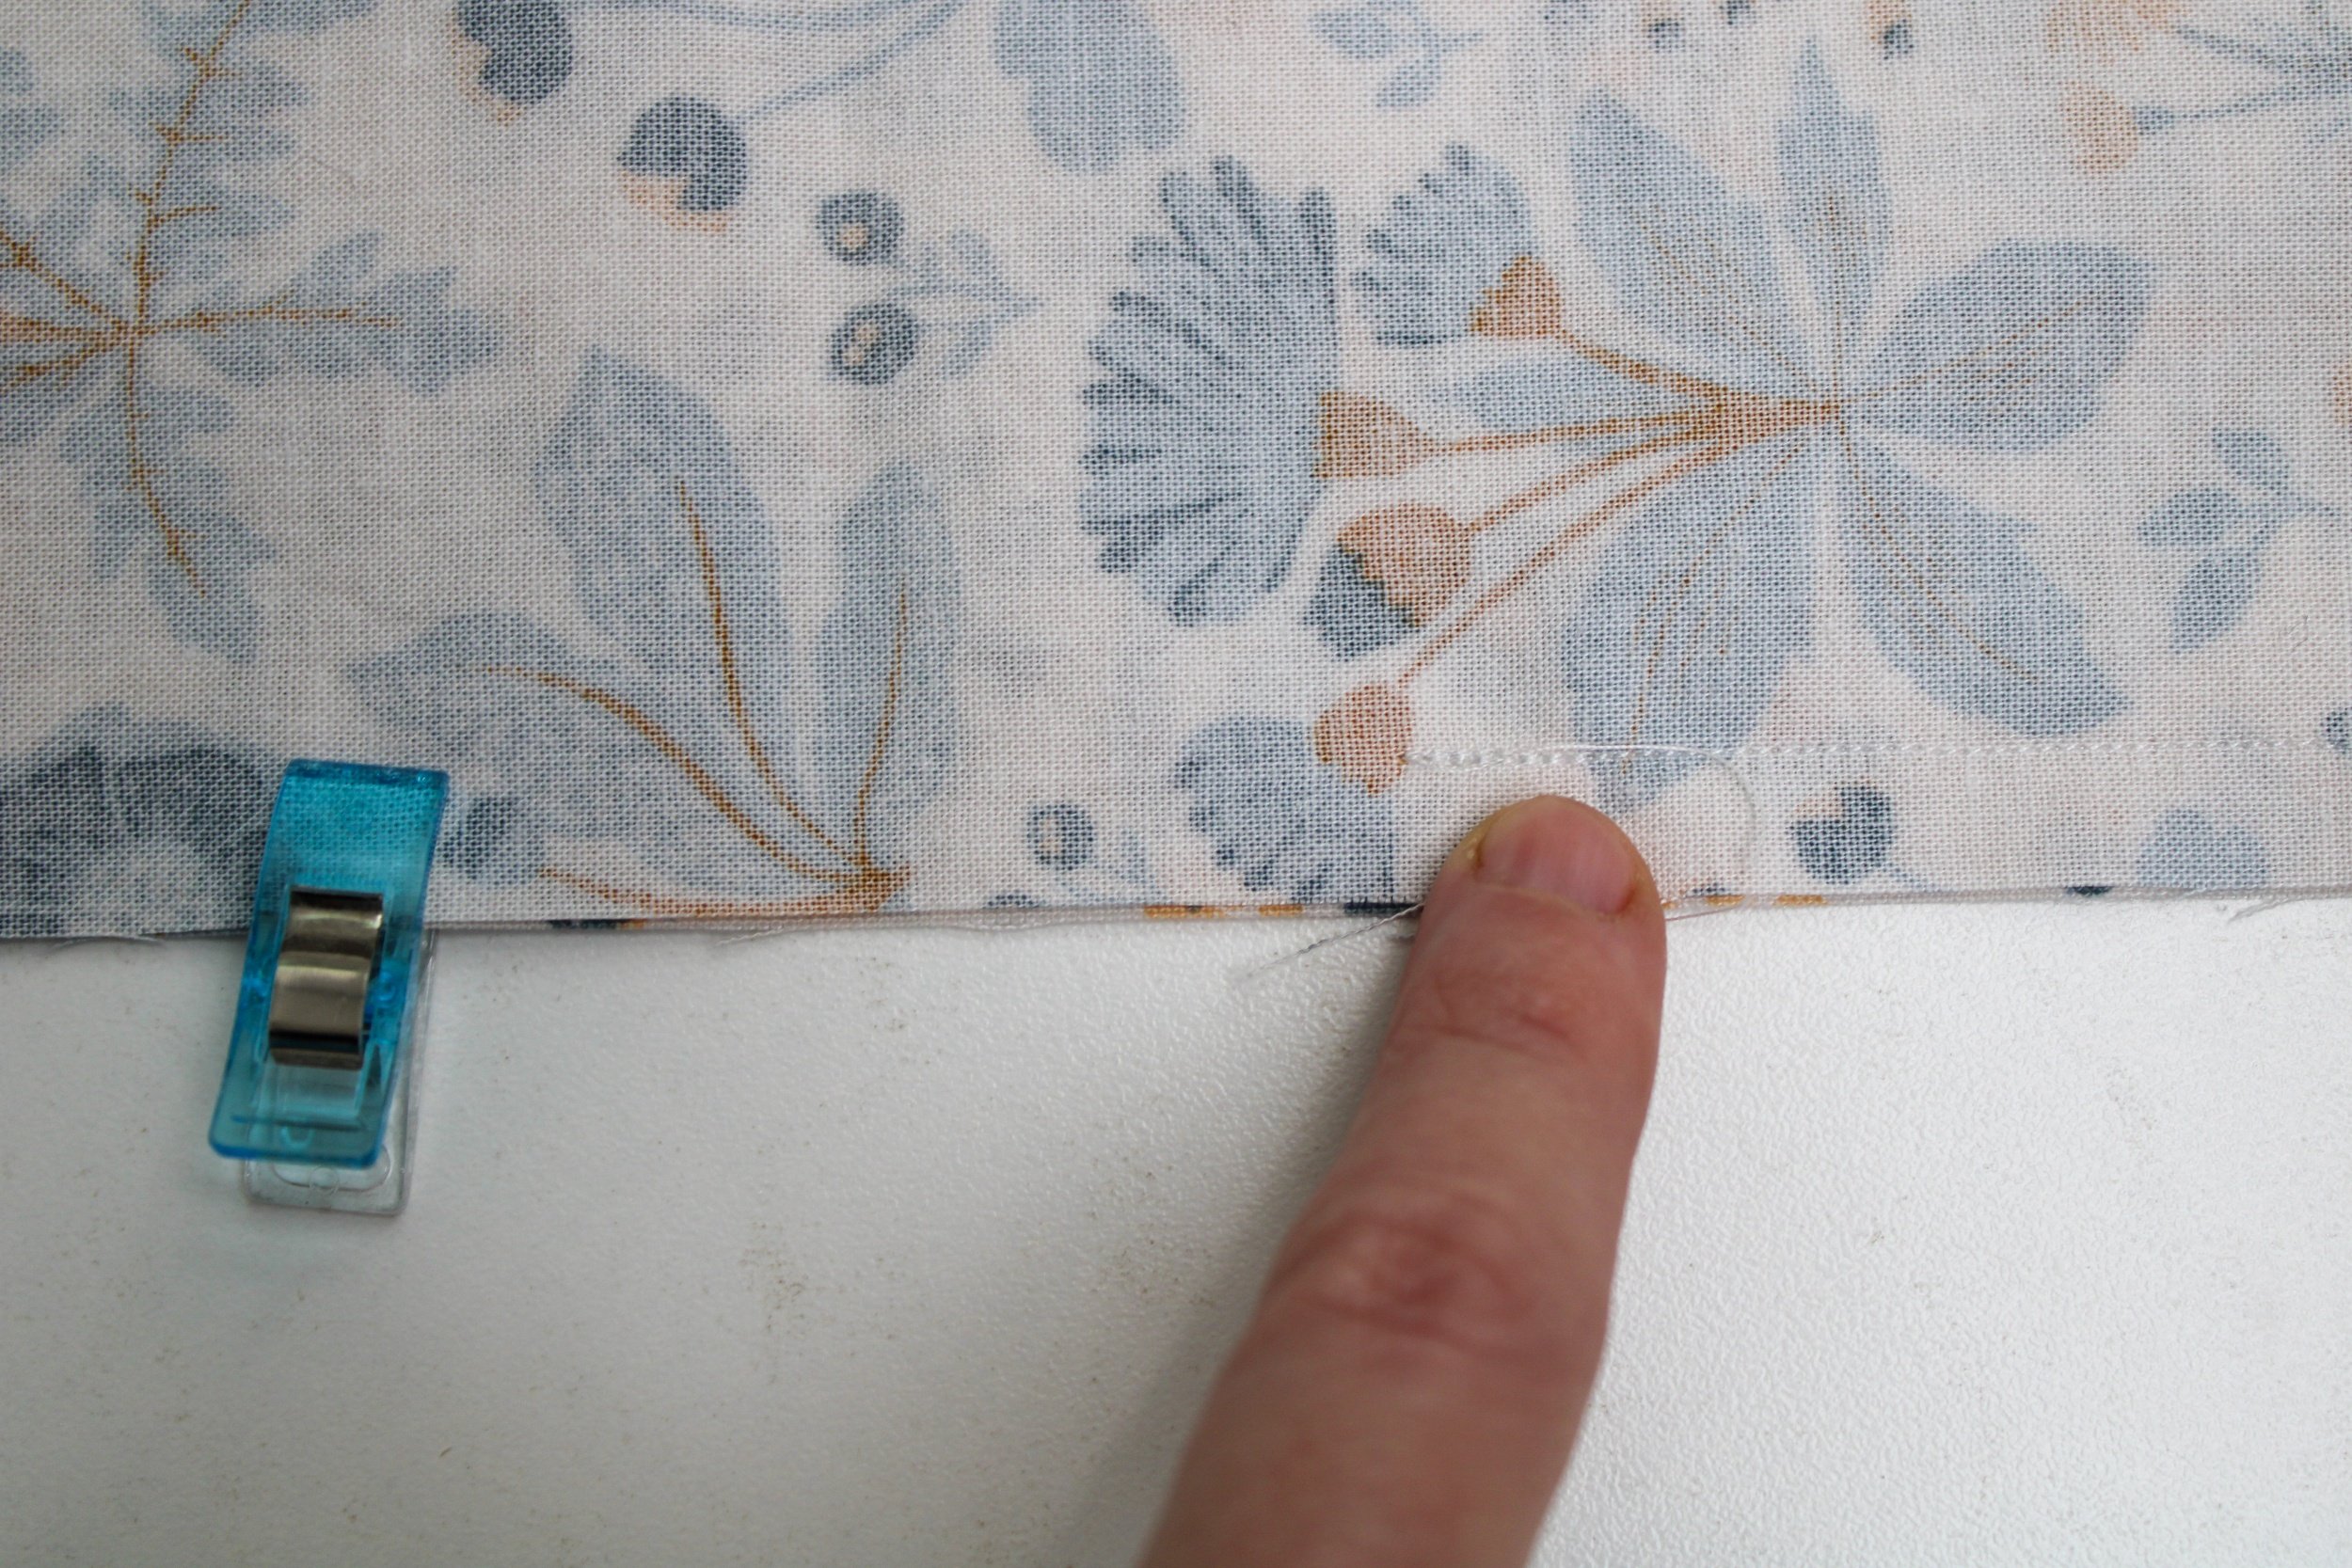
Clip or pin the raw edges together and sew with a quarter-inch seam allowance.
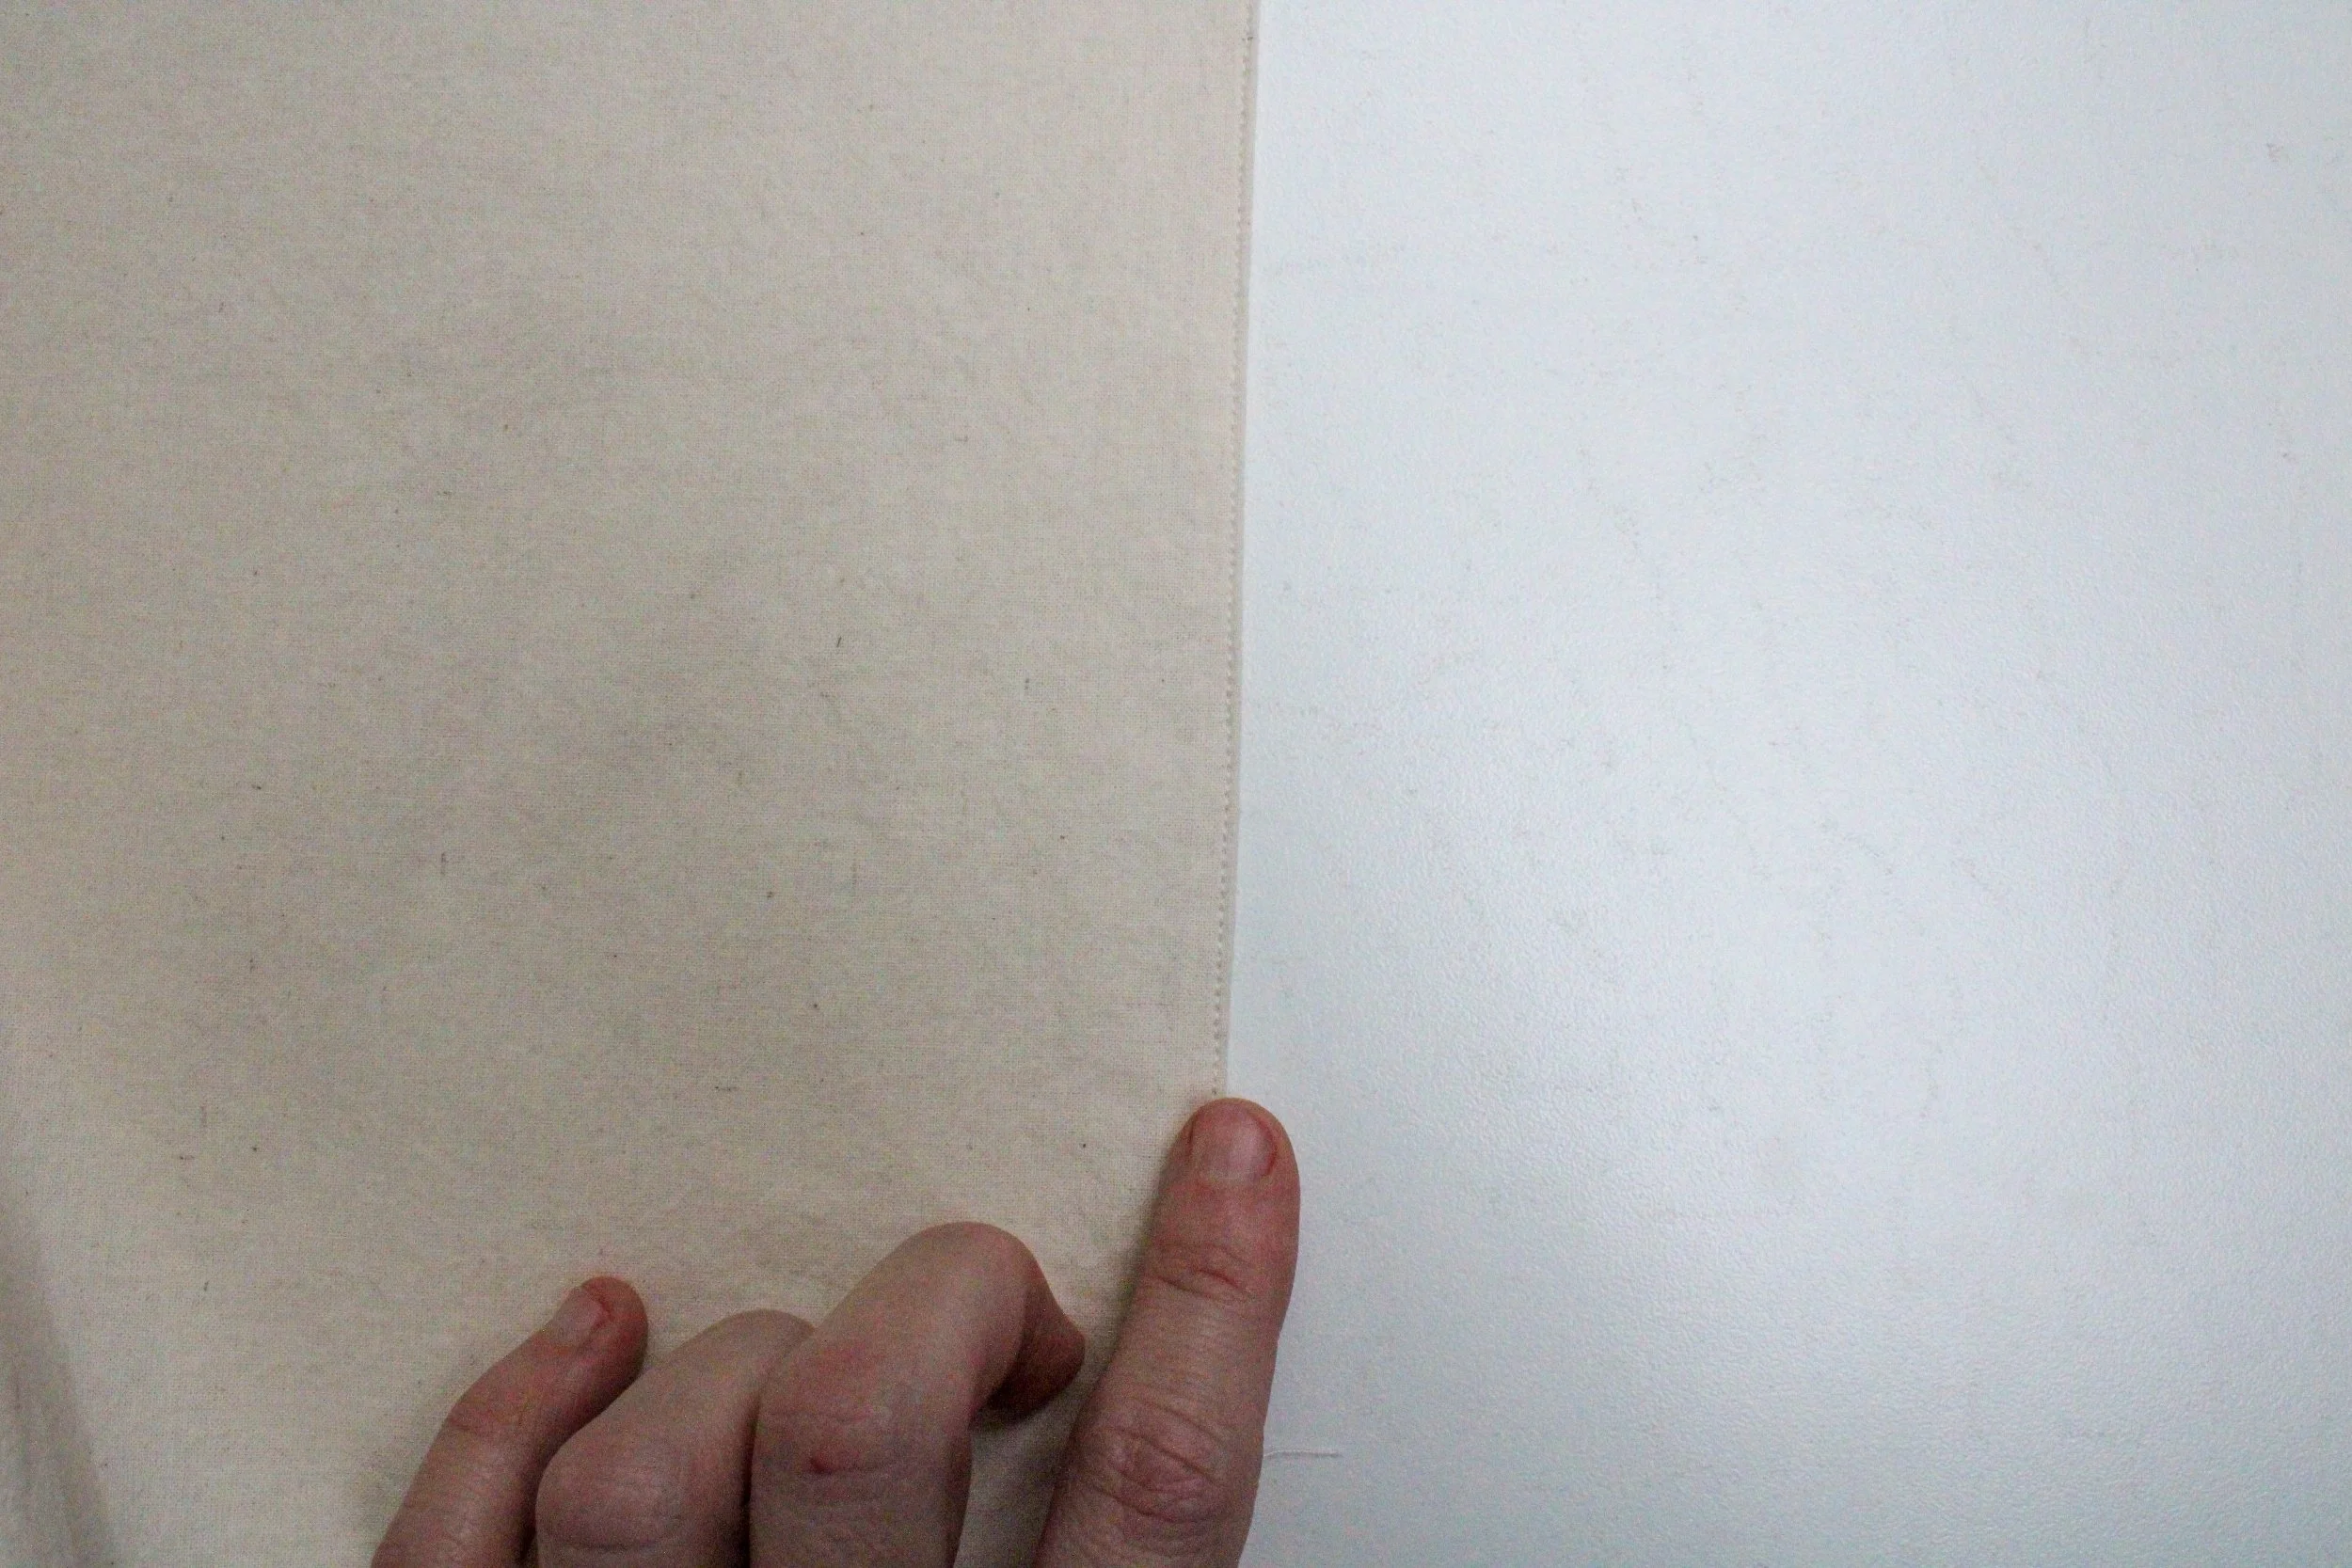
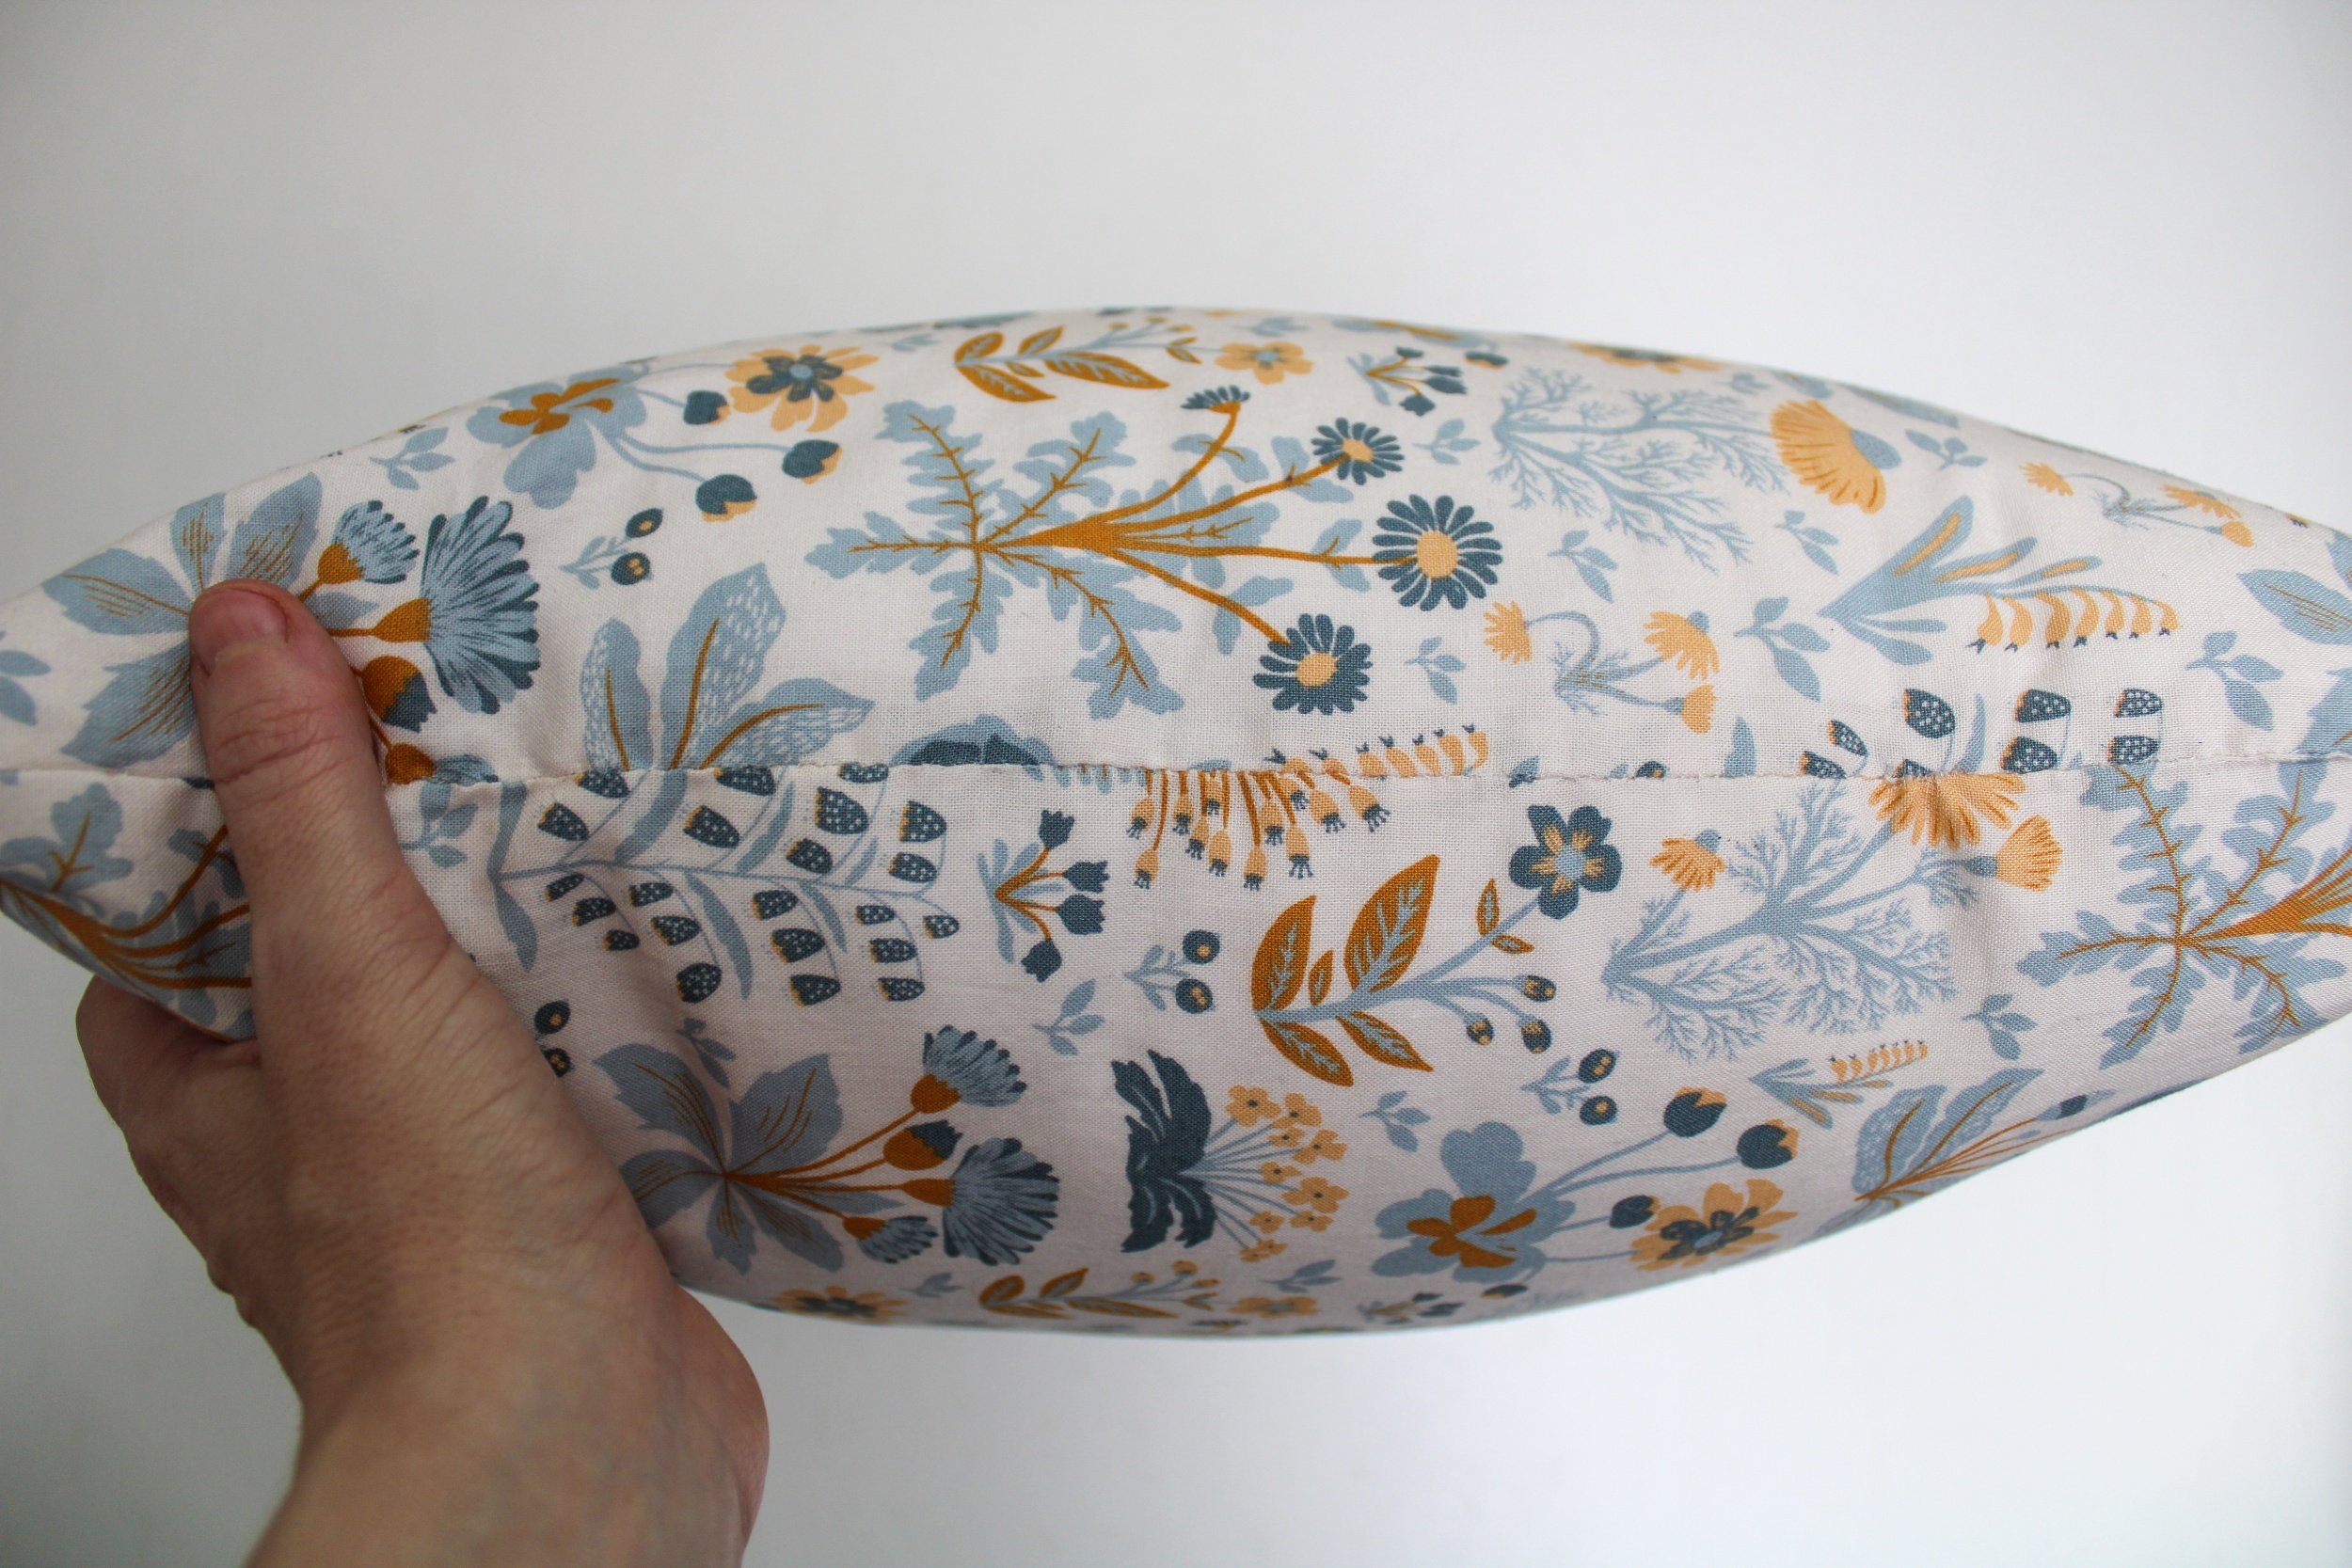
Turn it right side out through the turning gap, and here’s what we have!
Next, topstitch or understitch the open edge of the pillowcase.
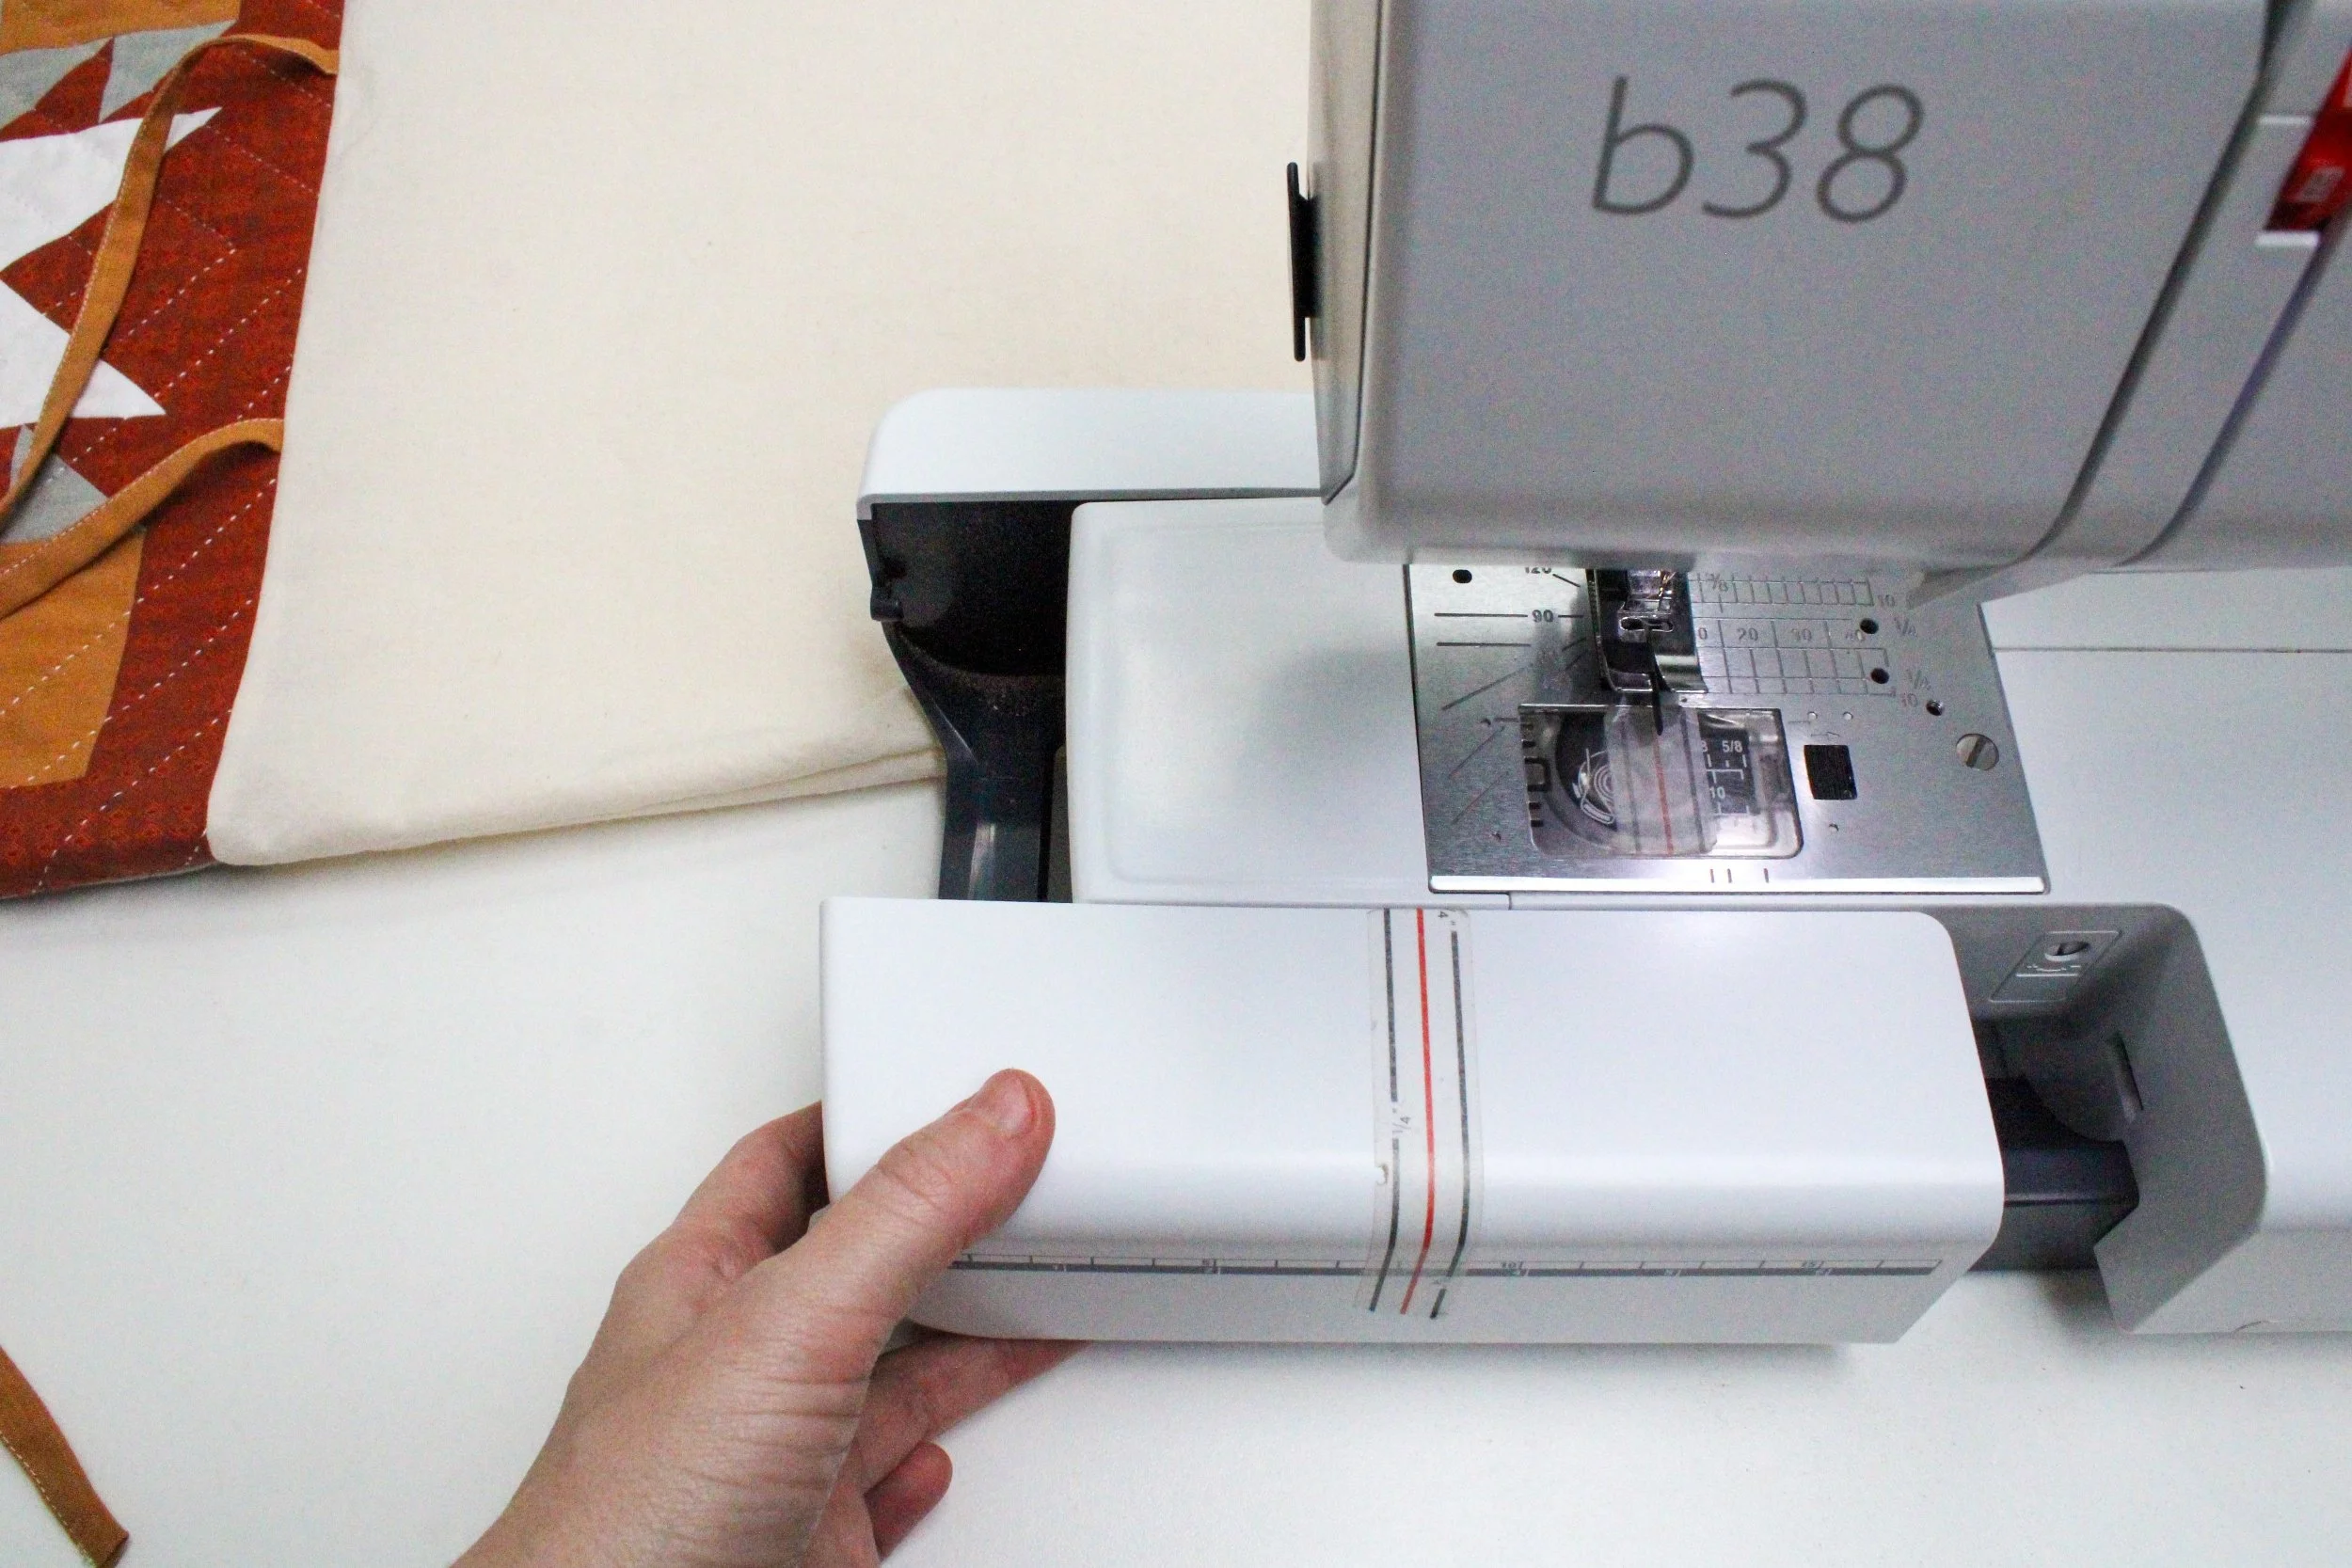
My sewing machine has this removable component, so I’ll take it off and understitch the seam to the lining.
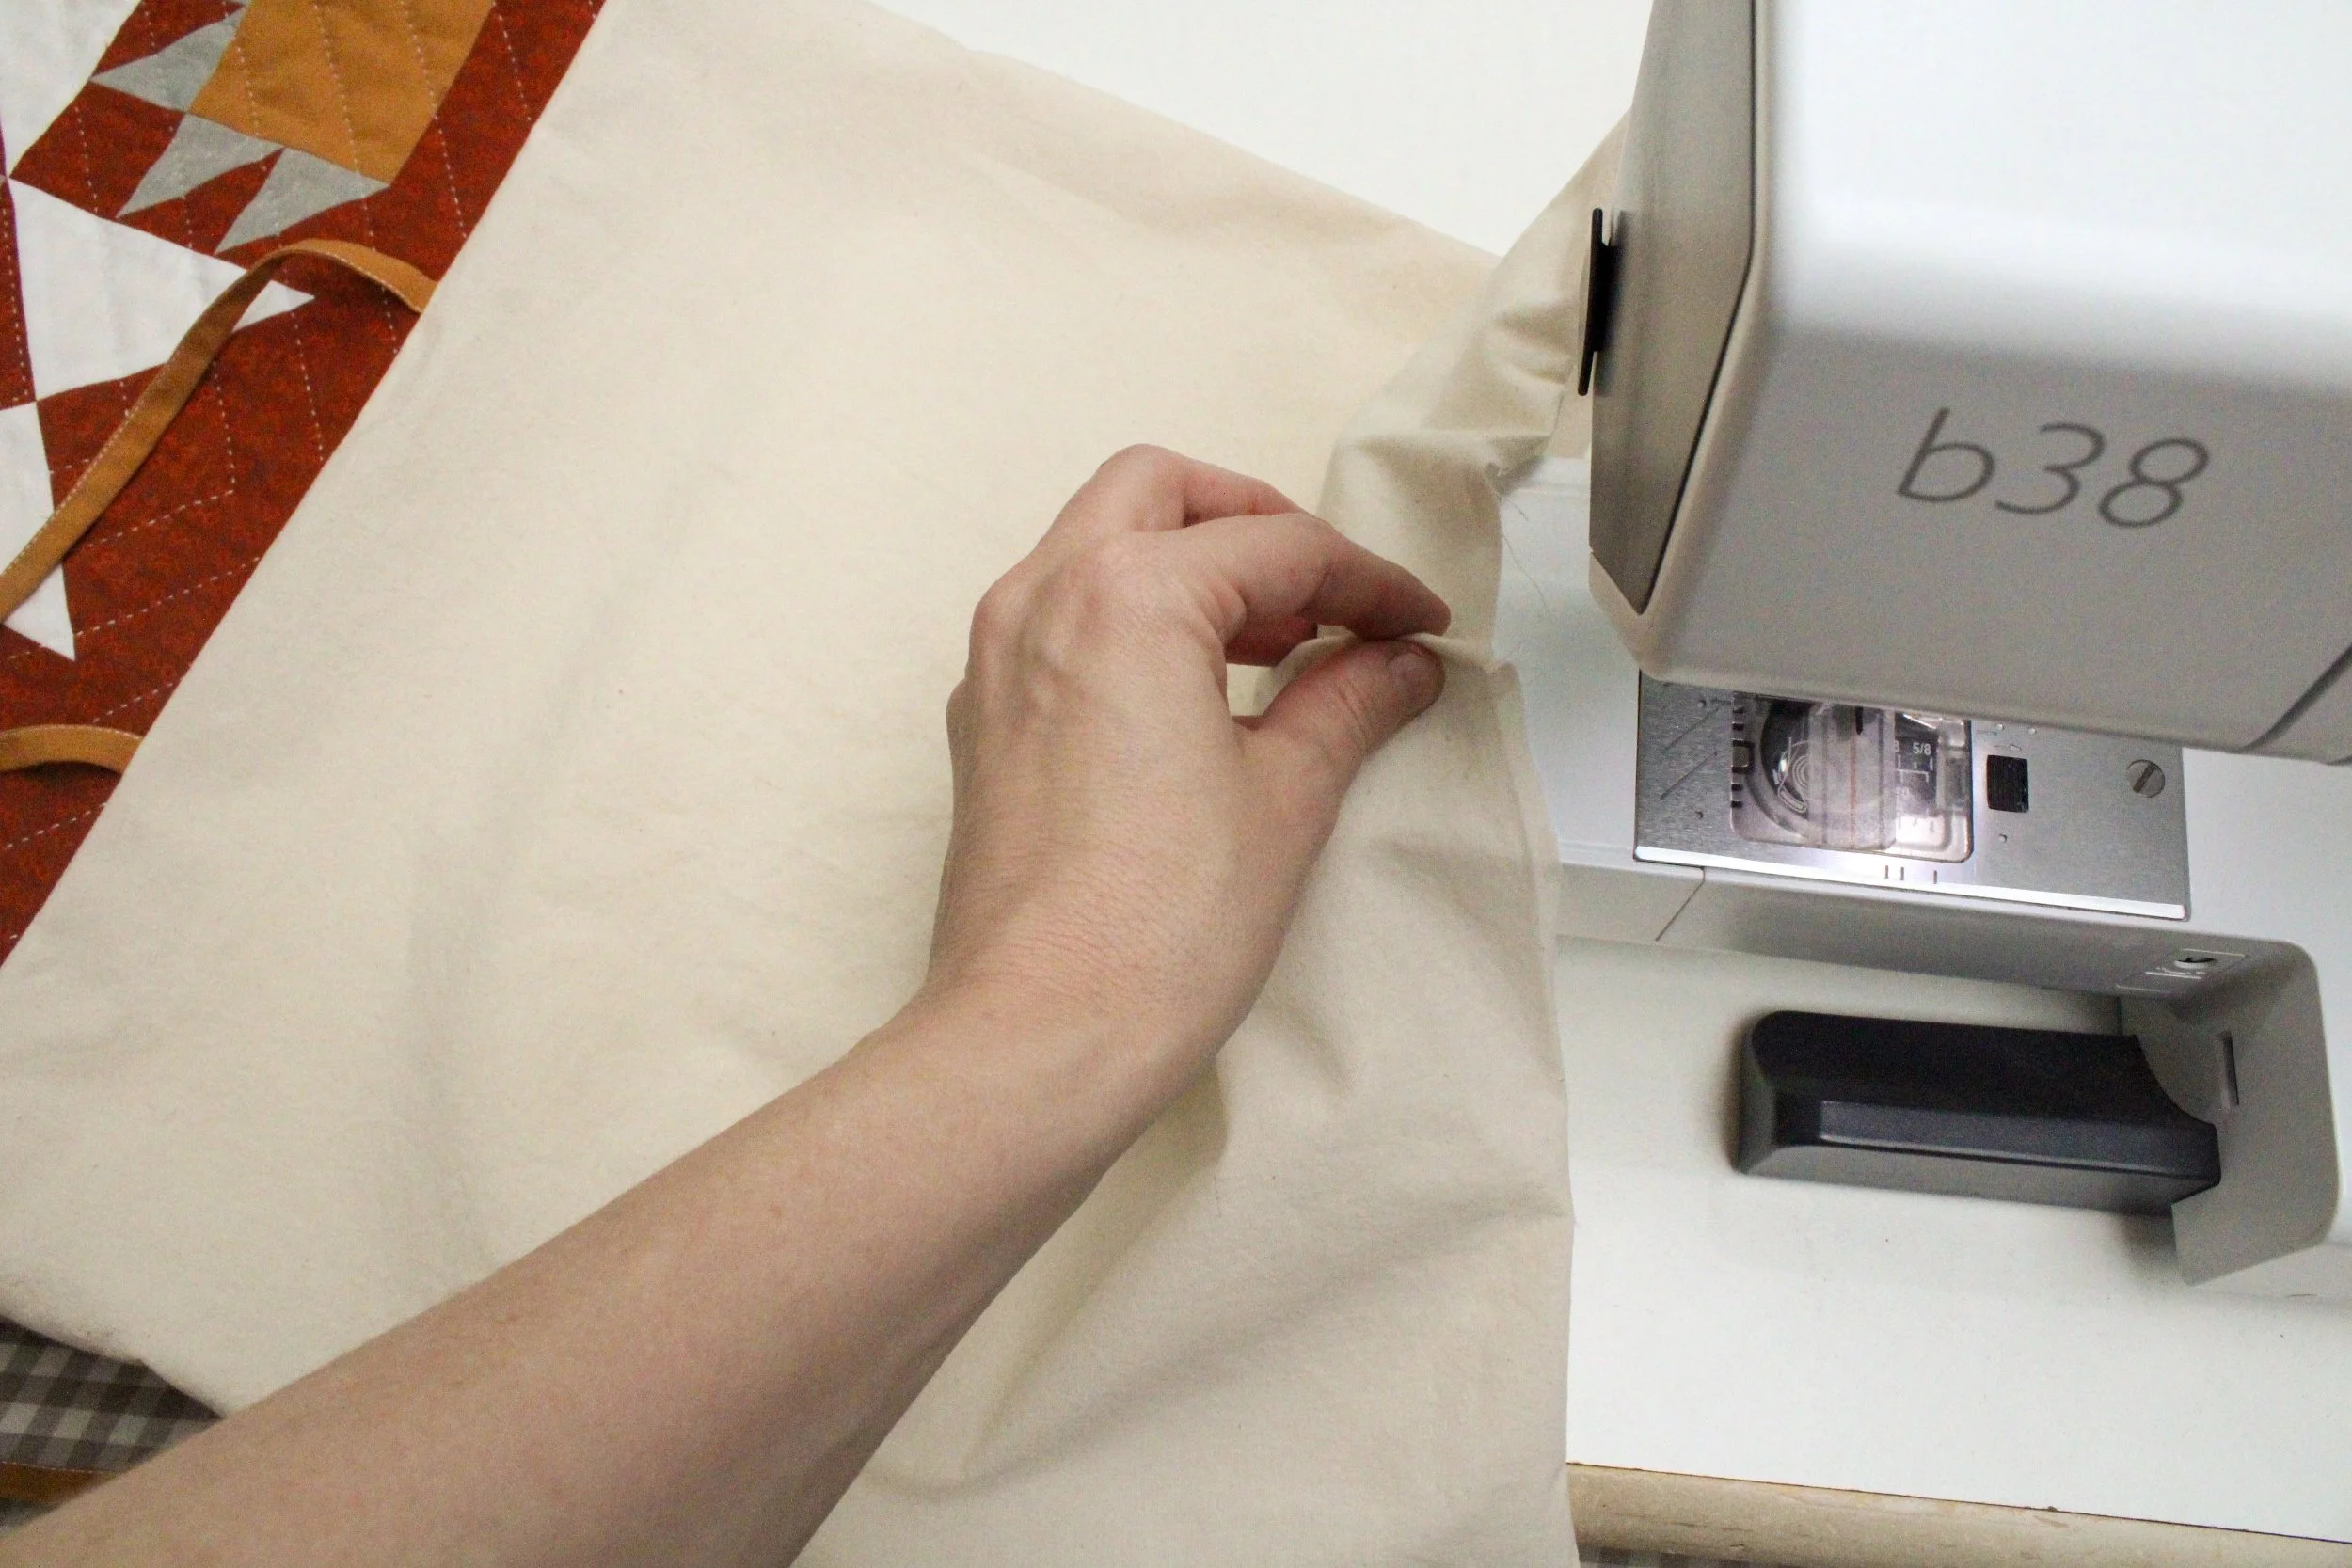
The turning gap fits right over the arm of my sewing machine this way.

Here’s how I understitch:
I give that seam a good press, then I use my edgestitching foot (optional) to sew a finishing stitch on the lining; it sews the seam allowance underneath to the lining piece, so that the stitching is only visible on the lining and not on the exterior of the pillow. (Make sure not to understitch the ties to the lining! Keep them out of the way.)
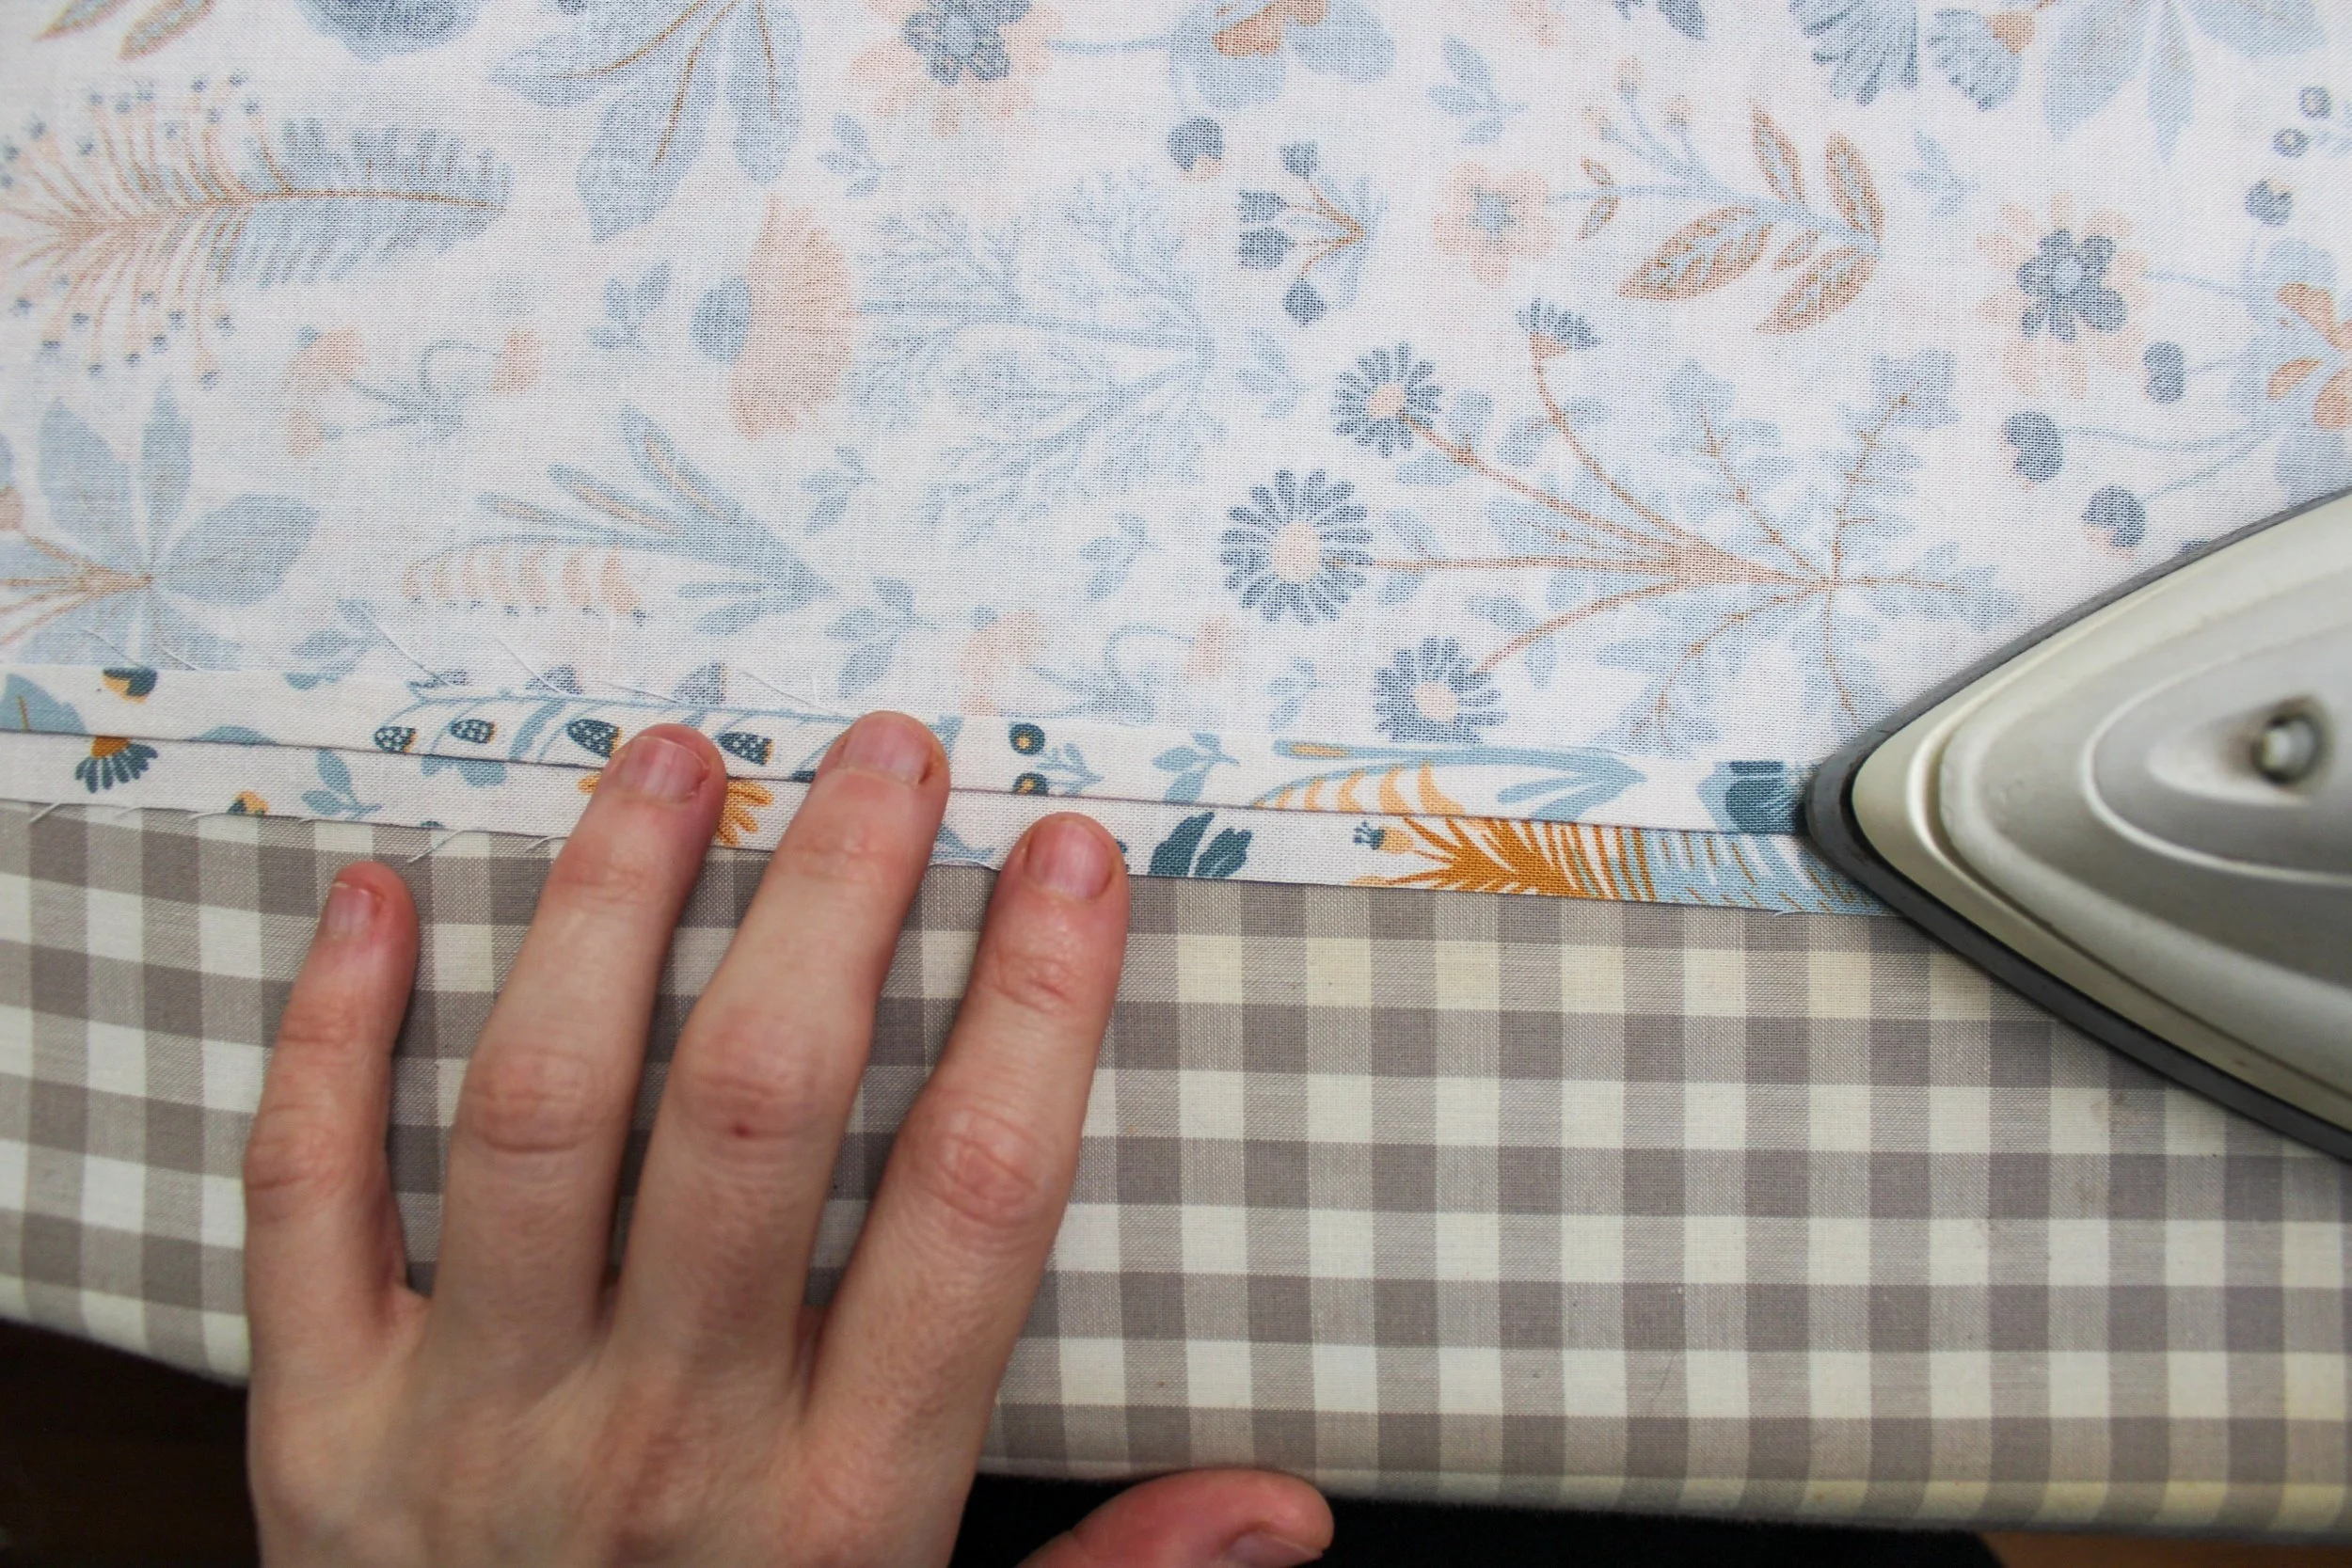
Then I just give the edge a good press.
If that sounds too fancy for you, it’s perfectly OK to just topstitch the edge of the pillowcase or leave it.
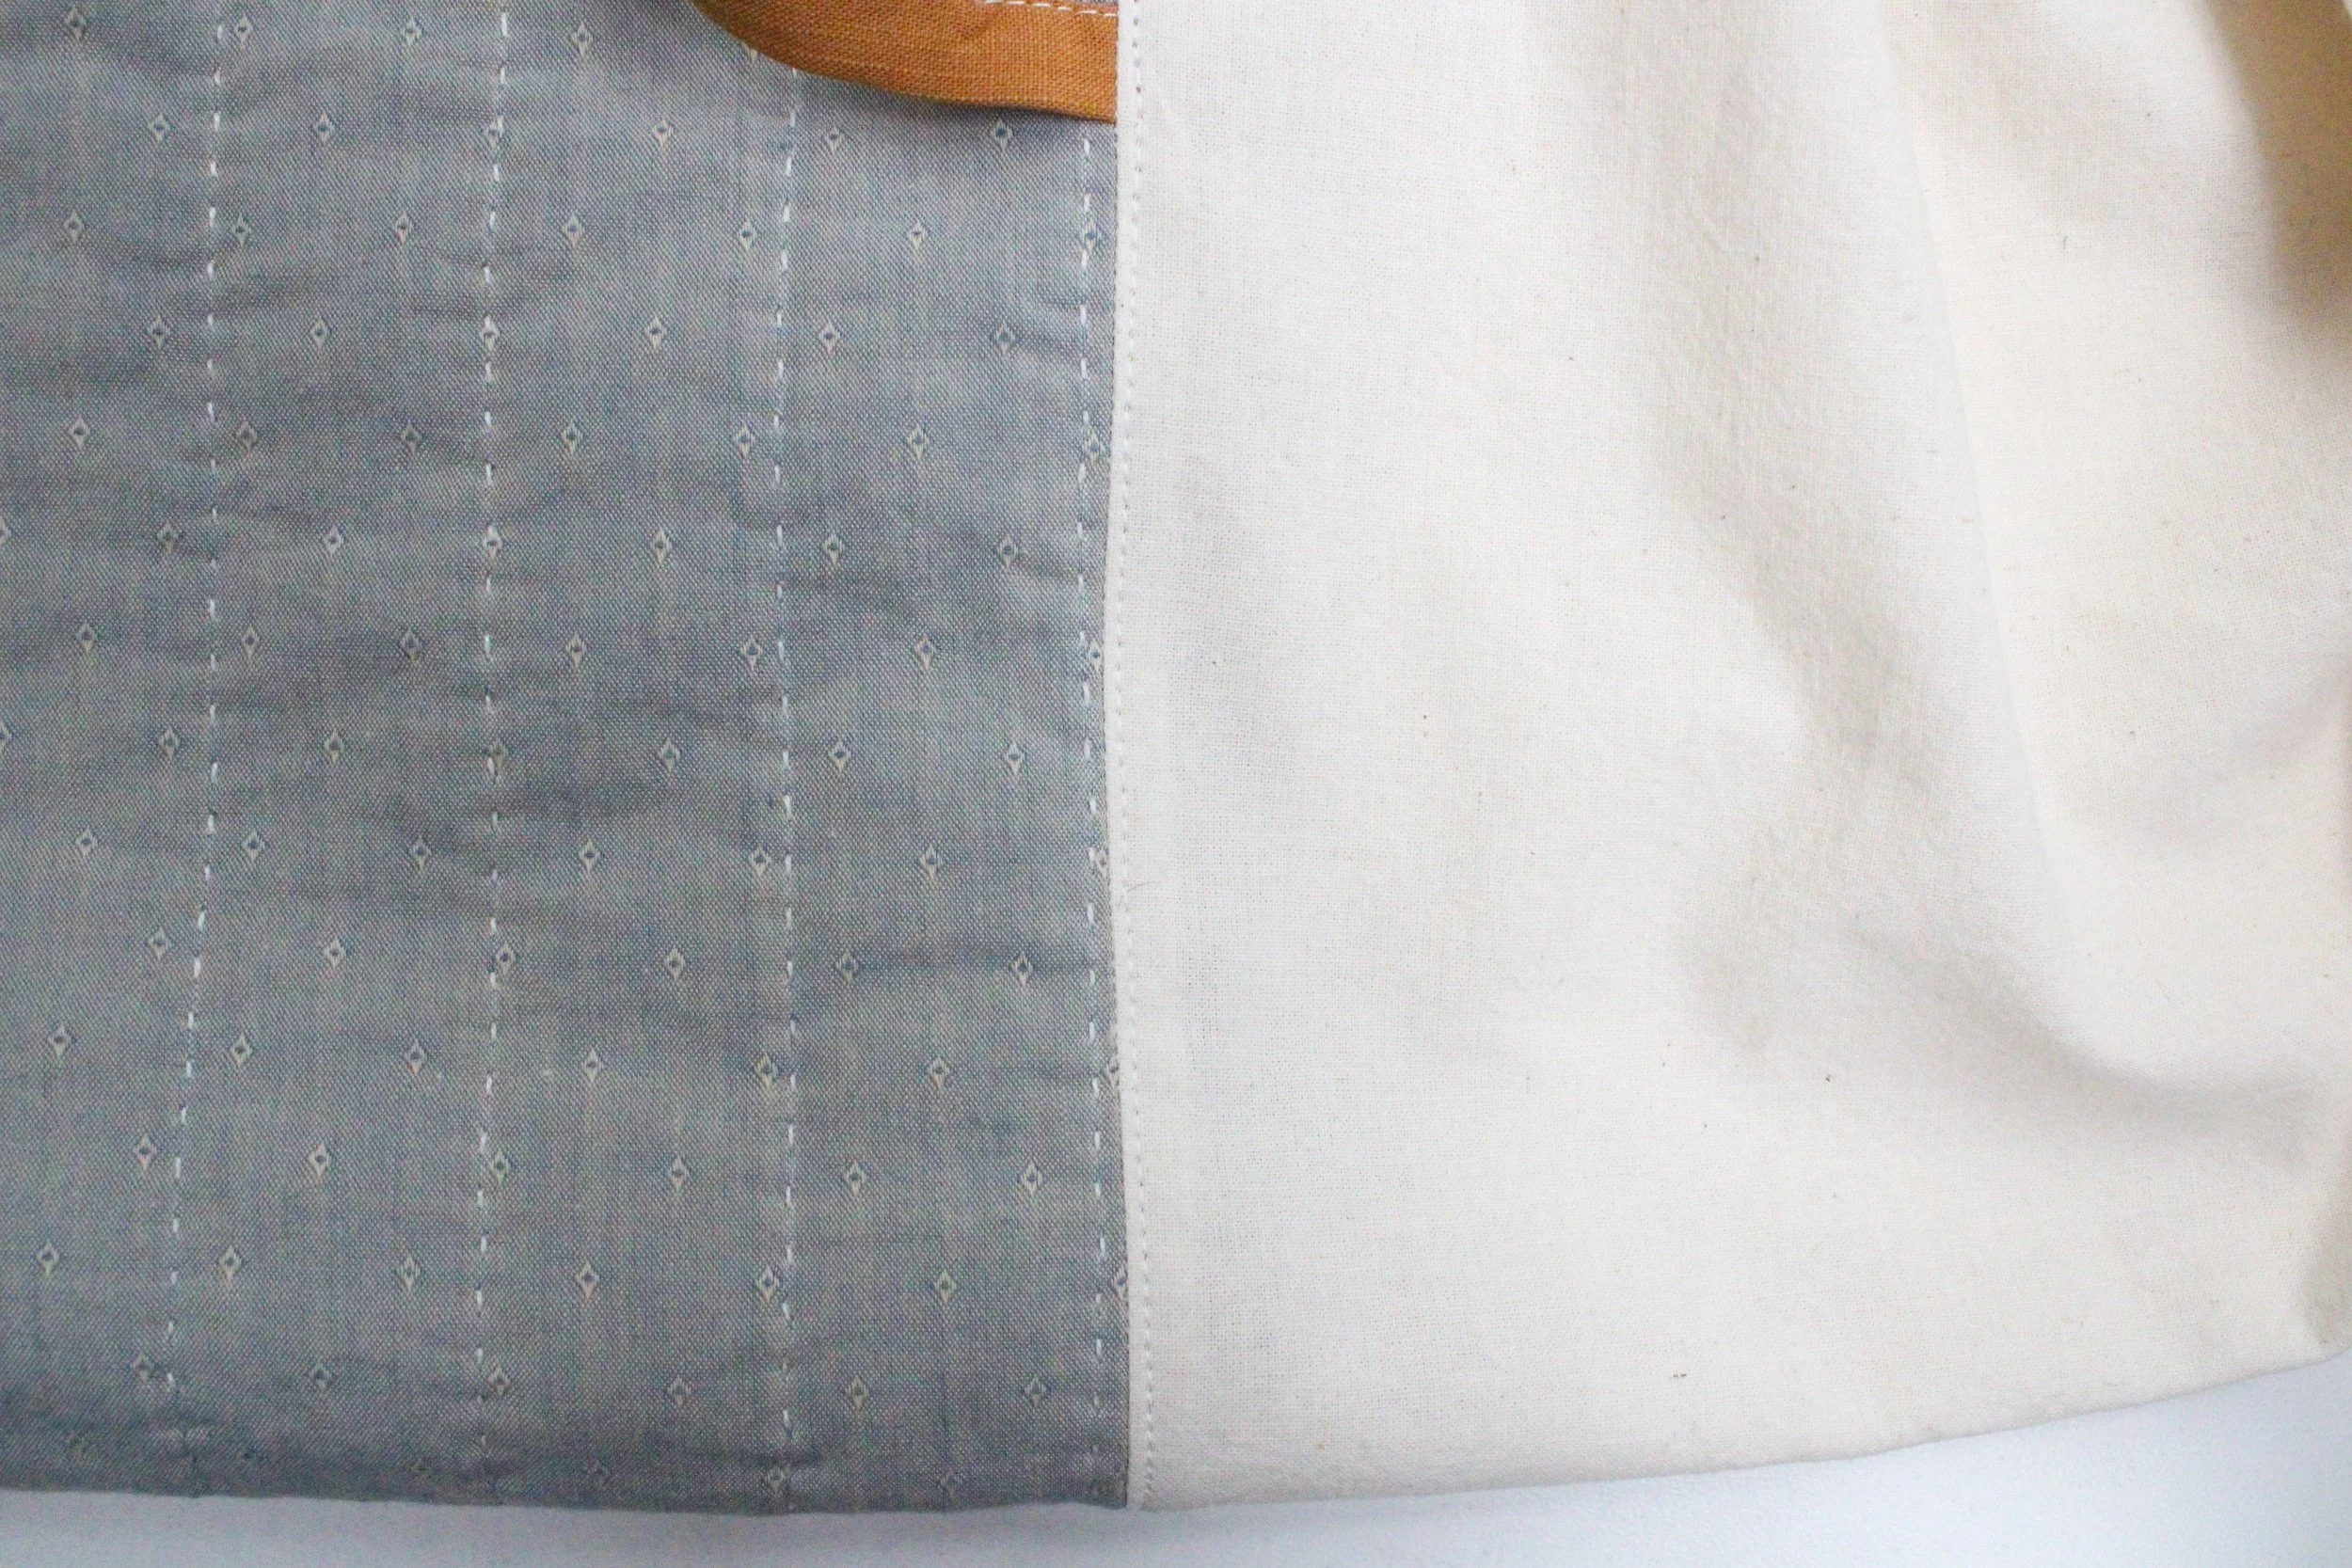
You can see here where I understitched the lining.
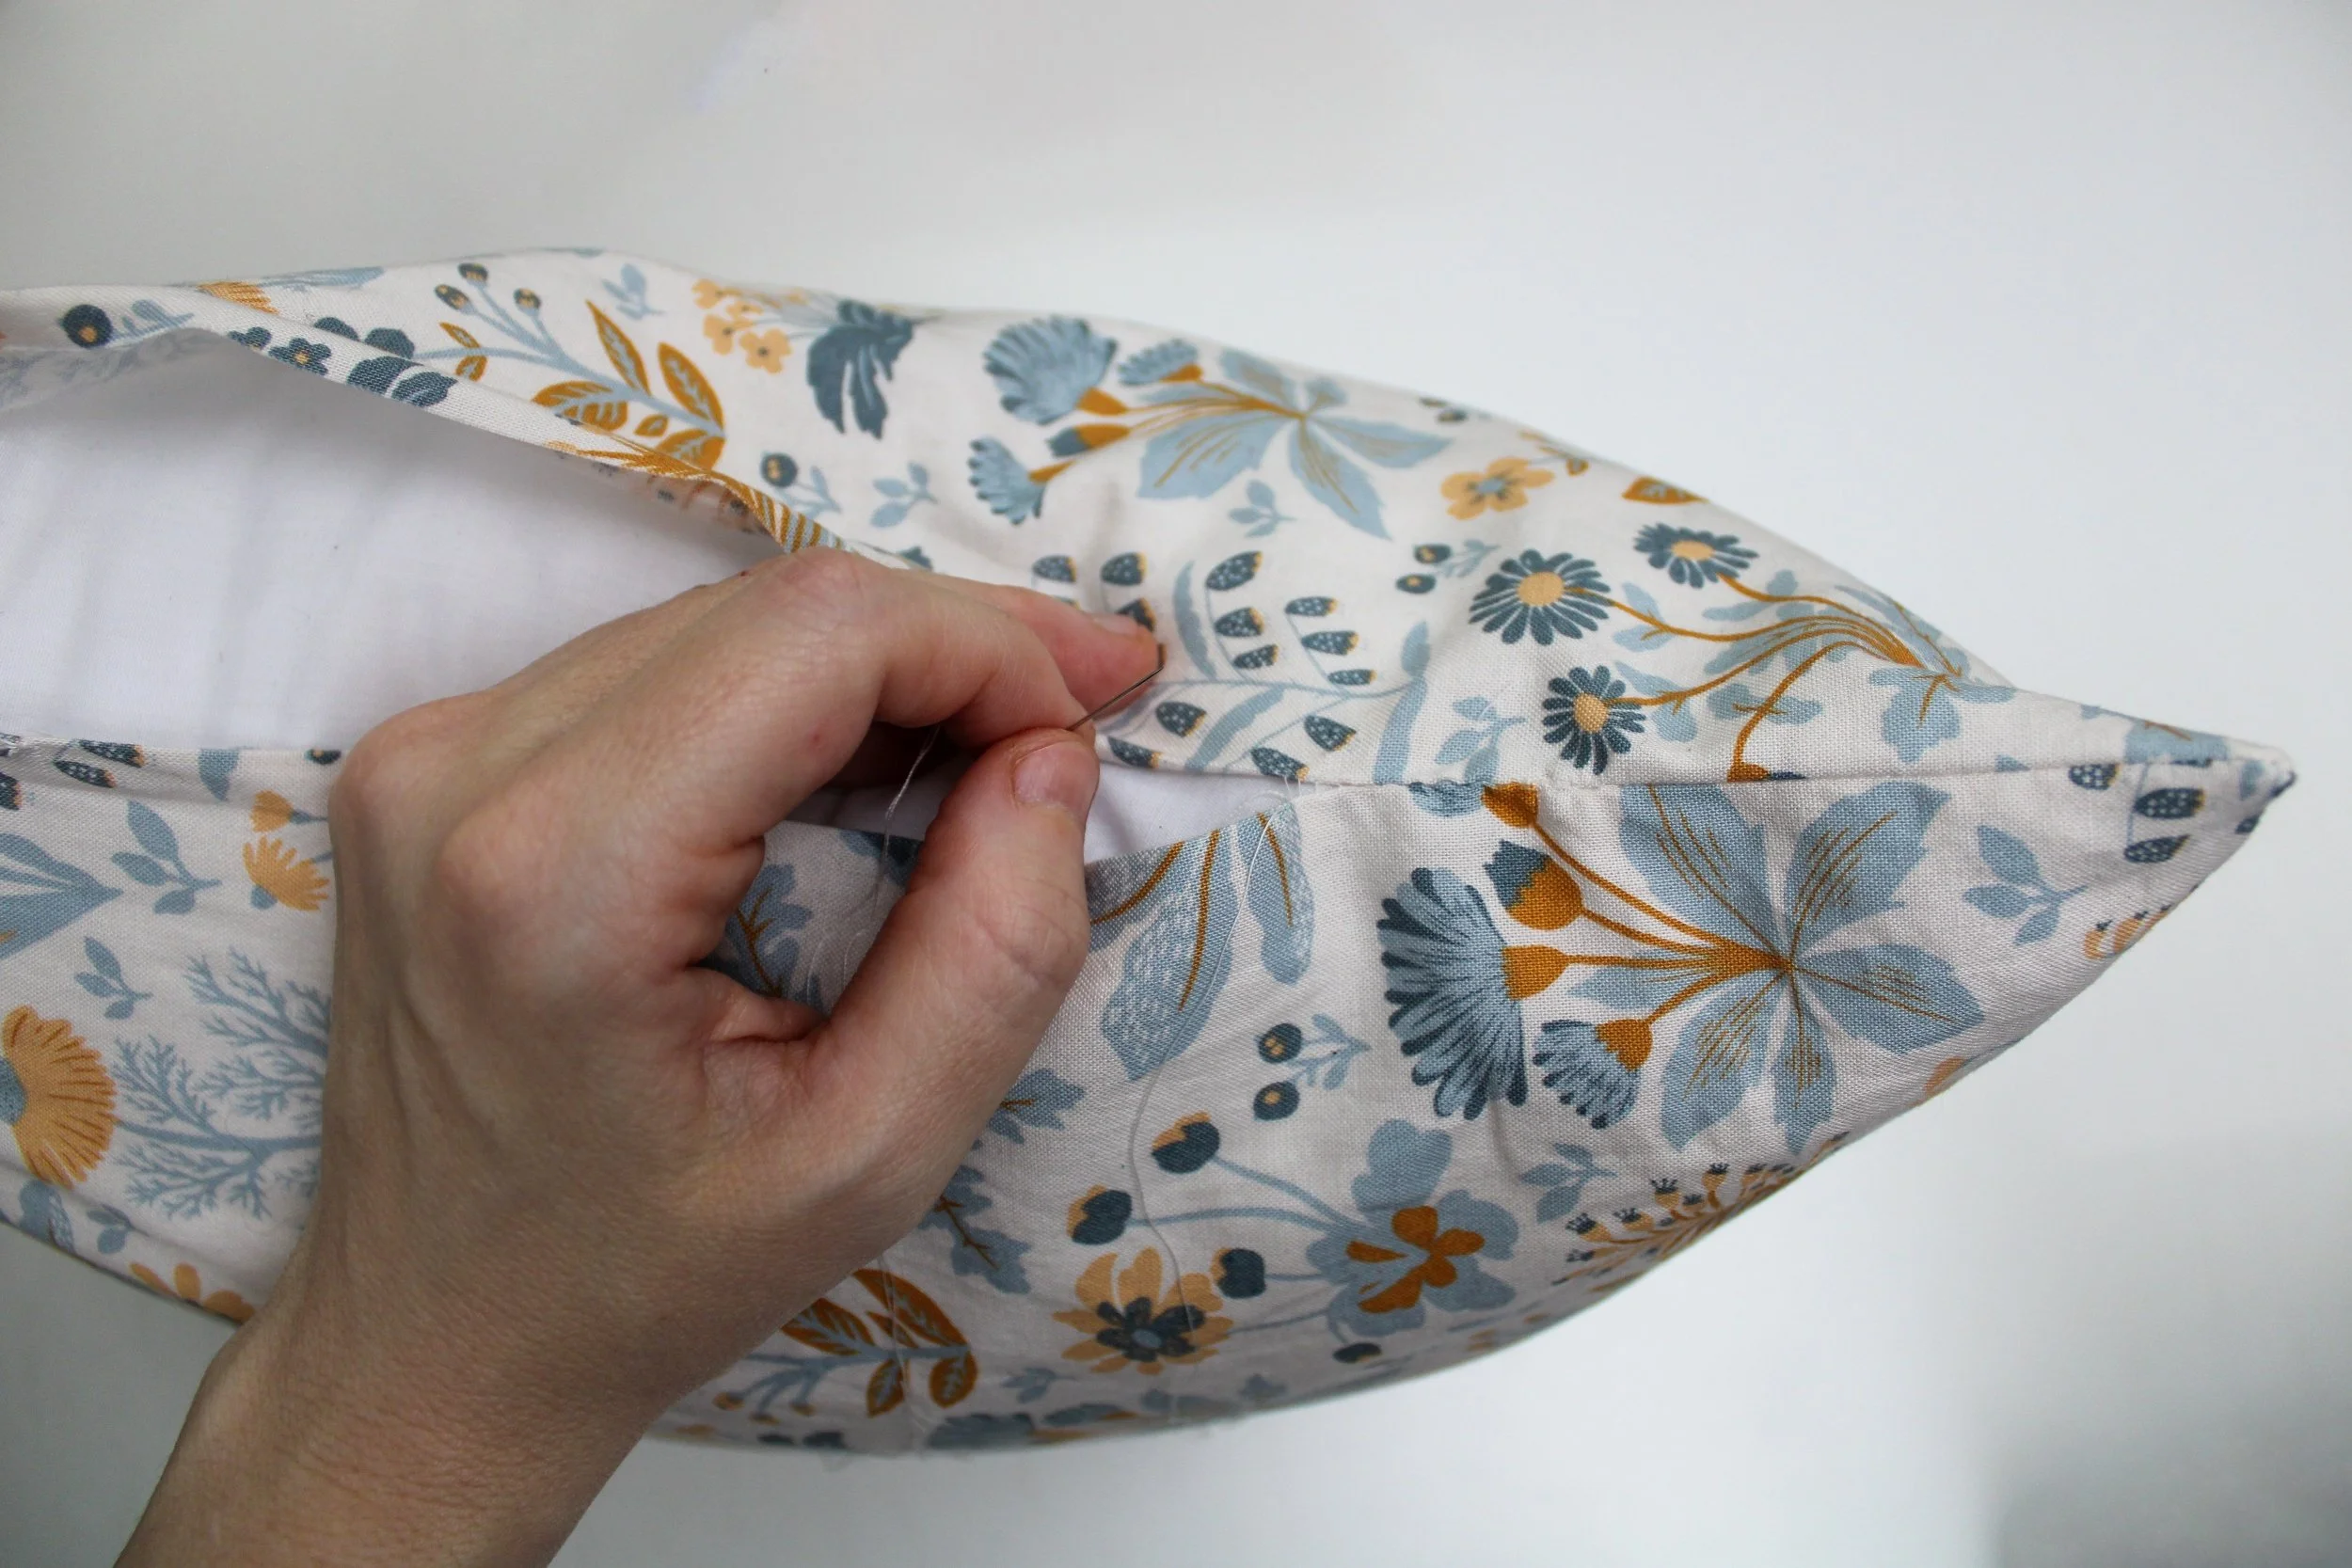
Once you’ve made sure everything’s just right, go ahead and sew the turning gap shut. You can do this by hand with a ladder stitch, but I prefer to sew it with my machine, since no one will ever see the inside of the lining here.
Step five: Covering the pillow insert
Fold the fabric for covering your pillow insert in half along the width of the piece, right sides together.
Sew along two opposite edges (the two adjacent to the folded edge) with a 3/8” seam allowance, just rounding the corners and leaving a very large turning gap.
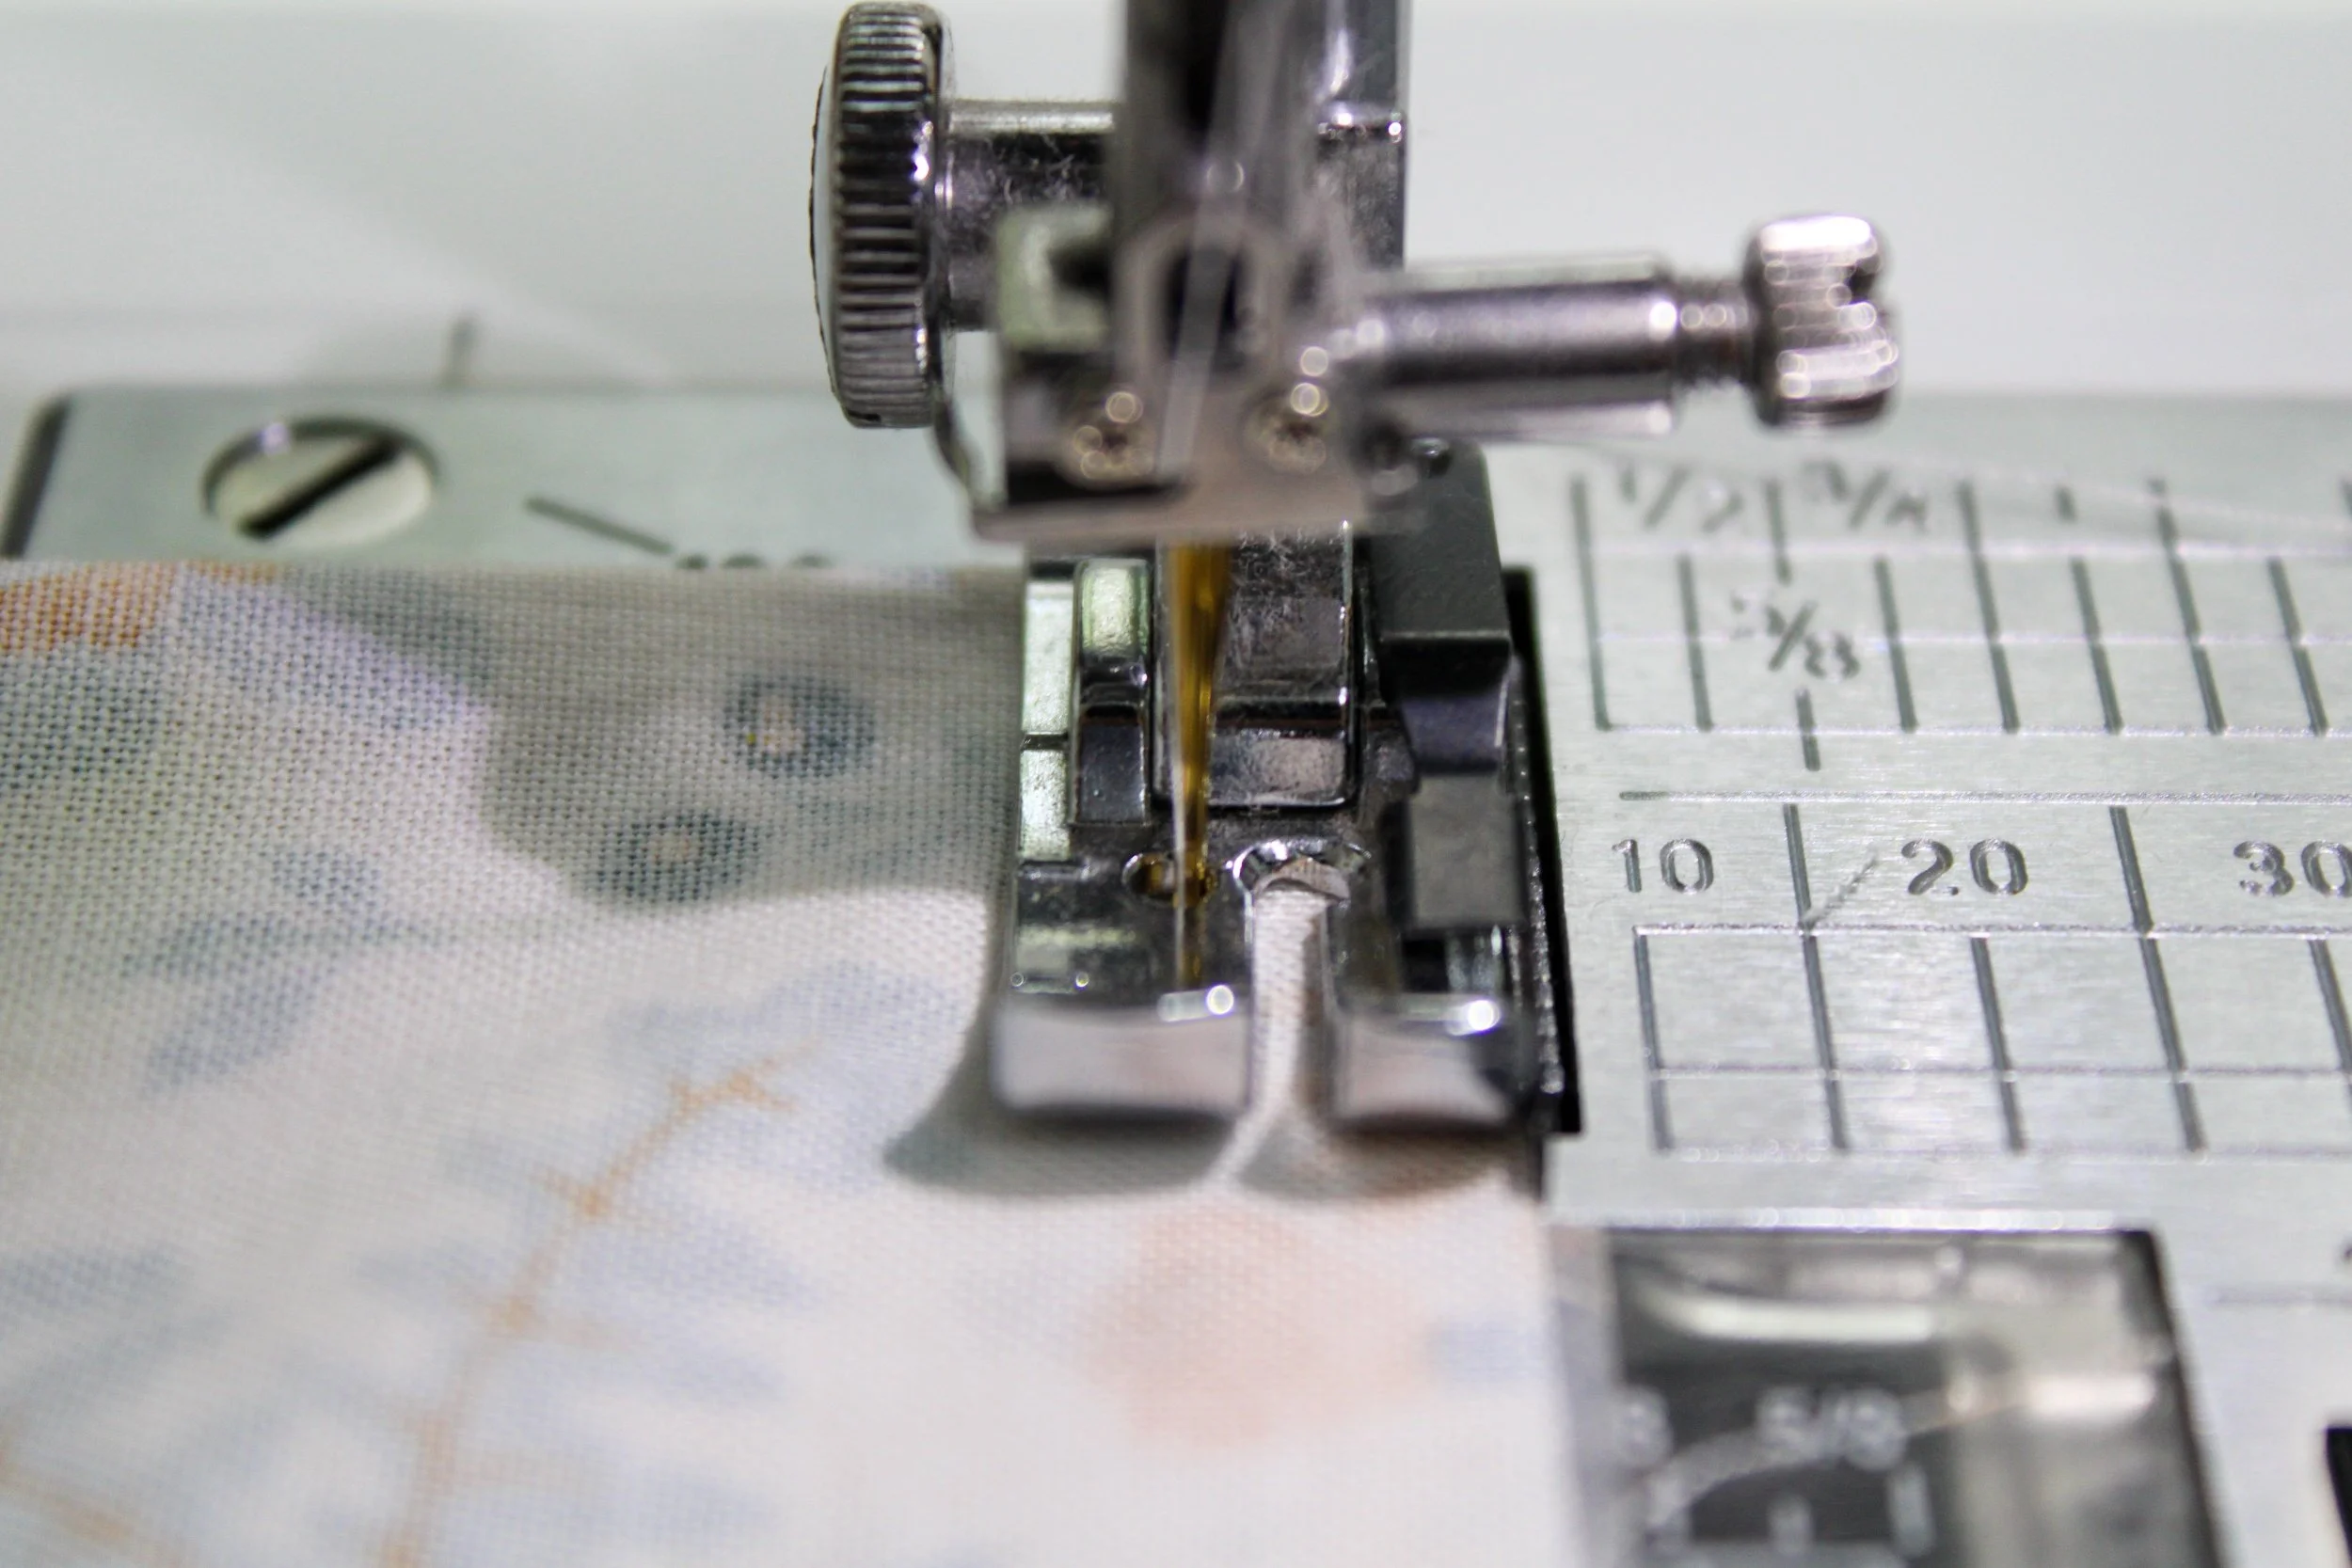
My piecing foot has a little hole on the left; when I set my needle to the left side setting, it sews a perfect 3/8” seam. Very cool. Very convenient.
You can see here where I left a turning gap in the space where the clips are. It wasn’t big enough, and I ended up ripping some of the stitches later on. Woops.
Backstitch a few times at the edges of the turning gap. You’re going to fit this thing over a bulky pillow, so you want the stitches really strong.
Before you flip it right side out to fit the cover over your pillow insert, press the turning gap edge really well; this will make it easier to stitch the gap closed.
Turn the pillow cover right side out and stuff it with your pillow insert.
To finish the turning gap with a ladder stitch, I like to clip it first with lots of clips. It makes this process much more painless.
Here’s a picture of me using a ladder stitch to close the turning gap. (YouTube can show you how to do this stitch if it isn’t familiar.)
Ladder stitch isn’t a very strong stitch, so it’s best to sew with a double length of thread. There are specialty upholstery needles for this job, but I don’t have one.
Ta da!
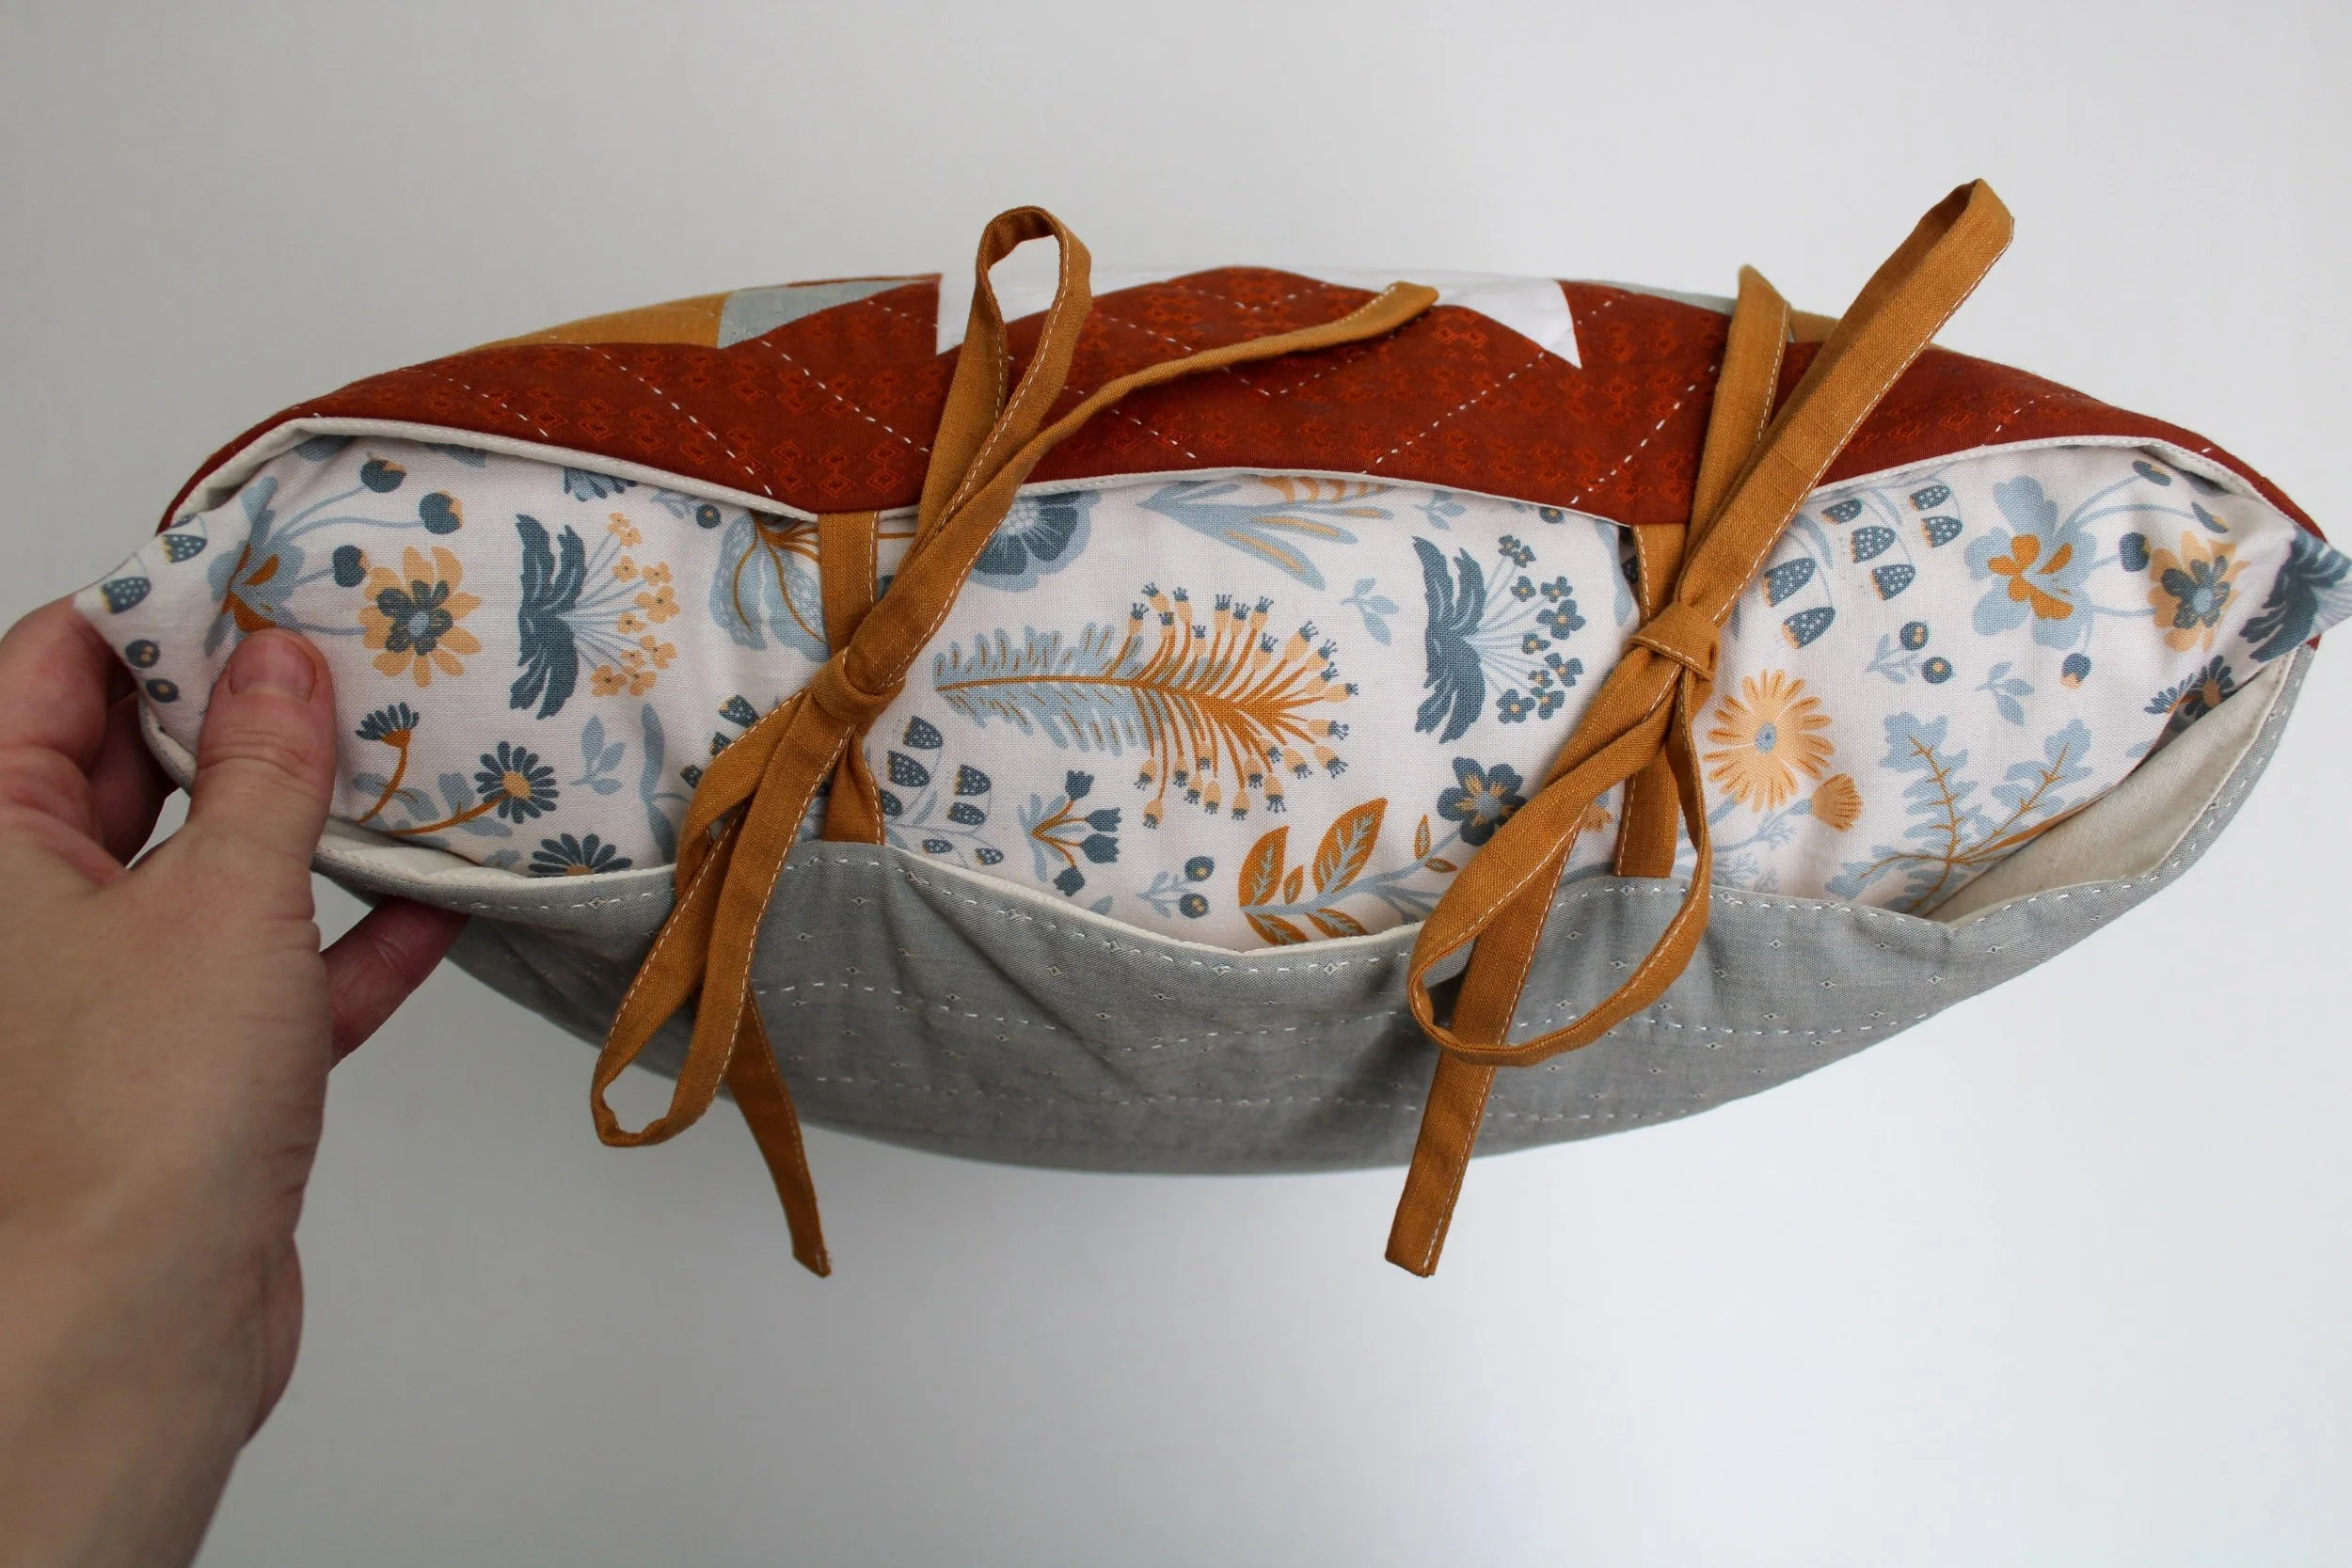
When you put your pillow insert into the pillowcase, it’s nice to have the seamless side showing. Unless you want to show off that ladder stitch. You do you.
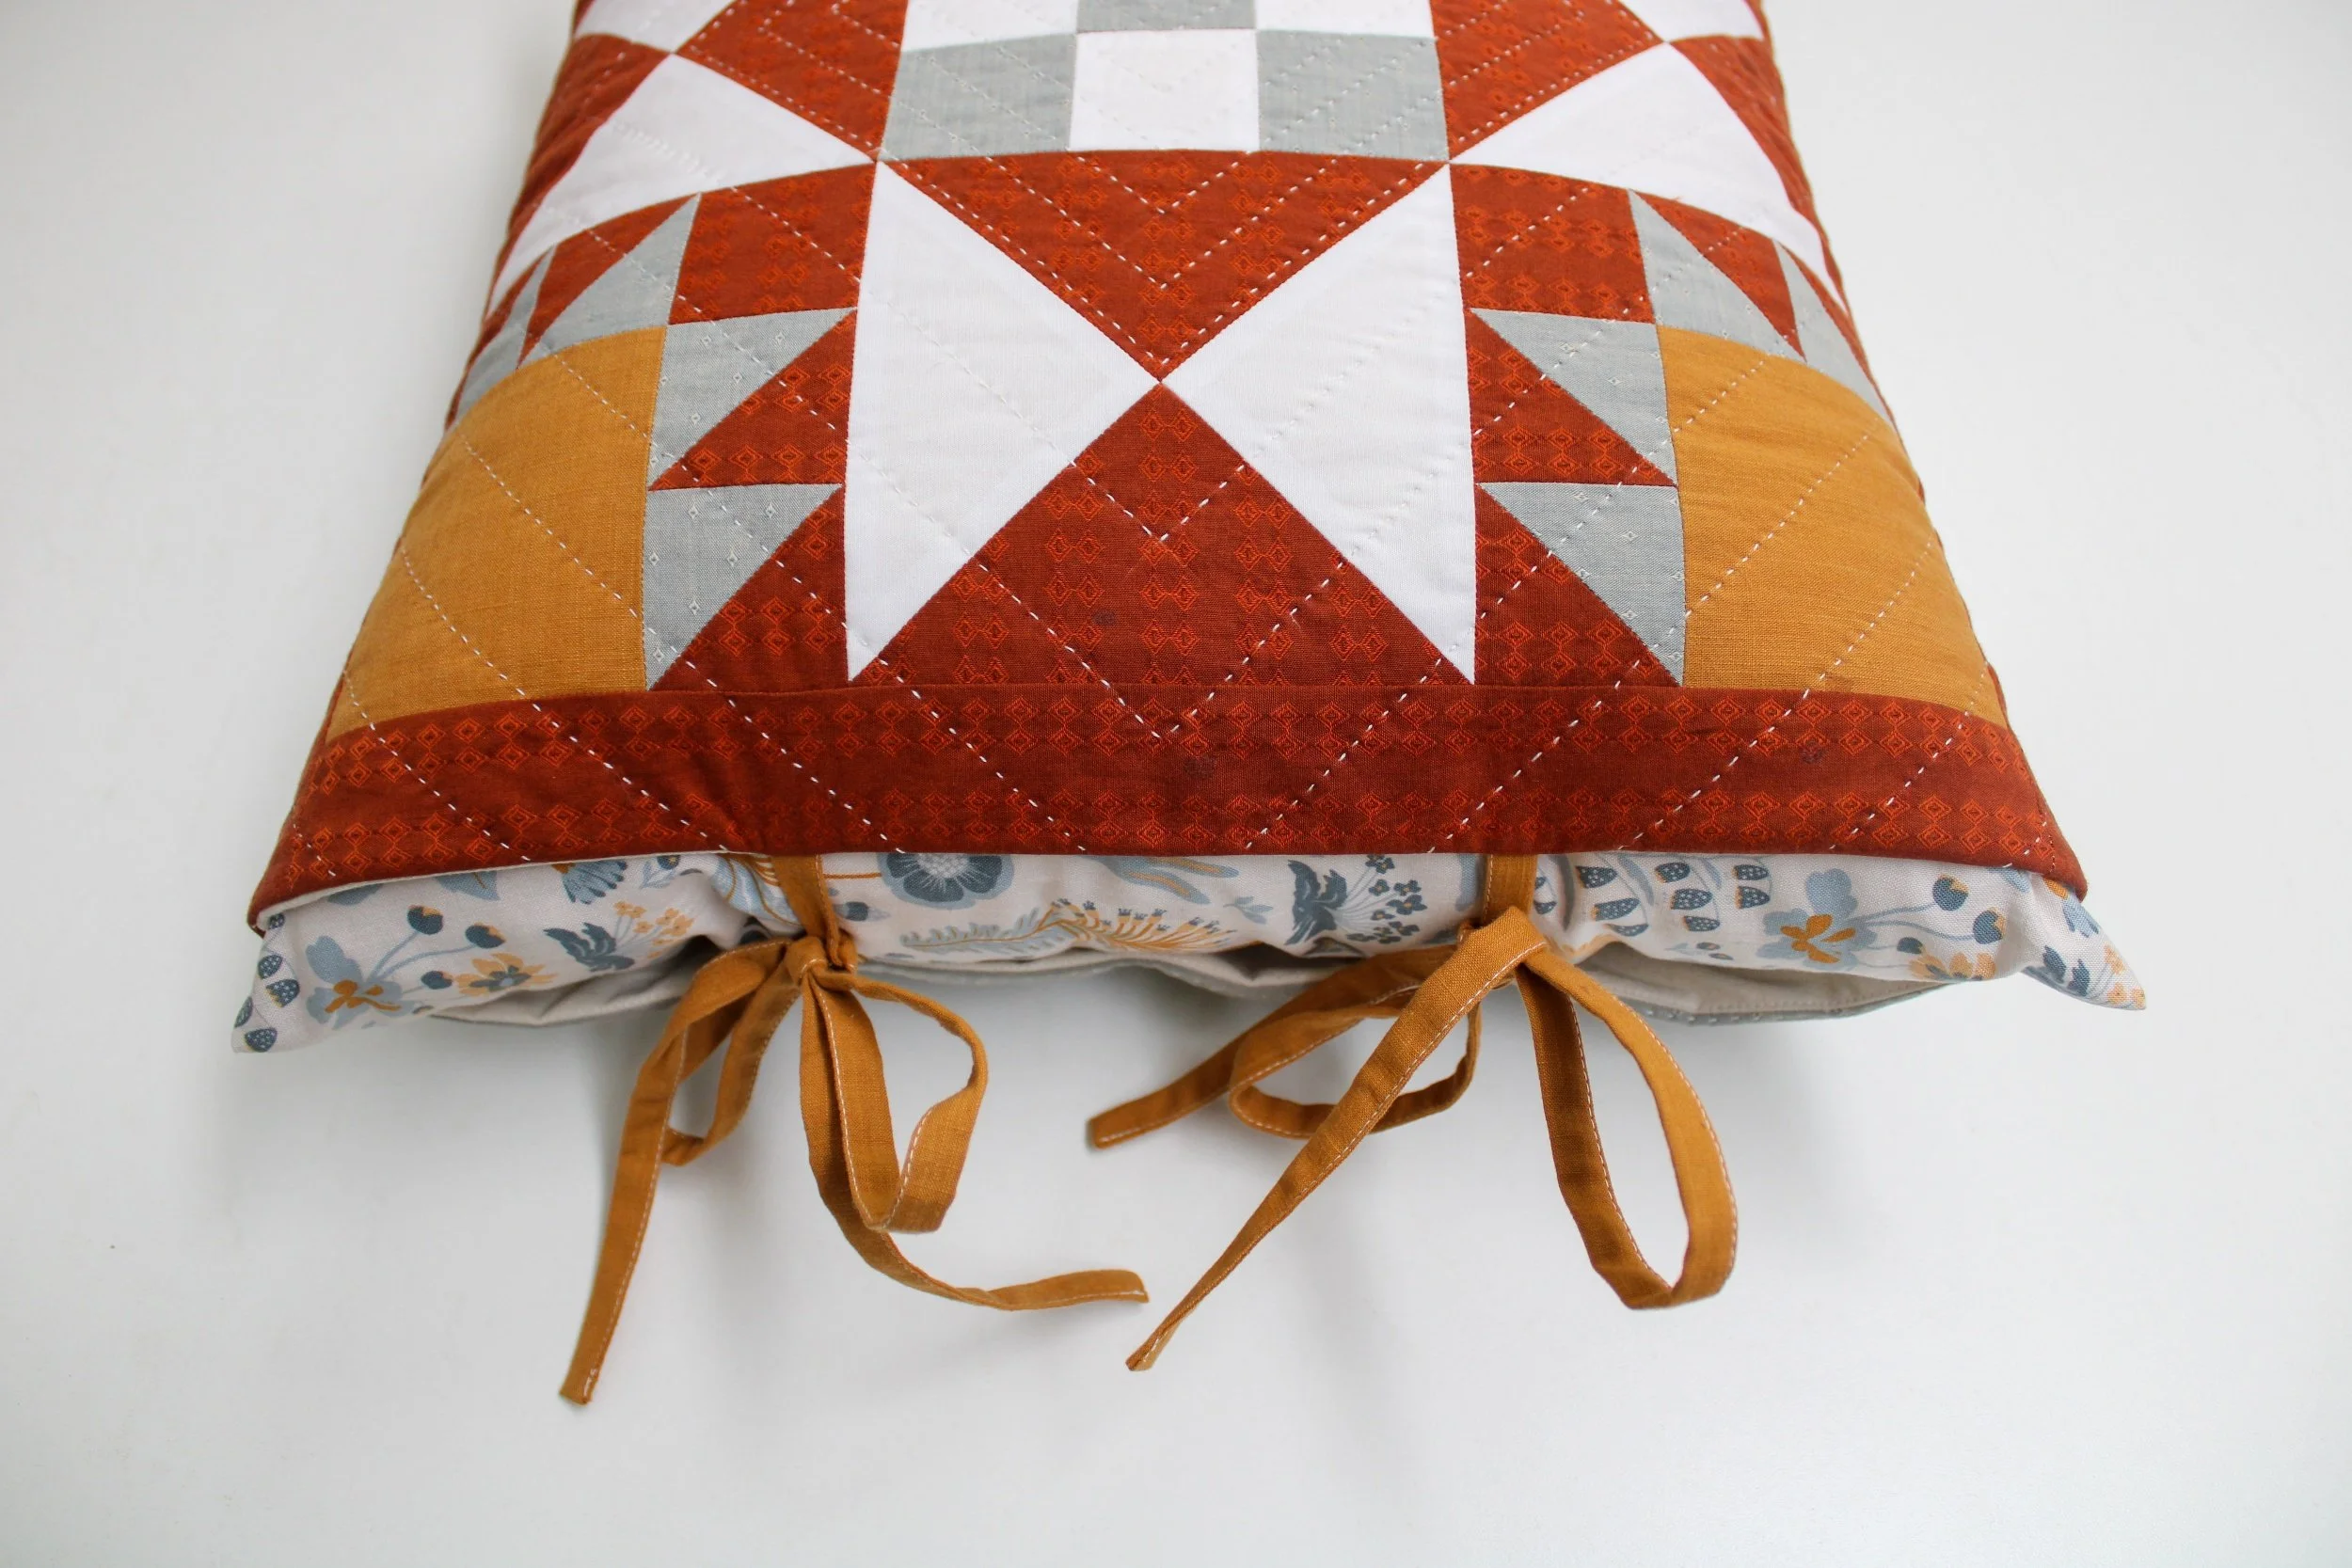
Aren’t those ties cute?
Isn’t it cute?
If you made it all the way through this tutorial, wow! You’re just as persistent and dedicated as I am, and I guess you’re my kind of people! Thank you so much for reading. Hugs.